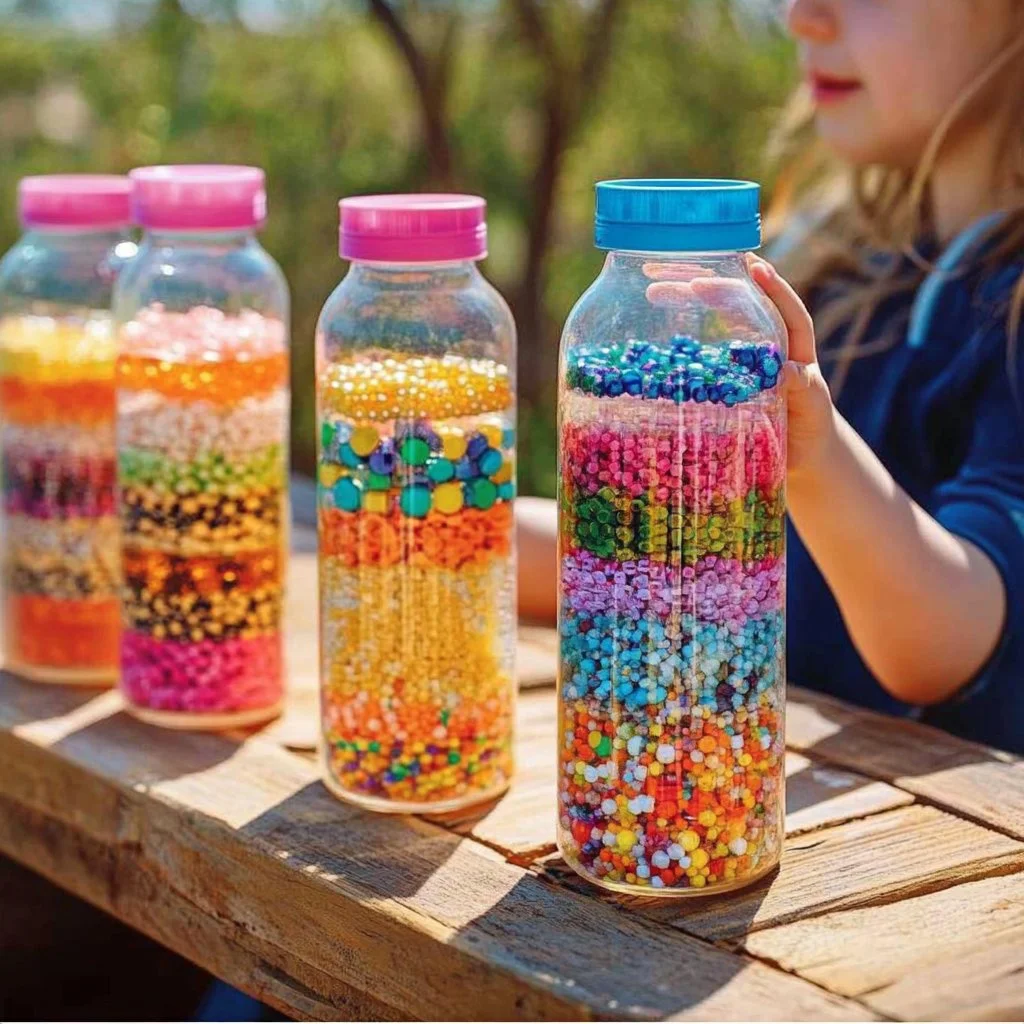
Creating your own musical instruments from everyday items is a fun, engaging, and educational project for all ages. One of the easiest and most delightful crafts is making DIY water bottle musical instruments. Not only does this activity spark creativity, but it also introduces concepts of sound and music in an interactive way. Whether it’s for a school project, a rainy day activity, or simply to enjoy music-making at home, this craft allows you to explore rhythm and sound production. Grab your materials and get ready for a symphony of fun!
Why You’ll Love This DIY Water Bottle Musical Instruments:
- Affordable: Uses materials you likely already have at home.
- Eco-Friendly: Upcycles plastic water bottles instead of throwing them away.
- Educational: Teaches kids about sound waves, vibrations, and musical notes.
- Customizable: Create different sounds by varying the contents and water levels.
- Fun for All Ages: Great for solo play or group activities with family and friends.
- Creative Expression: Experiment with colors, decorations, and sound combinations.
Materials:
- Empty plastic water bottles (various sizes)
- Water
- Sand, rice, or beans (for sound variation)
- Food coloring (optional)
- Paint or markers (for decoration)
- Tape or glue (for securing lids)
- Scissors (if cutting bottles)
- Measuring jug or cup
Full Step-by-Step:
Step 1: Prepare the Water Bottles
- Rinse and dry the empty bottles thoroughly.
- Note: Different bottle sizes will create varied sound pitches.
Step 2: Decide on the Contents
- For liquid sounds: Fill partially with water (about 1/4 to 2/3 full).
- For dry sounds: Add sand, rice, or beans into the bottle.
Step 3: Add Color (Optional)
- If you want a colorful effect, mix a few drops of food coloring into the water or add colored materials.
Step 4: Secure the Bottle
- Use tape or glue to securely fasten the cap.
- Tip: Make sure it’s tightly closed to avoid spills.
Step 5: Decorate
- Use paint or markers to personalize the look of your instruments. Get creative—add designs, faces, or even stickers!
Step 6: Make Music
- Shake, tap, or blow into the bottles to create different sounds.
- Experiment with different levels of water or contents for a range of tones.
Tips & Variations:
- Sound Swaps: Try different materials in the bottles for unique sounds (e.g., pebbles, dried pasta).
- Bottle Size: Experiment with small and large bottles for contrasting sounds.
- Bottles of Different Materials: Use glass or metal containers for different sound qualities.
- Conduct a Band: Create a set of water bottles with different levels and materials to hold a mini-concert.
Frequently Asked Questions:
Q1: Can I use other types of bottles?
A1: Yes! Glass bottles or metal containers can also be used, but ensure they are safe for children to handle.
Q2: What if I don’t have food coloring?
A2: You can skip the coloring or use colored tape/markers to decorate without food coloring.
Q3: Is there a specific water amount for best sound?
A3: It varies—experiment with different water levels to find the sound you enjoy most.
Q4: Can I make larger instruments?
A4: Yes! Use larger bottles or containers for different sounds, but consider using more substantial materials for stability.
Suggestions:
- Host a DIY musical instrument workshop with friends or family.
- Create a themed performance (e.g., holiday music, nature sounds, etc.) using your DIY instruments.
- Use your instruments to accompany singing or storytelling sessions.
Final Thoughts
Making water bottle musical instruments is not just a craft—it’s an exploration of sounds and creativity that can bring joy and laughter into any home. We’d love to hear how you and your loved ones enjoyed this project! Share your versions or leave a comment below! Happy crafting!
Print
DIY Water Bottle Musical Instruments
- Total Time: 10 minutes
- Yield: Varies by number of bottles used
- Diet: N/A
Description
Create your own musical instruments using everyday items like water bottles. A fun activity that teaches sound concepts while encouraging creativity.
Ingredients
- Empty plastic water bottles (various sizes)
- Water
- Sand, rice, or beans (for sound variation)
- Food coloring (optional)
- Paint or markers (for decoration)
- Tape or glue (for securing lids)
- Scissors (if cutting bottles)
- Measuring jug or cup
Instructions
- Prepare the Water Bottles: Rinse and dry the empty bottles thoroughly.
- Decide on the Contents: For liquid sounds, fill partially with water (about 1/4 to 2/3 full). For dry sounds, add sand, rice, or beans into the bottle.
- Add Color (Optional): Mix a few drops of food coloring into the water or add colored materials for a colorful effect.
- Secure the Bottle: Use tape or glue to securely fasten the cap.
- Decorate: Use paint or markers to personalize the look of your instruments.
- Make Music: Shake, tap, or blow into the bottles to create different sounds.
Notes
Experiment with bottle sizes and contents for different sound effects. Conduct a mini-concert using various levels and materials.
- Prep Time: 10 minutes
- Cook Time: 0 minutes
- Category: Craft
- Method: Crafting
- Cuisine: N/A
Nutrition
- Serving Size: 1 instrument
- Calories: 0
- Sugar: 0g
- Sodium: 0mg
- Fat: 0g
- Saturated Fat: 0g
- Unsaturated Fat: 0g
- Trans Fat: 0g
- Carbohydrates: 0g
- Fiber: 0g
- Protein: 0g
- Cholesterol: 0mg

