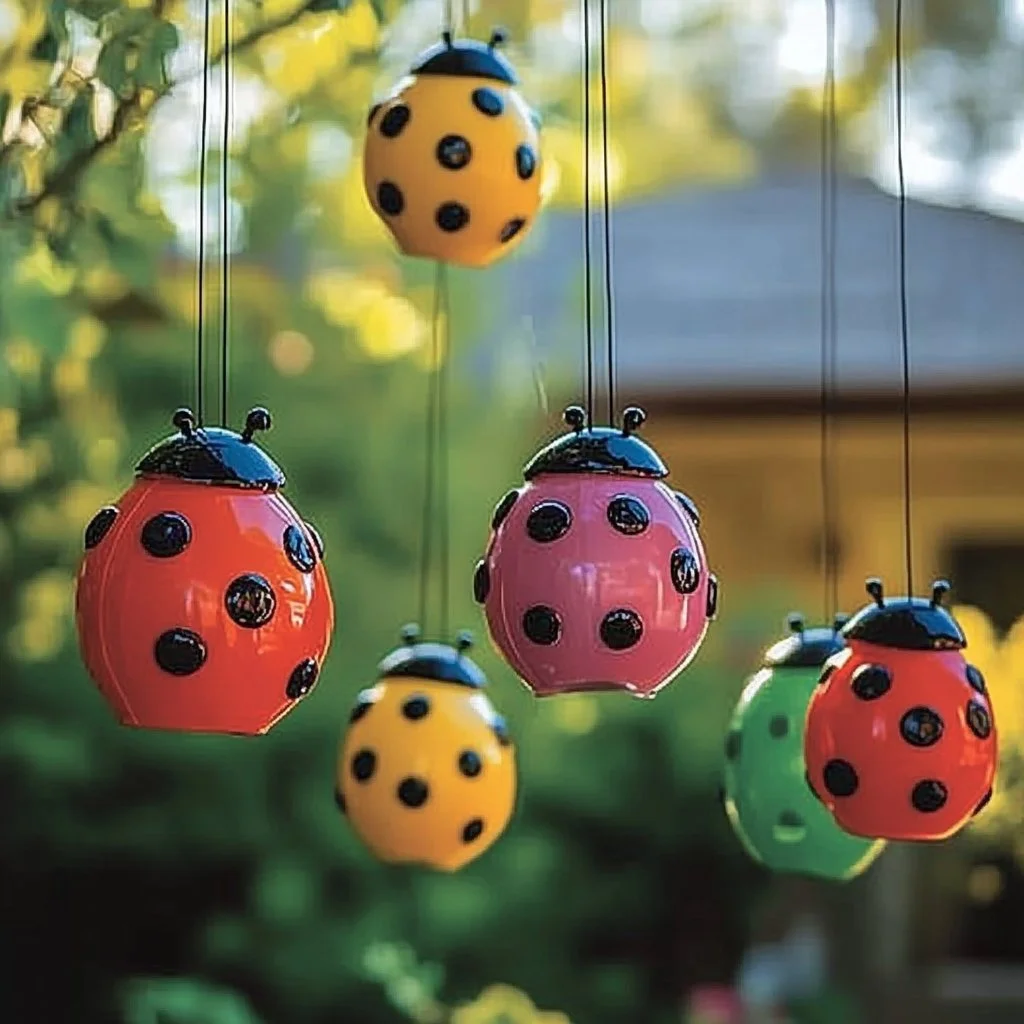
Creating delightful twirling ladybugs is a fun and engaging DIY craft that not only brings joy to crafters of all ages but also promotes creativity and fine motor skills. With their vibrant colors and charming designs, these twirling ladybugs are perfect for adding a touch of whimsy to your garden or as a playful decoration for children’s rooms. Whether you’re looking for a rainy-day activity or a unique project to share with friends, making twirling ladybugs will foster creativity and ignite imaginations. The process is simple and requires minimal materials, making it accessible for everyone. Gather your supplies, unleash your inner artist, and get ready to watch your ladybugs spin and dance!
Why You’ll Love This DIY Twirling Ladybugs:
- Easy and Fun: Perfect for crafters of all skill levels.
- Creative Expression: Customize your ladybugs with different colors and patterns.
- Educational: Great for teaching kids about insects and nature.
- Interactive: A delightful decoration that twirls and moves.
- Versatile: Suitable for various occasions, like parties or garden decor.
Materials:
- Red and black construction paper
- Scissors
- Craft glue or a glue stick
- A clear drinking straw
- Googly eyes (optional)
- Markers or crayons
- Small wooden dowel or stick (optional)
Full Step-by-Step:
1. Prepare the Body
- Cut Out the Shapes: Start by cutting a circular shape from the red construction paper—this will be the body of your ladybug. The diameter can be about 5-6 inches for a good twirl.
2. Add the Details
- Wings: Cut a smaller black oval for the wings. Use the markers to draw black dots on the red body to mimic ladybug spots.
3. Assemble the Ladybug
- Glue the Wings: Position the black oval on the top of the red circle to represent the wings and glue it down.
- Give It a Face: Attach googly eyes or use a marker to draw eyes on the front side.
4. Attach the Twirling Mechanism
- Insert the Straw: Take the clear drinking straw and poke it through the center of the ladybug’s body. The straw should be long enough to allow it to twirl freely.
5. Test It Out
- Have Some Fun: Hold the bottom of the straw and give your ladybug a gentle spin. Watch it twirl and dance!
Tips & Variations:
- Customize Colors: Use other color construction paper for a unique twist—try yellow or blue insects.
- Add Textures: Use fabric or glitter to make your ladybug stand out even more.
- Make Mini Versions: Scale down the dimensions for cute mini ladybugs that can be used as table decorations.
Frequently Asked Questions:
1. Can I use different colors for the ladybug?
Yes! Feel free to use any color combination you like, creating your own unique twist on the traditional ladybug.
2. My ladybug isn’t twirling well. What can I do?
Ensure that the straw is positioned correctly in the center of the ladybug’s body and is long enough for a good spin. You may also need to adjust the weight of your ladybug, ensuring it’s balanced.
3. What if I don’t have construction paper?
You can use any colorful paper, like wrapping paper or old magazines, to create the ladybug.
4. Can I make this craft with younger kids?
Absolutely! Just be sure to supervise kids when using scissors and assist them with gluing.
Suggestions:
- Create a whole colony of ladybugs in different sizes.
- Organize a crafting party and let each child make their own unique designs.
- Incorporate your twirling ladybugs into an educational lesson about insects or nature.
Final Thoughts
Making twirling ladybugs is a delightful and creative activity that will engage both children and adults alike. We hope you enjoy creating your own vibrant insects! Please share your versions, variations, or any tips you’ve discovered in the comments below. We can’t wait to hear from you!
Print
DIY Twirling Ladybugs
- Total Time: 10 minutes
- Yield: 1 ladybug
Description
Create delightful twirling ladybugs that are perfect for garden decor or children’s rooms, promoting creativity and fine motor skills.
Ingredients
- Red and black construction paper
- Scissors
- Craft glue or glue stick
- Clear drinking straw
- Googly eyes (optional)
- Markers or crayons
- Small wooden dowel or stick (optional)
Instructions
- Cut out a circular shape from the red construction paper for the body, approximately 5-6 inches in diameter.
- Cut a smaller black oval for the wings and use markers to draw spots on the red body.
- Glue the black oval onto the top of the red circle to represent the wings and attach googly eyes or draw eyes with a marker on the front side.
- Poke the clear drinking straw through the center of the ladybug’s body for the twirling mechanism.
- Hold the bottom of the straw and give the ladybug a gentle spin to watch it twirl and dance!
Notes
Customize your ladybugs with different colors and patterns. Supervise young children using scissors.
- Prep Time: 10 minutes
- Cook Time: 0 minutes
- Category: Crafts
- Method: Crafting
Nutrition
- Serving Size: 1 ladybug
- Calories: 0
- Sugar: 0g
- Sodium: 0mg
- Fat: 0g
- Saturated Fat: 0g
- Unsaturated Fat: 0g
- Trans Fat: 0g
- Carbohydrates: 0g
- Fiber: 0g
- Protein: 0g
- Cholesterol: 0mg

