

The air feels cool and crisp as your hands begin to mold soft, pliable materials. Each touch sends a gentle ripple of warmth through your palm, as colors swirl together, creating a miniature world. Making DIY Swirl Bouncy Balls takes you on a journey—one that invites you to engage fully with the textures, sounds, and movements around you. With every squeeze and roll, you can sense the potential of the bouncy ball forming beneath your fingertips, a reminder that creativity and calm can exist harmoniously in each moment.
The Heart Behind This DIY
Creating DIY Swirl Bouncy Balls embraces a sense of calm and presence. The act of forming these playful spheres allows you to slow down, letting go of any hurried thoughts. As you knead and roll, you engage with the sensory experience—feeling the coolness of the materials and the ever-so-slight resistance as they come together.
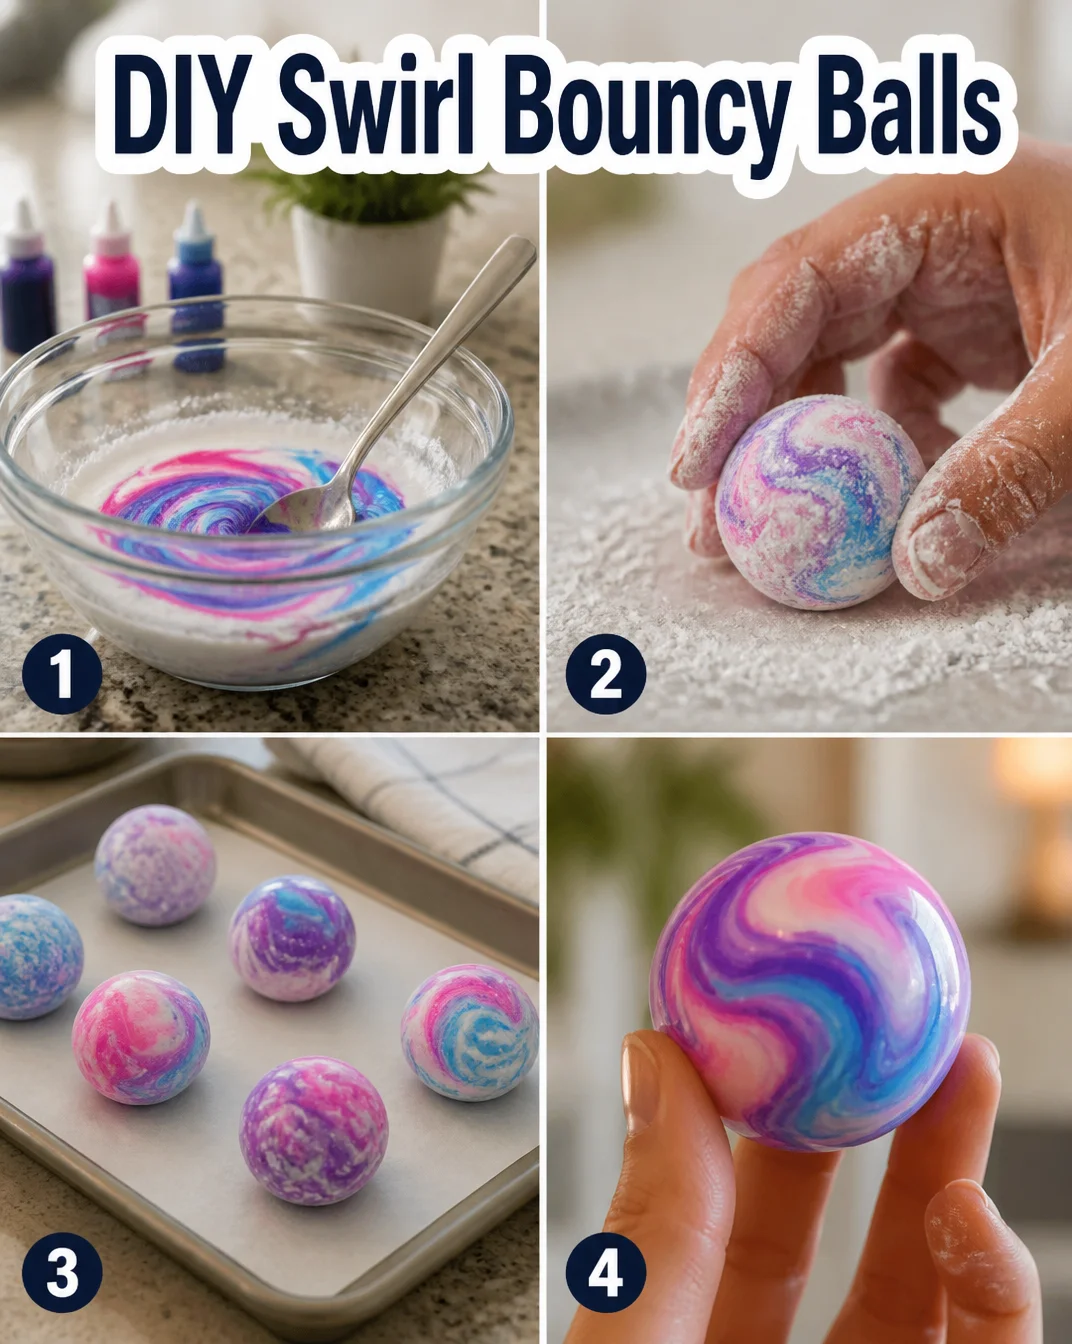
This project invites gentle focus, encouraging you to reconnect with your hands and surroundings. As you mix colors and create patterns, you transform simple ingredients into something vibrant and lively—much like the moments that weave together to form our days. Each ball holds the whispers of joy and creativity, reminding you of the beauty found in small, intentional endeavors.
A Gentle Look at the Process
Long before the bouncy balls spring to life, the process unfolds with a soothing rhythm. You begin by gathering materials, then progress to combining colorful elements in a soft dance of motion. As you work, listen to the subtle sounds—like a soft squish or a gentle pat—that accompany your movements. The textures shift under your hands, from cool and slimy to warm and smooth, guiding you deeper into the moment.
This overview invites you to embrace the practice of mindful making. You’ll find that the process is just as rewarding as producing a tangible item; it offers a momentary escape where you can be fully present.
Materials You’ll Need
Gathering your materials can be a meditative experience in itself. Here’s what you need to create DIY Swirl Bouncy Balls:
- Liquid school glue (easy to find)
- Baking soda
- Contact lens solution (contains boric acid)
- Food coloring (optional; for swirling colors)
- A mixing bowl
- A spoon for stirring
- A clean surface to work on
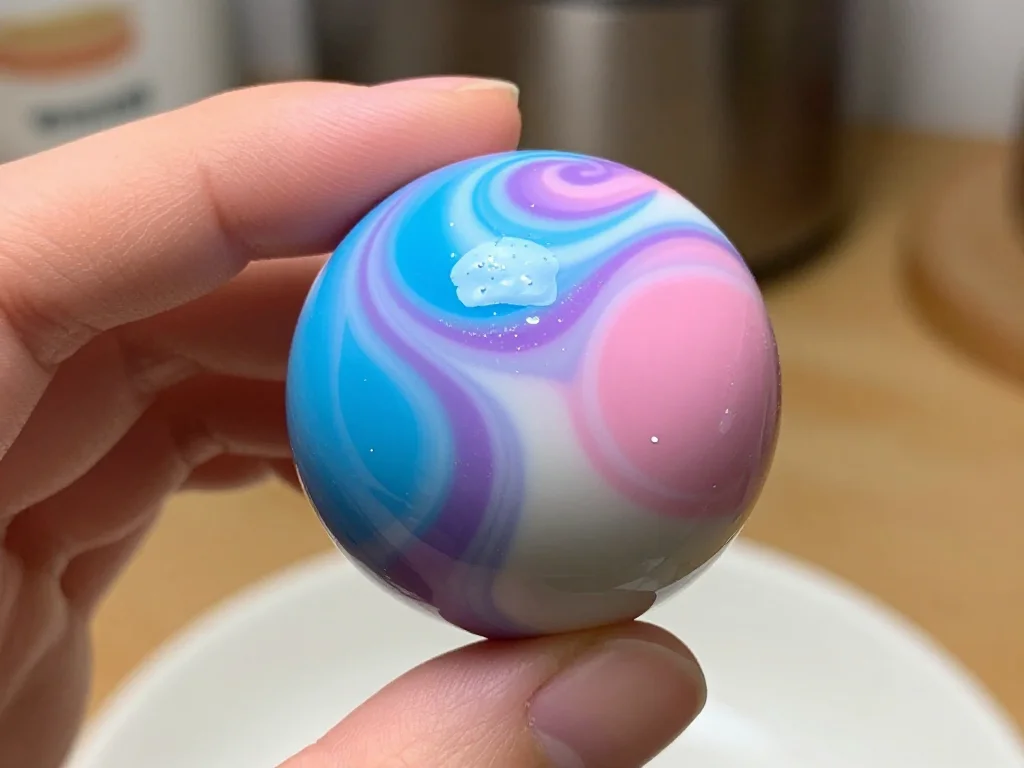
As you collect these supplies, notice each texture and weight. The glue feels smooth and viscous, while the baking soda has a gentle graininess. The colors you choose can evoke a sense of joy and inspire creativity—consider picking shades that bring warmth or calm.
Step-by-Step Directions
-
Start by pouring 1 cup of liquid school glue into your mixing bowl. The thick consistency glistens softly, setting the foundation for your creation.

-
Add 1 tablespoon of baking soda to the glue. As you sprinkle it in, notice how the fine particles mix and absorb the glue, creating a slightly grainy texture.
-
Stir the mixture together until fully combined, allowing the baking soda to dissolve. The gentle swirls create a soothing rhythm, almost like a slow dance.
-
If you wish to add colors, now is the time. Place a few drops of food coloring into the mixture. Swirl carefully with your spoon to create marbled effects, watching as vibrant shades mingle.
-
Slowly add 2 to 3 tablespoons of contact lens solution. Mix thoroughly. The solution helps the mixture to solidify, making it easier to mold.
-
Once the mixture thickens into a dough-like consistency, use your hands to knead it gently. Feel the cool texture transform into a soft, pliable form. This tactile connection adds an extra layer of satisfaction to the process.
-
Divide the dough into small portions, forming each into a ball. You can leave them as they are or create unique shapes—allow your imagination to roam freely.
-
Allow the balls to rest for about 30 minutes. This waiting period lets them solidify further, enhancing the sensory anticipation of your creations.
-
Finally, once they feel firm to the touch, play with them! Bounce them gently on a soft surface, observing how they spring back as if full of energy.
Enjoying the Finished Piece
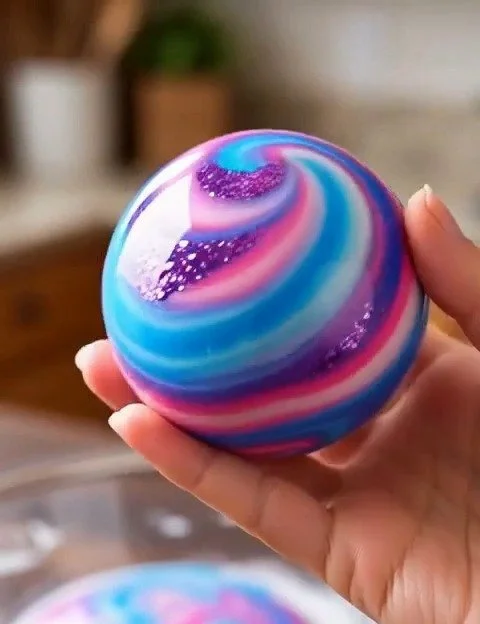
Once your DIY Swirl Bouncy Balls are complete, they become more than just objects. They invite playfulness into your space. Use them as fidget toys during moments of contemplation, or set them aside to bring a smile to your face when you need it.
These colorful spheres can also serve as reminders of your creativity. Placing them in a small bowl on your desk or shelf adds a touch of whimsy to your surroundings. Whenever you pass by, you’ll recall the gentle actions taken to bring them to life, allowing that moment of calm to resonate within you.
Making This DIY Last
Caring for your DIY Swirl Bouncy Balls can be simple and satisfying. After play, store them in a cool, dry place. A breathable bag or an open container works well, allowing the balls to retain their bounciness without trapping moisture.
If they begin to lose their shape, you can revive them by softening them in your hands or adding a touch of water and re-molding. With this gentle care, your creations can last over time, continually inviting moments of joy and play.
Gentle Tips & Variations
-
Experiment with different colors. Mixing unexpected shades may create delightful surprises in the final design, encouraging your imagination to flourish.
-
Try adding texture variations. For instance, you could sprinkle in fine glitter or small beads before forming your balls for an added sensory experience.
-
If you prefer a less bouncy ball, adjust the amount of contact solution as you mix. Softer textures may feel more calming, depending on your twist on the project.
-
Involve a friend or family member. Sharing the process of making can enhance the enjoyment, creating moments filled with laughter and connection.
FAQs About DIY Swirl Bouncy Balls
What age is appropriate for this DIY?
This project suits both kids and adults. However, if little ones are involved, adult supervision is advised, especially when handling contact lens solution.
Can I make these without food coloring?
Certainly! The balls can be just as delightful in their natural form or with varying shades of white and off-white. The focus can shift to enjoy the textures and shapes you create.
How long do these bouncy balls last?
With proper care, they can last for weeks or even months. Keeping them away from extreme temperatures and moisture helps maintain their quality.
What if I don’t have contact lens solution?
You could use a homemade slime recipe that includes borax as an alternative. Just ensure to pay attention to the proportions so the mixture remains cohesive.
Can I add scents to the bouncy balls?
Absolutely! A few drops of essential oil mixed into the dough can make them uniquely pleasant, evoking calming or invigorating feelings as you play.
A Gentle Note Before You Go
As you conclude your time with this DIY project, take a moment to appreciate the experience. Each touch, blend, and knead brings you deeper into the world of mindful making. Reflect on the quiet joy in creating with your hands, and let the vibrant yet calming energy of your finished DIY Swirl Bouncy Balls remind you of the magic that exists in simple acts of creativity. Embrace the comfort of slowing down, and allow yourself to revisit this soothing practice whenever you seek a little peace in your day.
Print
DIY Swirl Bouncy Balls
- Total Time: 40 minutes
- Yield: 4 bouncy balls
- Diet: N/A
Description
A fun and creative project to make colorful bouncy balls using simple ingredients, perfect for stress relief and playful moments.
Ingredients
- 1 cup liquid school glue
- 1 tablespoon baking soda
- 2 to 3 tablespoons contact lens solution
- Food coloring (optional)
- A mixing bowl
- A spoon for stirring
- A clean surface to work on
Instructions
- Pour 1 cup of liquid school glue into your mixing bowl.
- Add 1 tablespoon of baking soda to the glue.
- Stir the mixture together until fully combined.
- If you wish to add colors, now is the time. Place a few drops of food coloring into the mixture.
- Slowly add 2 to 3 tablespoons of contact lens solution.
- Once the mixture thickens into a dough-like consistency, use your hands to knead it gently.
- Divide the dough into small portions, forming each into a ball.
- Allow the balls to rest for about 30 minutes.
- Finally, once they feel firm to the touch, play with them!
Notes
Store the bouncy balls in a cool, dry place. If they lose shape, soften in hands or add a touch of water and re-mold.
- Prep Time: 10 minutes
- Cook Time: 30 minutes
- Category: Craft
- Method: Mixing