

Creating a DIY sun catcher is like inviting a gentle dance of light into your space. Imagine warm sunlight streaming through your window, casting colorful reflections that flicker across the walls. As the soft hues swirl and blend, the atmosphere instantly transforms, inviting a sense of peace and grounding. The simple act of crafting beads into a beautiful sun catcher allows us to slow down and engage with each moment. This project embodies the gentle rhythm of creativity, allowing us to appreciate each bead’s texture and the way sunlight interacts with them. In this serene space of making, we connect not just with the materials, but also with ourselves.
Why Make This DIY Sun Catcher: How to Make Beautiful Suncatchers with Beads and Crafts
Crafting a sun catcher fosters a quiet joy that blends creativity with mindfulness. When you take time to press your fingers into the cool beads and thread them onto line, you enter a state of flow. The soft sound of beads clinking together becomes a comforting background melody, drawing you into the present moment. Each bead offers a delightful texture, from the smoothness of glass to the warmth of natural stone.
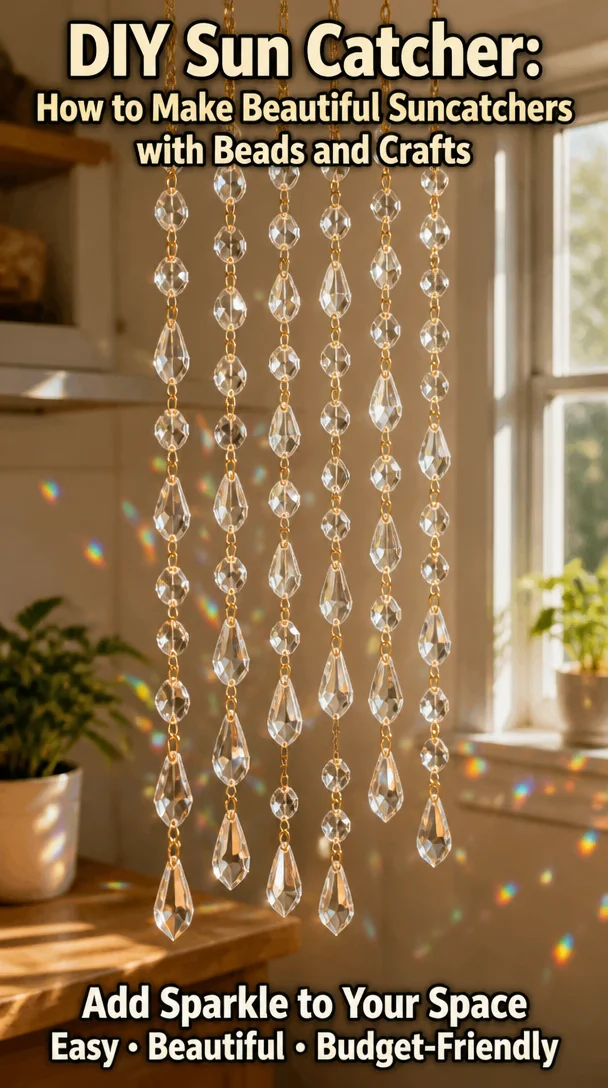
This calm project invites you to explore colors that resonate with you, reflecting your emotions and thoughts. You might find solace in the rhythmic process of choosing colors, arranging patterns, and watching your creation come to life. Within this gentle making, you discover a space to breathe deeply, letting go of distractions. The act of focusing on the sun catcher washes over you like a gentle breeze, clearing the mind and creating room for peace.
A Gentle Look at the Process
Imagine a serene early afternoon as you prepare to create. The sun burns softly in the sky, leaving a warm golden light spilling through the window. As you gather your materials, notice the sounds around you—the rustle of packaging as you unwrap the beads, the soft shuffle of your hands moving through supplies.
The process of making a sun catcher unfolds naturally, flowing like a gentle stream. Selecting beads becomes a mindful exercise, where each choice invites you to pause and reflect. With every bead you thread, a warm connection forms, and the final piece emerges gradually.
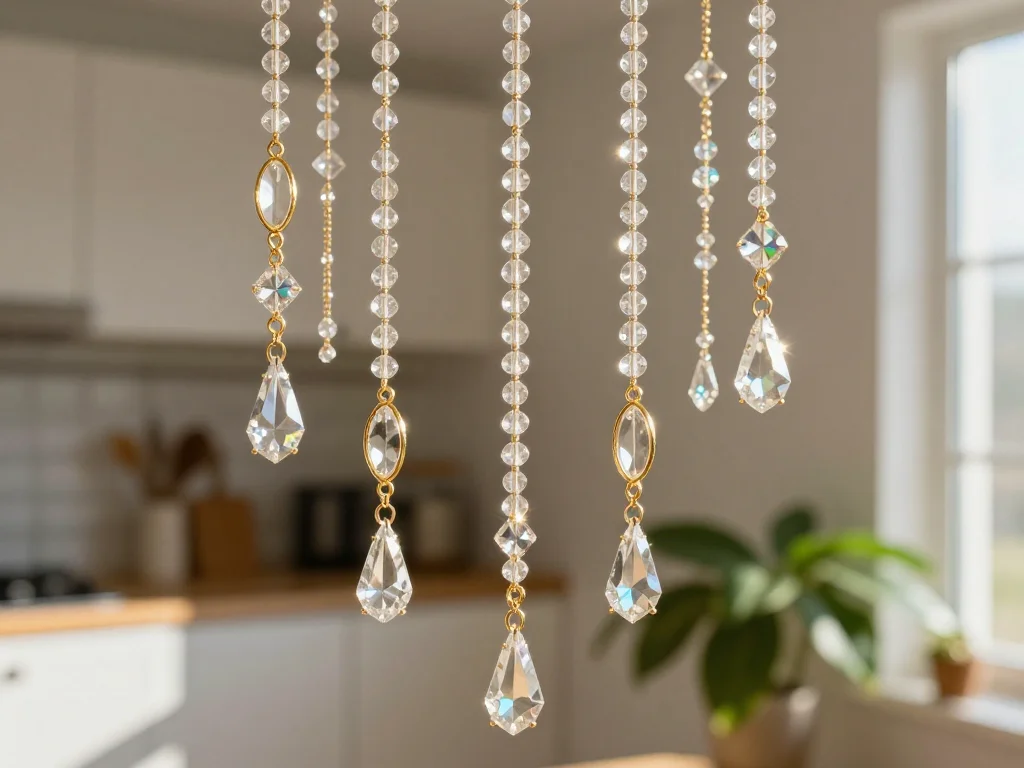
Materials You’ll Need
- Transparency film or clear plastic sheets (easy to find at craft stores)
- Assorted beads (glass, plastic, or natural stones)
- String or fishing line (choose invisible or colored based on your preference)
- Scissors (for cutting string)
- Hole punch (optional for making holes in the film)
- Gruff wire or thin dowels (for creating a frame, optional)
- Wax paper (to protect your work surface)
Gathering these materials creates a tactile experience, allowing you to connect with each piece as you imagine how they will transform into a sun catcher. Each item contributes to the beauty and atmosphere of the project, inviting you to appreciate its unique qualities.
Step-by-Step Directions
-
Prepare your workspace with wax paper to protect your surface. Arrange your materials within reach, savoring the textures and colors.
-
If using transparency film, decide on the size for your sun catcher and cut the film accordingly. This film will serve as a canvas for your colorful beads.
-
Choose your beads. Hold them in your hands, feeling their weight and warmth. Lay them out on the film to visualize your design before starting.

-
Use your scissors to cut a length of string or fishing line. Aim for about 24 inches, giving you ample length to work with.
-
Start threading your chosen beads onto the string. Let each bead slide smoothly, paying attention to how they catch the light.
-
Once your beads are arranged as you wish, tie a knot at both ends of the string. This ensures the beads stay in place, creating a cozy collection of colors.
-
If using transparency film, you can punch holes at the top of the design and use additional string to hang your sun catcher.
-
Find a sunny spot in your home to hang your creation. Watch the way sunlight dances through the beads, filling your space with warmth and color.
-
Take a moment to appreciate your handiwork. Notice how the light shifts throughout the day, changing the mood of the room.
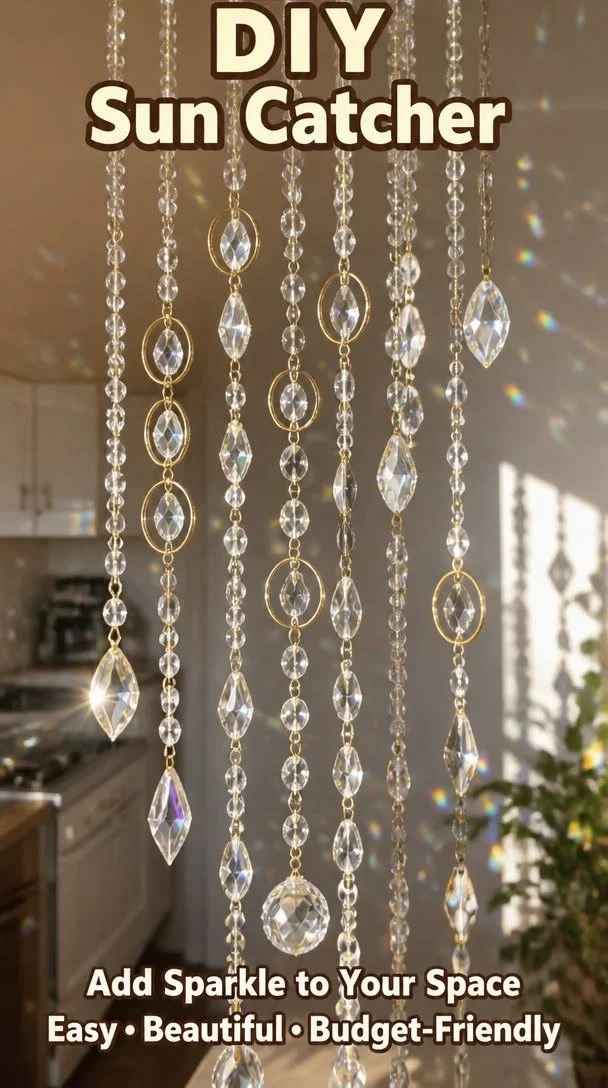
Enjoying the Finished Piece
Now that your sun catcher is complete, it’s time to enjoy how it brightens your space. Hang it in a window where natural light pours in. As sunlight passes through the beads, experience the way colors shift and mix around the room. The gentle dance of reflections creates a warm, inviting atmosphere that nurtures your mind and spirit.
When you pause to appreciate these reflections, let yourself be captured by the moment. Each ray of light becomes a reminder of your creativity, a daily invitation to slow down and find beauty in the small things.
Keeping It for Later
Caring for your sun catcher ensures that its beauty lasts. Gently remove dust from the beads with a soft cloth whenever needed. Store it in a safe place away from direct sunlight if you expect long periods without display, as intense sun can sometimes fade colors.
If you wish to create new designs every season, don’t hesitate to reuse your materials. You can disassemble your sun catcher and choose different bead combinations or styles. This versatility keeps the experience fresh and allows for exploration.
Gentle Tips & Variations
- Experiment with different colors that resonate with your mood. You might find that warm tones evoke comfort while cooler colors feel soothing.
- Consider using natural elements like dried flowers or leaves alongside the beads for a lovely blend of textures.
- Explore different shapes; you could cut your film into circles, hearts, or stars. Each shape brings a different feeling to the piece.
- Invite a friend or family member to join you in making suncatchers. Sharing the process can enhance the experience and deepen connections.
FAQs About DIY Sun Catcher: How to Make Beautiful Suncatchers with Beads and Crafts
What types of beads work best for sun catchers?
Glass beads often have a shimmering quality that enhances the light, but any type can work beautifully. Explore different materials to see what resonates with you.
Can I use materials I already have at home?
Absolutely. Be creative with what you have. Old jewelry, broken pieces, or even colorful buttons can make for unique additions to your sun catcher.
How long will it last?
With proper care, your sun catcher can last for many seasons. Just be mindful of direct sunlight if fading is a concern.
Can children join in the crafting?
Yes! Making sun catchers is a wonderful activity to share with children. Supervise them with small materials, celebrating their creativity together.
What should I do if a bead breaks?
If a bead breaks, take a moment to reflect on it. You can replace it with something else or embrace the imperfection, allowing it to be part of the story.
A Quiet Closing Thought
As you embark on your journey of creating a sun catcher, remember to savor each moment. Embrace the textures, colors, and gentle rhythm of your hands at work. The finished piece becomes a reflection of your creativity and a source of joy in your space. May you always find calm in the act of making and warmth in the light that dances through the beads you lovingly crafted. Embrace the tranquility within your creative process, allowing it to nurture you long after the project is complete.
Print
DIY Sun Catcher
- Total Time: 15 minutes
- Yield: 1 sun catcher
- Diet: N/A
Description
Create a stunning DIY sun catcher using beads and transparency film for a colorful display in your home.
Ingredients
- Transparency film or clear plastic sheets
- Assorted beads (glass, plastic, or natural stones)
- String or fishing line
- Scissors
- Hole punch (optional)
- Gruff wire or thin dowels (optional)
- Wax paper
Instructions
- Prepare your workspace with wax paper to protect your surface.
- If using transparency film, decide on the size for your sun catcher and cut the film.
- Choose your beads and lay them out on the film to visualize your design.
- Use your scissors to cut a length of string, about 24 inches.
- Start threading your beads onto the string, paying attention to how they catch the light.
- Once your beads are arranged, tie a knot at both ends of the string to secure them.
- If using transparency film, punch holes at the top for hanging.
- Find a sunny spot to hang your sun catcher and enjoy the reflections it creates.
- Take a moment to appreciate the shifting light and colors in your space.
Notes
Care for your sun catcher by gently removing dust with a soft cloth. Store it away from direct sunlight to preserve colors.
- Prep Time: 15 minutes
- Cook Time: 0 minutes
- Category: Crafts
- Method: Crafting
- Cuisine: N/A