- Introduction
Stress balls are more than just a fun toy; they can provide relief during hectic moments and help you focus your energy while improving hand strength. Making your own DIY stress ball offers a customizable experience tailored to your preferences. Not only is it a satisfying project, but it also lets you create a unique stress-relief tool that matches your style. In just a few steps, you can go from simple materials to a stress ball that is perfect for squishing when you feel overwhelmed. Plus, engaging in crafting can give you an extra sense of accomplishment and help clear your mind. So gather your materials and let’s start creating a stress ball that’s perfect for your needs!
- Why You’ll Love This DIY Stress Ball:
- Customizable: Choose colors, sizes, and shapes that reflect your personality.
- Stress Relief: Squeeze away tension and anxiety!
- Easy to Make: Requires simple materials and straightforward steps.
- Fun for Everyone: Great activity for kids and adults alike.
- Great Gifts: Handmade stress balls are thoughtful and personal gifts.
- Materials:
- Balloons (2 or more, your choice of colors)
- Flour or cornstarch (about 1 cup)
- Funnel (or a plastic bottle with the bottom cut off)
- A spoon or stick for mixing
- Scissors
- Permanent marker (optional for decoration)
- Full Step-by-Step:
Step 1: Prepare the Balloon
- Take a balloon and stretch it a bit to make it more flexible.
- If you are using multiple balloons, choose your favorite color for the outer layer.
Step 2: Create Your Filling
- In a bowl, measure out 1 cup of flour or cornstarch.
- Sensory Cue: Notice the texture—soft and powdery!
Step 3: Fill the Balloon
- Place the funnel into the neck of the balloon.
- Use the spoon to pour the flour or cornstarch into the balloon slowly.
- Key Action: Make sure to fill it enough to give it shape but not too full to make it hard to squeeze.
Step 4: Seal the Balloon
- Once filled, carefully remove the funnel.
- Tie a knot at the neck of the balloon to secure the filling.
Step 5: Add Layers (Optional)
- For extra durability, you can place the filled balloon inside another balloon.
- Cut the top off the second balloon and stretch it over the first one.
Step 6: Decorate
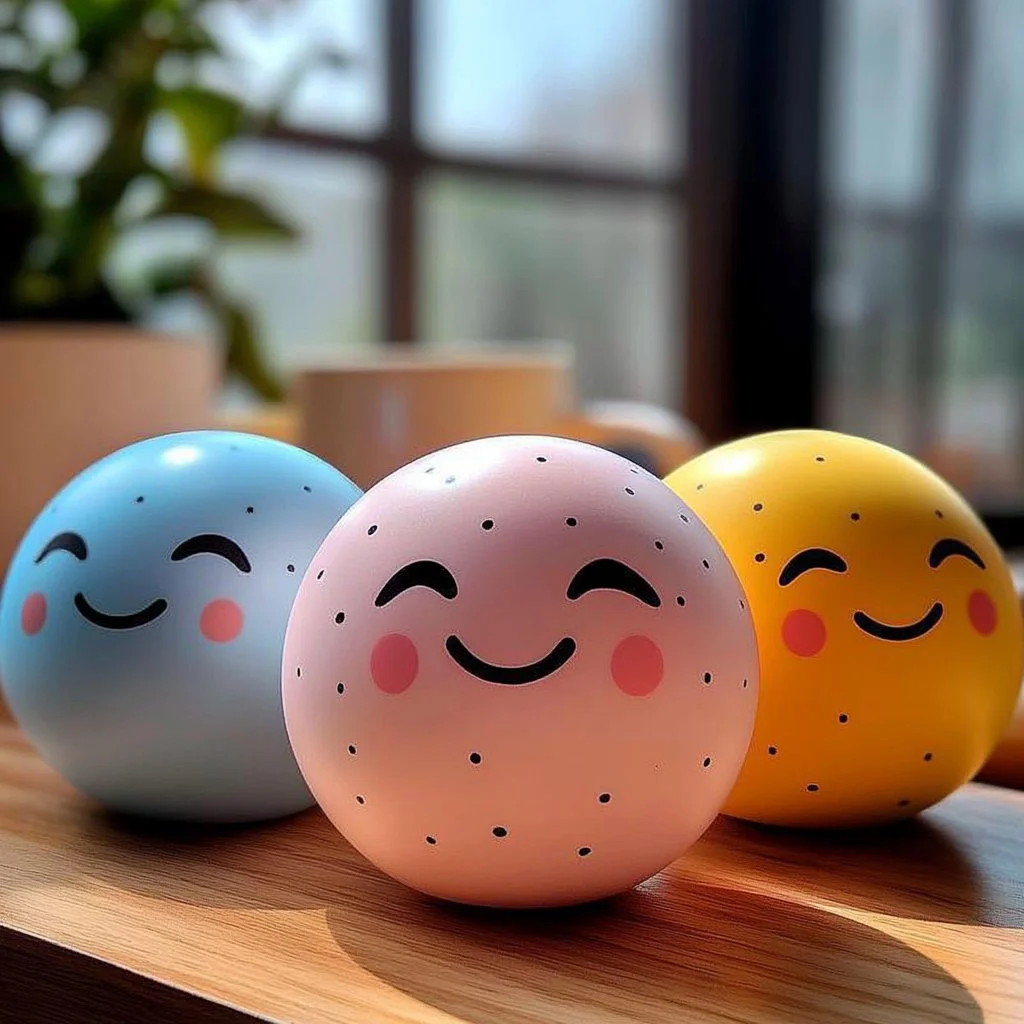
- Use a permanent marker to draw fun faces or designs on your stress ball.
- Tips & Variations:
- Color options: Use colored flour or add food coloring to the paste for a unique look.
- Scented stress balls: Add a few drops of essential oils to the filling for an extra sensory experience.
- Alternative fillings: Try using rice, beans, or sand if you prefer different textures.
- Frequently Asked Questions:
Q1: Can I use any type of flour?
A1: Yes, you can use all-purpose, whole wheat, or cornstarch. Just be aware of the texture differences!
Q2: What if my balloon pops?
A2: Balloons can be fragile, so handle your stress ball gently. If it pops, simply create a new one.
Q3: How do I clean the stress ball?
A3: You can wipe it with a damp cloth, but avoid soaking it in water.
Q4: How long do homemade stress balls last?
A4: With proper care, they can last several weeks; however, the lifespan can vary depending on the material used.
- Suggestions:
- Use different scents for various stress balls: citrus for energy, lavender for relaxation.
- Pair them with mindfulness practices for better overall stress relief.
- Host a craft night where friends can make their personalized stress balls together.
- Final Thoughts
Creating your own DIY stress ball is not just a craft; it’s a delightful way to add a personalized touch to your stress relief routine. Whether it’s for yourself or as a gift, this project fosters creativity while addressing everyday stressors. We’d love to hear about your experiences! Share your versions or leave a comment below. Happy crafting!

DIY Stress Ball
- Total Time: 15 minutes
- Yield: 1 stress ball
- Diet: N/A
Description
Create your own customizable stress ball for relief and relaxation in just a few simple steps.
Ingredients
- Balloons (2 or more, your choice of colors)
- Flour or cornstarch (about 1 cup)
- Funnel (or a plastic bottle with the bottom cut off)
- A spoon or stick for mixing
- Scissors
- Permanent marker (optional for decoration)
Instructions
- Prepare the Balloon: Stretch a balloon to make it flexible; choose your favorite color for the outer layer if using multiple balloons.
- Create Your Filling: Measure 1 cup of flour or cornstarch in a bowl.
- Fill the Balloon: Use a funnel to pour the flour or cornstarch into the balloon until it has shape but is not overfilled.
- Seal the Balloon: Remove the funnel and tie a knot at the neck of the balloon to secure the filling.
- Add Layers (Optional): Place the filled balloon inside another balloon for durability.
- Decorate: Use a permanent marker to draw faces or designs on your stress ball.
Notes
For unique aesthetics, consider adding food coloring to the filling or essential oils for scent. Different fillers like rice or beans can alter the texture.
- Prep Time: 15 minutes
- Cook Time: 0 minutes
- Category: Crafts
- Method: Crafting
- Cuisine: N/A
Nutrition
- Serving Size: 1 stress ball
- Calories: N/A
- Sugar: N/A
- Sodium: N/A
- Fat: N/A
- Saturated Fat: N/A
- Unsaturated Fat: N/A
- Trans Fat: N/A
- Carbohydrates: N/A
- Fiber: N/A
- Protein: N/A
- Cholesterol: N/A

