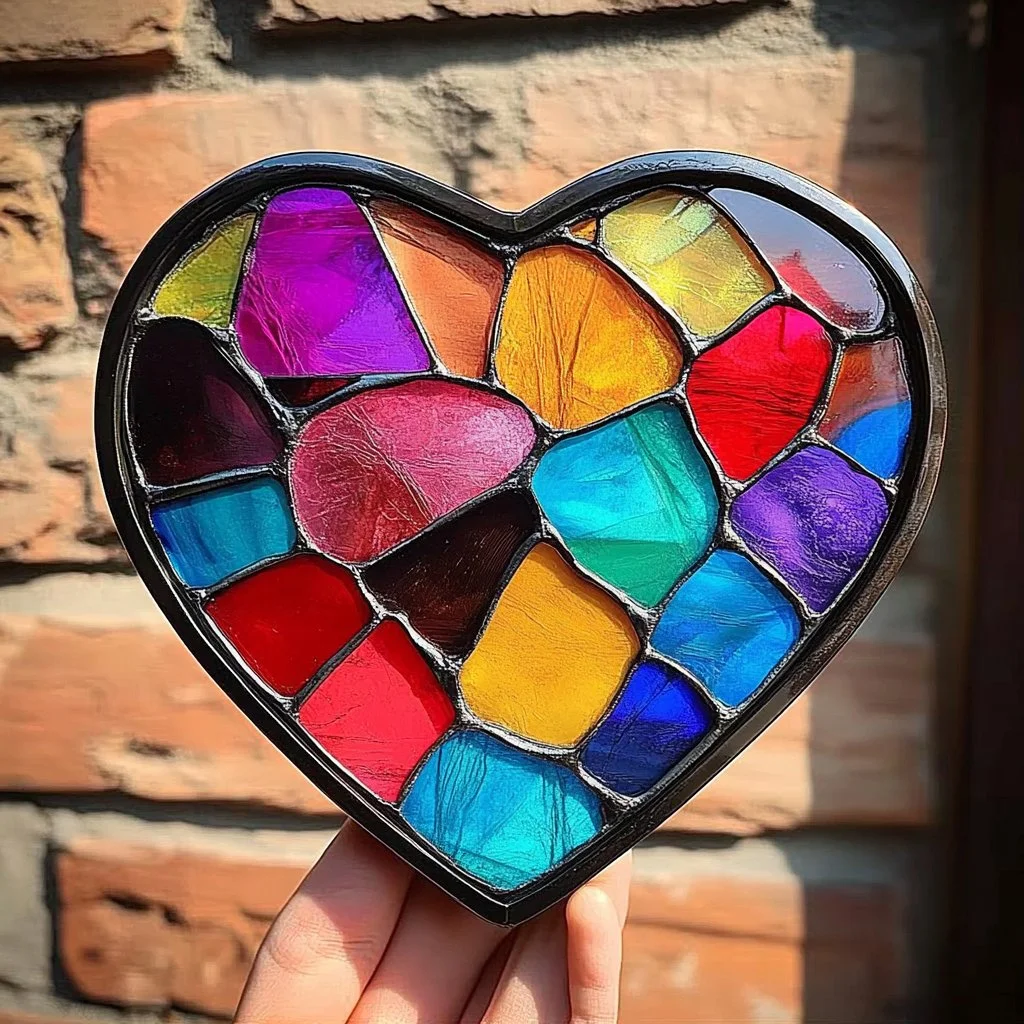
Creating stunning stained glass suncatchers is a delightful craft that adds a vibrant touch to any window while allowing you to express your creativity. This DIY project is perfect for crafters of all ages and skill levels. Whether you’re looking to brighten up your home or searching for a unique gift idea, these colorful suncatchers will dazzle anyone who sees them. The gentle play of light through the colored materials creates a mesmerizing effect, transforming simple sunlight into a spectrum of colors that dance across your walls. Embrace the joy of crafting by creating beautiful pieces that offer both aesthetic charm and personal satisfaction.
Why You’ll Love This DIY Stained Glass Suncatcher Craft:
- Vibrant Colors: Choose from a variety of colored materials to match your décor.
- Creative Expression: Design unique patterns and shapes that reflect your personal style.
- Great for All Ages: A fun project suitable for children and adults alike.
- Perfect Gift: Handmade suncatchers make thoughtful and personal gifts.
- Easy to Personalize: Experiment with different materials for varied effects.
- Satisfaction Guaranteed: Feel accomplished when you hang your beautiful creation.
Materials:
- Transparency sheets (or wax paper)
- Colored markers or paints (glass or acrylic)
- Scissors
- Black construction paper (for framing)
- Glue (clear-drying)
- Ruler
- Pencil
- Optional: String or ribbon for hanging
Full Step-by-Step:
Step 1: Prepare Your Workspace
- Find a clean, flat workspace where you can spread out your materials.
- Gather everything you need so it’s within easy reach.
Step 2: Design Your Suncatcher
- Use a pencil and ruler to sketch your design on the transparency sheet.
- Consider geometric shapes or nature-inspired patterns.
Step 3: Color It In
- Use colored markers or paints to fill in your design.
- Apply even layers for vibrant results, letting each section dry before moving to the next.
Step 4: Cut It Out
- Once your design is dry, carefully cut around the edges with scissors.
- Leave a little border around the design for a neat finish.
Step 5: Frame Your Suncatcher
- Cut a piece of black construction paper slightly larger than your suncatcher.
- Center your colored design on the black paper and use glue to secure it.
Step 6: Add Hanging Mechanism
- Punch a small hole at the top of your suncatcher.
- Thread a piece of string or ribbon through the hole for easy hanging.
Tips & Variations:
- Material Swap: Use old CDs or glass pebbles as an alternative to transparency sheets for a different texture.
- Theme It: Create themed suncatchers for holidays or seasons—think snowflakes for winter or flowers for spring.
- Layering: Experiment with layering different colors on top of each other for added depth.
- Opt for a Smaller Size: If working with kids, consider starting with smaller designs for easier handling.
Frequently Asked Questions:
1. Can I use regular paper instead of transparency sheets?
While regular paper can be used, transparency sheets allow light to pass through and provide a truly vibrant suncatcher.
2. What do I do if my colors aren’t vibrant enough?
Ensure you apply the colors in even layers, and consider using acrylic paints if markers are too translucent.
3. How can I hang my suncatcher securely?
Using strong string or fishing line will help it hang securely and not easily break under weight.
4. Can I make this craft outdoors?
Yes, just make sure to set up in a shaded area to avoid direct sunlight while working with the materials.
Suggestions:
- Invite friends or family for a suncatcher-making party.
- Pair this craft with a nature walk to find inspiration for designs.
- Use the completed suncatchers to enhance your home décor or as part of a larger window display.
Final Thoughts
Creating stained glass suncatchers is not only a rewarding craft but also a wonderful way to infuse your space with color and light. We’d love to see your creations! Share your versions or leave a comment below with your experiences and tips. Happy crafting!
Print
DIY Stained Glass Suncatchers
- Total Time: 30 minutes
- Yield: 1 suncatcher
- Diet: N/A
Description
Create stunning stained glass suncatchers that add a vibrant touch to any window, perfect for all ages and skill levels.
Ingredients
- Transparency sheets (or wax paper)
- Colored markers or paints (glass or acrylic)
- Scissors
- Black construction paper (for framing)
- Glue (clear-drying)
- Ruler
- Pencil
- Optional: String or ribbon for hanging
Instructions
- Prepare Your Workspace: Find a clean, flat workspace and gather all materials.
- Design Your Suncatcher: Sketch your design on the transparency sheet using a pencil and ruler.
- Color It In: Fill in your design with colored markers or paints, allowing each section to dry.
- Cut It Out: Once dry, cut around the edges with scissors, leaving a border.
- Frame Your Suncatcher: Cut black construction paper larger than your suncatcher, center your design, and glue it.
- Add Hanging Mechanism: Punch a hole at the top and thread string or ribbon for hanging.
Notes
Experiment with different materials and themes for varied effects. Smaller designs are recommended for children.
- Prep Time: 30 minutes
- Cook Time: 0 minutes
- Category: Craft
- Method: Crafting
- Cuisine: N/A
Nutrition
- Serving Size: 1 suncatcher
- Calories: 0
- Sugar: 0g
- Sodium: 0mg
- Fat: 0g
- Saturated Fat: 0g
- Unsaturated Fat: 0g
- Trans Fat: 0g
- Carbohydrates: 0g
- Fiber: 0g
- Protein: 0g
- Cholesterol: 0mg

