Introduction
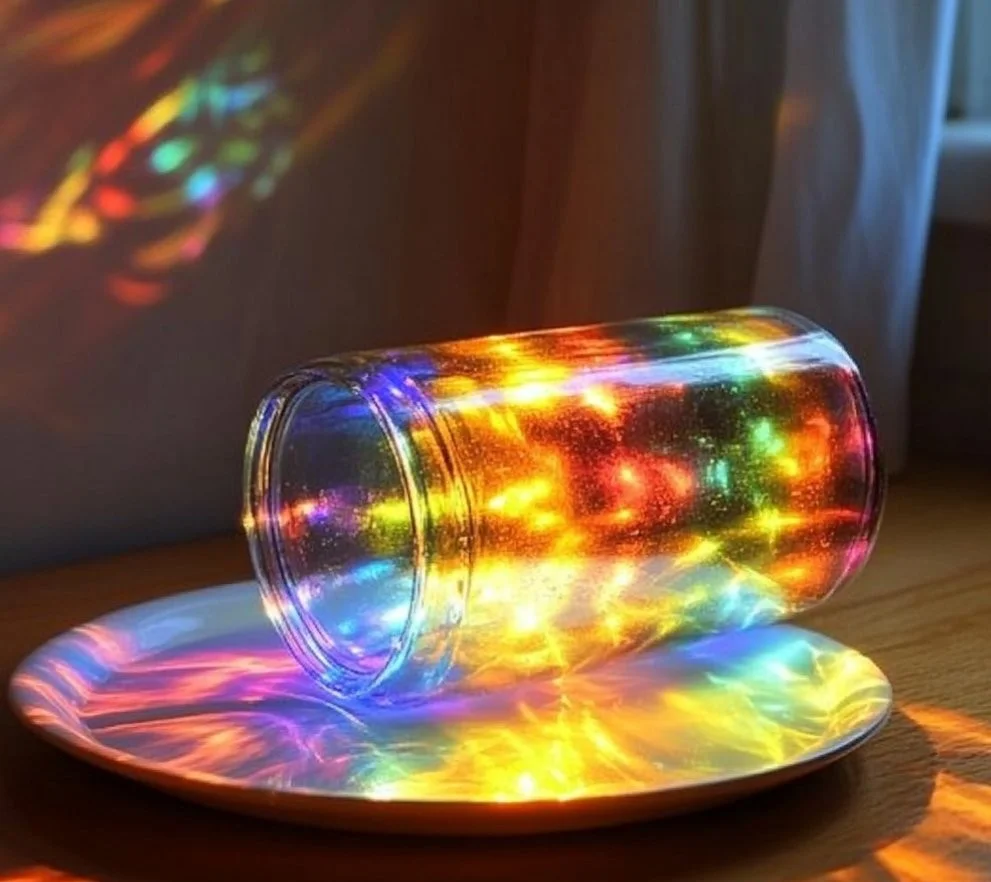
Creating a DIY Rainbow Light Show is a delightful and engaging way to add a splash of color and joy to your space. Whether it’s for a party, a cozy movie night, or simply to brighten up a rainy day, this project combines creativity with a dash of science. You’ll learn to construct a light display using everyday materials, making it an accessible and rewarding experience. Not only will you have fun crafting the display, but you’ll also be mesmerized by the vibrant colors reflecting off the walls. Watch as your room transforms into a dazzling spectrum of hues, capturing the attention of everyone around. Get ready to unleash your inner artist and elevate your ambiance with this magical DIY light show!
Why You’ll Love This DIY Rainbow Light Show
- Easy to Follow: Simple instructions make this project suitable for all skill levels.
- Inexpensive Materials: Most items you need are likely already at home or can be easily purchased.
- Customizable: Personalize colors and patterns based on your preferences.
- Great for Events: Perfect for birthdays, celebrations, or just a fun night in.
- Educational Experience: Explore light and color blending while crafting.
- Stunning Visual: Create an impressive display that will wow your guests.
Materials
- Clear glass jar or container
- White LED string lights
- Colored cellophane or transparent colored plastic sheets
- Scissors
- Tape
- Optional: Glitter or decorative elements for added flair
Step-by-Step Instructions
Prepare Your Container
- Start with a clean glass jar or container that will house your lights.
- Ensure it’s dry and clear to allow maximum light visibility.
Cut the Colored Cellophane
- Take your colored cellophane or plastic sheets.
- Cut them into strips or squares, roughly 5 inches by 5 inches, for easy layering.
Layer the Colors
- Begin layering the colored pieces inside the jar.
- You can create a pattern by alternating colors or grouping similar shades for gradient effects.
Insert the LED Lights
- Carefully insert the white LED string lights into the jar.
- Make sure to spread the lights out evenly to illuminate the colored layers.
Secure and Finalize
- Use tape to secure the top of the jar, if necessary, so the lights don’t shift.
- If desired, sprinkle glitter or add decorative elements inside the jar for extra shimmer.
Tips & Variations
- Color Combinations: Experiment with various color combinations to find what resonates with your mood or event theme.
- Light Settings: Use string lights with different settings (flashing, fading) for varied effects.
- Add Aroma: Include scented oils or herbs in the jar to create a multisensory experience.
- Outdoor Variation: Use weather-proof LED lights and jars for an outdoor display.
Frequently Asked Questions
1. Can I use any type of lights?
- Yes, but ensure they are LED lights to avoid overheating and making the materials unsafe.
2. What if I don’t have colored cellophane?
- You can use plastic wrappers or even cut up old, colored transparencies from binders.
3. How long do the lights last?
- LED lights typically last for thousands of hours; check the packaging for specific details.
4. Can I make this project with kids?
- Absolutely! It’s a fun and safe project for children, with adult supervision encouraged.
Serving Suggestions or Pairings
- Pair your light show with some fun snacks like popcorn or colorful candies.
- Offer refreshing drinks like fruit punch or sparkling lemonade to enhance the celebratory atmosphere.
- Set the mood further with soft background music for a complete sensory experience.
Final Thoughts
This DIY Rainbow Light Show is not just a craft; it’s an opportunity to create beautiful memories and brighten up any moment. We encourage you to share your unique creations with us! Have you tried this project? Post your versions or leave a comment below; we’d love to see your colorful innovations!
Print
DIY Rainbow Light Show
- Total Time: 15 minutes
- Yield: 1 light show
- Diet: N/A
Description
Brighten up your space with a stunning DIY Rainbow Light Show using everyday materials.
Ingredients
- Clear glass jar or container
- White LED string lights
- Colored cellophane or transparent colored plastic sheets
- Scissors
- Tape
- Optional: Glitter or decorative elements for added flair
Instructions
- Start with a clean glass jar or container that will house your lights.
- Cut colored cellophane or plastic sheets into strips or squares, roughly 5 inches by 5 inches.
- Layer the colored pieces inside the jar, creating a pattern or gradient effect.
- Insert the white LED string lights into the jar, spreading them out evenly.
- Secure the top of the jar with tape, if necessary, and add glitter or decorative elements if desired.
Notes
Experiment with color combinations and light settings for different effects. This project is suitable for children with adult supervision.
- Prep Time: 15 minutes
- Cook Time: 0 minutes
- Category: Craft
- Method: DIY
- Cuisine: N/A
Nutrition
- Serving Size: 1 display
- Calories: 0
- Sugar: 0g
- Sodium: 0mg
- Fat: 0g
- Saturated Fat: 0g
- Unsaturated Fat: 0g
- Trans Fat: 0g
- Carbohydrates: 0g
- Fiber: 0g
- Protein: 0g
- Cholesterol: 0mg

