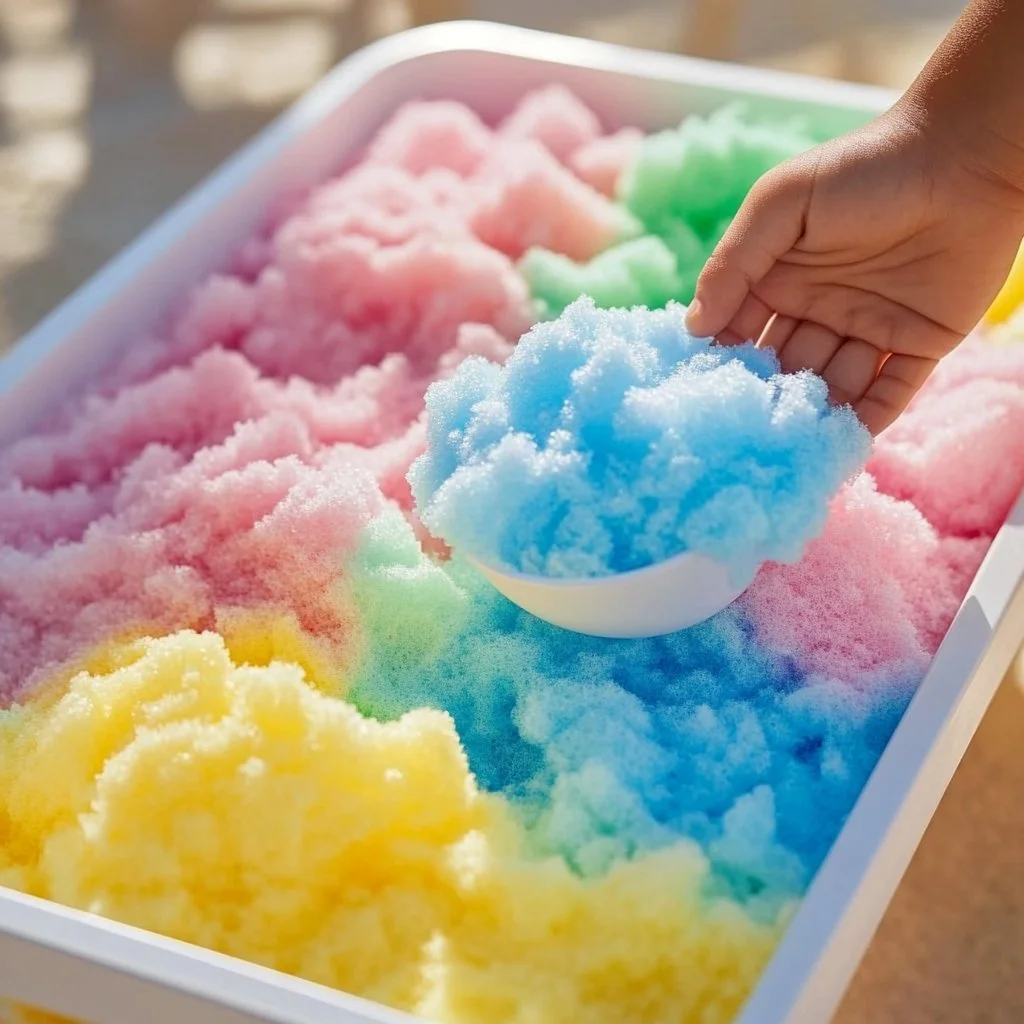
Growing up in the heart of America, my culinary inspirations were always drawn from my grandmother’s bustling kitchen where love was the secret ingredient. Every summer, as vibrant flowers sprung from the earth, she would gather us around for her famous rainbow foam dessert—an enchanting treat of color, flavor, and nostalgia. In those moments, my siblings and I would marvel at the way she skillfully crafted fluffy, airy layers of fruity foam that danced playfully in our bowls. This dish was more than just a dessert; it was a celebration of life, a vivid canvas of flavors, and a cherished family tradition that marked the sweetness of the season.
Today, I’m excited to share my version of her beloved rainbow foam. This delightful no-bake treat will not only remind you of carefree summer days but also serve as a fun, interactive recipe for kids and adults alike. With its bright hues and delightful flavors, it’s a perfect light dessert to impress at any gathering.
Why You’ll Love This DIY Rainbow Foam
- No-Bake Delight: Perfect for hot summer days!
- Kid-Approved: A fun way to engage kids in the kitchen.
- Customizable Flavors: Use your favorite fruits or syrups.
- Visually Stunning: A treat that’s as beautiful as it is delicious!
- Gluten-Free: Suitable for most dietary restrictions.
Ingredients
- 1 cup of heavy whipping cream
- 1/2 cup of confectioners’ sugar
- 1 teaspoon of vanilla extract
- 1/2 cup of fruit purees (strawberry, mango, blueberry)
- Food coloring (optional)
- Fresh fruit for garnish (optional)
Step-by-Step Instructions
Prepare the Cream Base
- Whip the Cream: In a large mixing bowl, pour the heavy whipping cream. Using an electric mixer, beat on medium speed until soft peaks form, about 2-3 minutes.
- Sweeten and Flavor: Gradually add confectioners’ sugar and vanilla extract. Continue to whip until stiff peaks form, about another 2-3 minutes. The mixture should be thick and creamy.
Layer the Rainbow Foam
- Divide the Mixture: Separate the whipped cream into four equal portions in separate bowls.
- Add Colors: In each bowl, fold in fruit purees and, if desired, a few drops of food coloring to enhance the colors.
- Layer the Foams: In individual serving cups or a large dish, spoon in the mixtures layer by layer. Start with your first color at the bottom, followed by the second, third, and top with the last color.
Chill and Serve
- Chill: Place the layered foam in the refrigerator for at least 2 hours before serving, allowing it to set properly.
- Garnish: Just before serving, top with fresh fruit for added flair.
Tips & Variations
- Different Fruit Purees: Swap the fruit purees for whatever is in season or your favorites—raspberry, kiwi, or peach work wonderfully too!
- Dairy-Free Option: Use coconut cream in place of heavy whipping cream for a dairy-free alternative.
- Sweetness Adjustment: Taste as you go! Adjust the sugar based on your fruit’s natural sweetness.
Storage Instructions
- Refrigeration: Store any leftovers in an airtight container in the refrigerator for up to 3 days.
- Freezing: This foam is best enjoyed fresh but can be frozen for up to a month. Defrost slowly in the refrigerator before serving.
Nutritional Information
- Prep Time: 20 minutes
- Chill Time: 2 hours
- Total Time: 2 hours 20 minutes
- Calories per Serving: Approximately 180 calories
- Servings: 4
Frequently Asked Questions
1. Can I use store-bought fruit puree?
Yes! Store-bought purees can save time, just ensure they are of good quality.
2. How can I make it less sweet?
Reduce the amount of confectioners’ sugar used, or choose less sugary fruits for purees.
3. Can I use gelatin for stability?
Absolutely! You can dissolve 1 tablespoon of gelatin in hot water and add it to the whipped cream for extra stability.
4. Is this recipe suitable for a vegan diet?
Yes, substitute the cream with whipped coconut cream and ensure the other ingredients are plant-based.
Serving Suggestions or Pairings
Pair this vibrant rainbow foam with a refreshing iced tea, or serve it alongside a tangy lemon bar for a beautiful dessert spread!
Final Thoughts
I hope this DIY rainbow foam brings as much joy to your kitchen as it did in mine. It’s the perfect way to celebrate the beauty of summer and create lasting memories with family and friends. I’d love to hear your thoughts or see how your version turned out—please leave a comment or share your own twist on this colorful dessert! Happy cooking!

