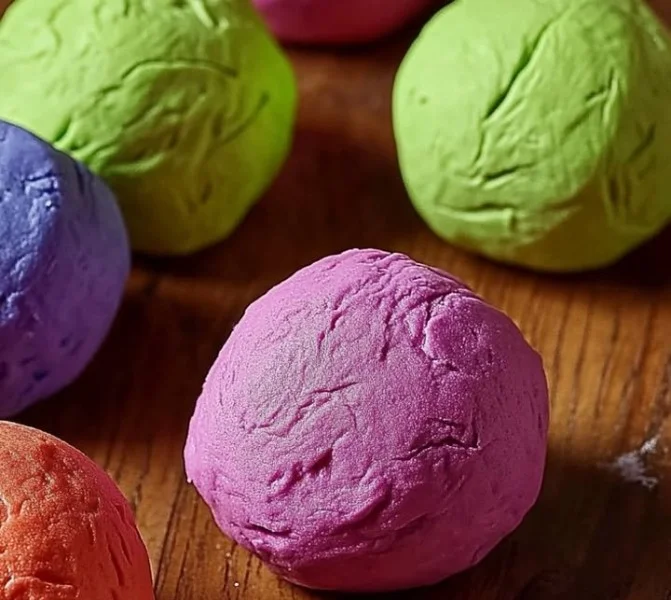
Creating your own play dough at home is not only a fun and engaging activity for kids but also a wonderful way to encourage creativity and tactile play. This DIY play dough is safe, easy to make, and can be tailored with different colors and scents to match your child’s preferences. Using simple ingredients found in your kitchen, this recipe empowers you to whip up a batch in no time, ensuring that playtime is filled with endless possibilities. Plus, it’s a fantastic opportunity for bonding as you and your little ones can work together to knead and mold the dough. Whether it’s used for sculpting, sensory play, or educational activities, this homemade play dough is an excellent addition to your play repertoire. Let’s dive into the benefits, materials needed, and a step-by-step guide to making your very own play dough!

Why You’ll Love This DIY Play Dough
- Non-Toxic: Safe for children, made from edible ingredients.
- Customizable: Easily add colors, scents, and textures.
- Economical: A cost-effective alternative to store-bought play dough.
- Sensory Development: Engages children’s senses, improving fine motor skills.
- Quick and Easy: Requires minimal preparation and time.
- Endless Creativity: Supports artistic expression and imaginative play.
Materials
- 2 cups all-purpose flour
- 2 cups water
- 2 cups salt
- 2 tablespoons vegetable oil
- 4 teaspoons cream of tartar
- Food coloring (optional)
- Scent (like vanilla extract or essential oils, optional)
Step-by-Step Instructions
Step 1: Combine Dry Ingredients
- In a large pot, mix together the flour, salt, and cream of tartar thoroughly, ensuring there are no clumps.
Step 2: Add Wet Ingredients
- Pour in the water and vegetable oil. If you’d like to add color, include a few drops of food coloring at this stage.
Step 3: Cook the Mixture
- Place the pot over medium heat. Stir continuously as the mixture heats up. Watch as it starts to clump together, which should take about 3-5 minutes.
Step 4: Knead the Dough
- Once the dough forms a ball and pulls away from the sides of the pot, remove it from heat. Carefully transfer it to a clean surface. While it’s still warm, knead the dough for a couple of minutes to achieve a smooth consistency.
Step 5: Add Scents (Optional)
- If desired, mix in scents like vanilla or essential oils while kneading until incorporated.
Step 6: Cool and Store
- Allow the dough to cool completely before storing it in an airtight container to keep it fresh.

Tips & Variations
- Color Blending: Experiment with mixing different food colors to create unique shades.
- Add-Ins: Incorporate glitter or small beads for a sparkly texture.
- Flavors: Replace water with fruit juice for a natural scent.
- Texture: For a sand-like feel, try using half flour and half cornstarch.
Frequently Asked Questions
Q1: How long does homemade play dough last?
A1: When stored in an airtight container, it should last for several weeks.
Q2: Can I use gluten-free flour?
A2: Yes, gluten-free flour can be used, but the texture may vary.
Q3: My play dough is too sticky; what should I do?
A3: Knead in a little extra flour until you achieve the desired consistency.
Q4: Is it safe if my child eats some of the play dough?
A4: Yes, the ingredients are non-toxic, but it’s best to discourage eating it.

Serving Suggestions or Pairings
- Pair with colorful cookie cutters and rolling pins for added fun.
- Try serving with a side of small figurines for imaginative play.
- Complement your play dough experience with a refreshing lemonade or fruit-infused water.
Final Thoughts
Making your own play dough is a simple yet rewarding craft that opens up a world of imaginative possibilities for children. From customizing colors to adding delightful scents, the options are endless. Encourage your little ones to explore their creativity, and remember that playing with play dough can also be a relaxing sensory experience. We’d love to see your creations! Share your versions or comment below with your tips and inspirations. Happy crafting!

