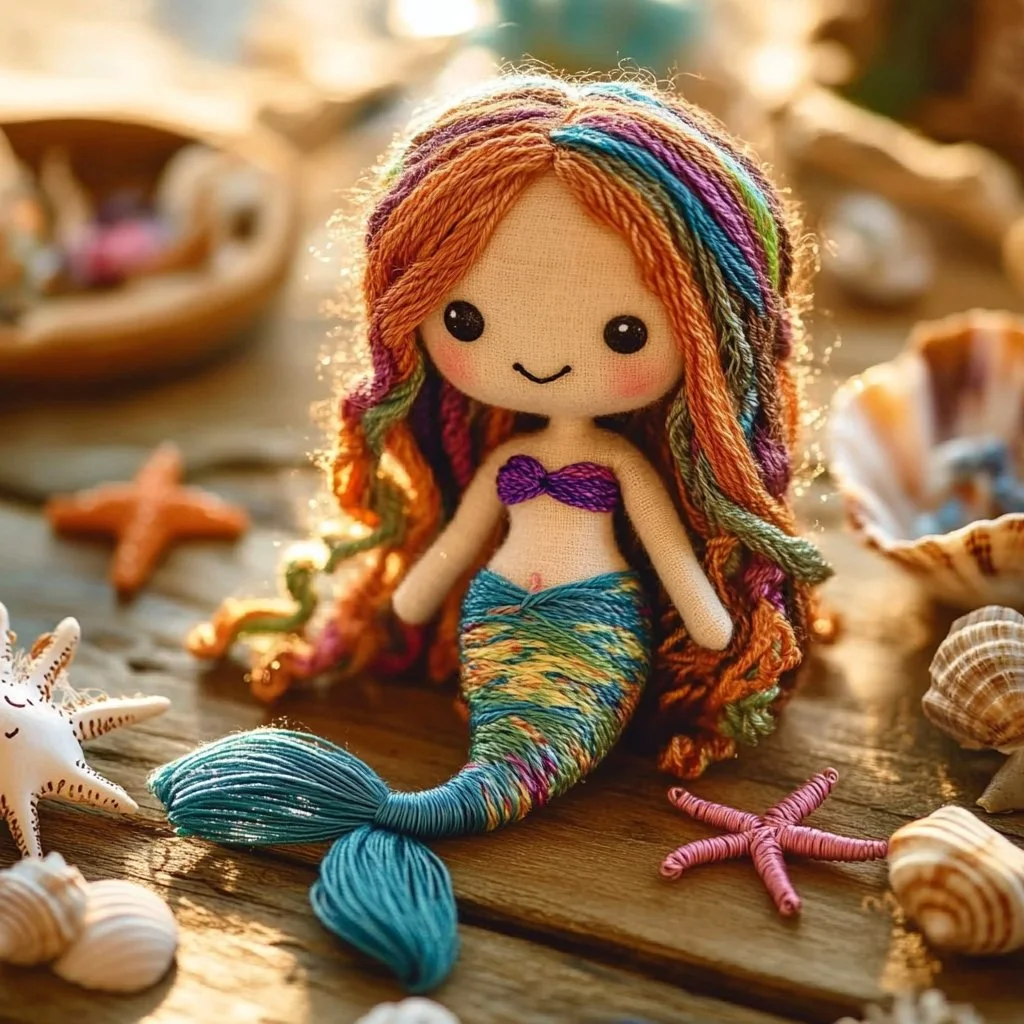
DIY Pipe Cleaner Mermaid Doll
Growing up, summer afternoons meant gathering around the kitchen table with my Grandma Clara, who had a magical way of turning everyday objects into treasures. A simple pipe cleaner in her hands became the canvas for vibrant, imaginative crafts. One of my favorite creations was the enchanting pipe cleaner mermaid doll. This whimsical character, with her shimmering scales and flowing hair, seemed to dance in the sunlight, capturing the essence of childhood wonder. Crafting these mermaid dolls has become a cherished tradition in our family, especially during the warmer months when creativity flows as freely as the waves.
Creating your own pipe cleaner mermaid doll is not just a fun activity; it’s an invitation to reconnect with your inner child and explore the boundless joy of crafting. With just a few simple materials, you can bring to life your very own aquatic friend. So gather your supplies, and let’s dive into this delightful DIY project!
Why You’ll Love This DIY Pipe Cleaner Mermaid Doll
- Easy and Fun: Perfect for kids and adults alike, this project is a great way to bond over creativity.
- Customizable: Use any colors or materials you love to make your mermaid uniquely yours.
- No Mess: A simple clean-up makes it a hassle-free activity.
- Budget-Friendly: All materials are inexpensive and often found at home.
- Develops Skills: Enhances fine motor skills and encourages imaginative play.
Ingredients
- 3 Pipe cleaners (colors of your choice for the body and tail)
- 1 Piece of craft foam or felt (for the tail)
- 1 Bead (for the head)
- 1 Small piece of string or yarn (for the hair)
- Scissors
Step-by-Step Instructions
Step 1: Create the Body
- Take one pipe cleaner and bend it in half.
- Twist the two ends together tightly to form the torso. Ensure it’s secure.
Step 2: Form the Arms
- Take another pipe cleaner, cut it in half.
- Attach each half to the top of the torso by twisting it around.
Step 3: Shape the Tail
- Use the third pipe cleaner for the tail. Bend it into a ‘V’ shape at the end.
- Twist the bottom ends together and attach it to the torso by twisting it around, just below the arms.
Step 4: Add Hair
- Cut a small piece of string or yarn to your desired hair length.
- Attach it to the top of the bead to form the head, then secure it to the top of the torso.
Step 5: Create the Tail Fin
- Cut a piece of craft foam or felt into a fin shape.
- Attach the fin to the base of the tail with a bit of glue.
Step 6: Personalize
- Decorate your mermaid with markers, sequins, or any other embellishments you would like.
Tips & Variations
- Color Combinations: Experiment with different colors for a rainbow-themed mermaid.
- Gender-Neutral Options: Use neutral colors and shapes to create a more inclusive design.
- Add Accessories: Use beads or fabric scraps to give your mermaid a special touch.
Storage Instructions
- Keep your completed DIY pipe cleaner mermaid doll in a dry place away from direct sunlight to maintain their vibrancy.
Nutritional Information
- Prep Time: 10 minutes
- Total Time: 10 minutes
- Servings: 1 doll
Frequently Asked Questions
1. Can I use other materials besides pipe cleaners?
Yes! You can use flexible wires or other fabric scraps to create your mermaid.
2. How do I secure the parts better?
Hot glue can add extra security for pieces that might otherwise come apart.
3. What if I don’t have craft foam?
You can make the tail out of paper or leave it without a fin for a simpler version.
4. Is this project safe for younger children?
With adult supervision, this project can be enjoyed by children as young as five years old.
Serving Suggestions or Pairings
Pair your crafting session with a refreshing lemonade or a light snack, like fresh fruit skewers, to keep the energy flowing!
Final Thoughts
Crafting your very own pipe cleaner mermaid doll is not only a delightful way to spark creativity but also a wonderful opportunity to create lasting memories. I encourage you to personalize this project with your unique flair and share your versions with friends and family! Please leave a comment sharing your creations or any fun tips you discovered along the way—I can’t wait to see your magical mermaids! Happy crafting!

