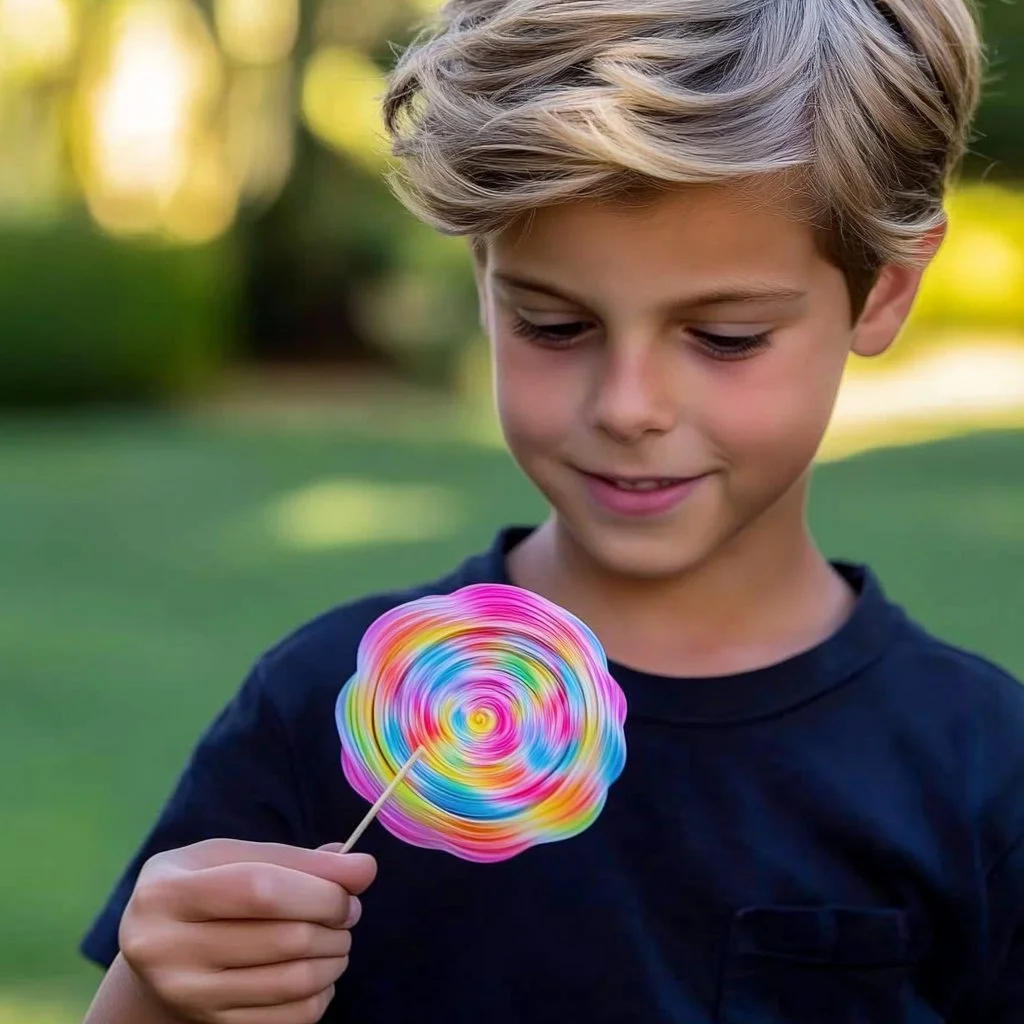
Creating DIY paper spinners is a delightful and engaging craft that sparks creativity in both children and adults. It’s a simple yet enjoyable project that not only enhances fine motor skills but also provides a satisfying sensory experience as you watch your spinner twirl and dance. This craft is an excellent opportunity for family bonding, as it encourages collaboration and imagination. With minimal materials and a few easy steps, you can transform ordinary paper into mesmerizing spinners, perfect for playtime or a decorative touch in your home. Plus, it’s a fun way to explore concepts of motion and balance in a hands-on manner. Let’s dive into the materials and steps involved in this exciting project!
Why You’ll Love This DIY Paper Spinner Craft:
- Easy and Affordable: Requires only basic materials most people have at home.
- Endless Creativity: Customize shapes, colors, and designs to your liking.
- Educational Value: Teaches kids about motion, balance, and engineering principles.
- Family Fun: Great for all ages; perfect for group activities or parties.
- Portable Play: Lightweight and easy to carry for on-the-go fun.
- Stress Relief: Watch your spinner whirl to unwind and relax.
Materials
- Colored paper or cardstock
- Scissors
- A pencil
- Ruler
- String or a thin stick (like a skewer)
- A pushpin or small paper fastener
- Markers or crayons (for decoration)
- Tape or glue
Full Step-by-Step
Step 1: Prepare Your Paper
- Choose several colors of paper or cardstock.
- Use the ruler to measure and cut a square from your selected paper (about 6 inches by 6 inches).
Step 2: Create the Spinner Design
- Fold the square diagonally in half and then unfold. Repeat with the opposite corners to create an “X” fold pattern on the paper.
- Use the pencil to draw shapes or designs on each quadrant created by the folds. Get creative with colors!
Step 3: Cut and Assemble
- Cut along the folds from each corner toward the center, stopping about 1 inch from the center point.
- Take alternate corners and gently fold them towards the center point. Secure each folded corner with tape or glue.
Step 4: Insert the Spinner Center
- Push the pushpin or paper fastener through the center of the spinner, ensuring it pivots freely.
- Attach the other end of the pushpin or fastener to the string or stick.
Step 5: Test and Enjoy
- Hold the string or stick and give your spinner a whirl. Adjust the balance if needed by repositioning the center point until it spins smoothly.
Tips & Variations
- Customize Designs: Experiment with different shapes like triangles or hexagons for unique spinners.
- Add Elements: Attach beads or lightweight decorations for visual interest without adding weight.
- Color Theme: Choose a theme (like holidays or seasons) for a fun, cohesive design.
- Swap Materials: Instead of paper, try using thin plastic sheets or lightweight cardboard for durability.
Frequently Asked Questions
Q1: What if I don’t have a pushpin?
A1: You can use a small nail or a stiff paper clip as an alternative to secure your spinner.
Q2: Can I use regular paper instead of cardstock?
A2: Yes, regular paper works as well, but cardstock is more durable and easier to spin.
Q3: How can I make my spinner spin longer?
A3: Ensure the center is balanced and experiment with different weights or shapes to optimize performance.
Q4: What age group is this craft suitable for?
A4: The DIY paper spinner craft is suitable for ages 5 and up, with adult supervision for younger children when using scissors.
Suggestions
- Organize a spinner-making contest with family or friends.
- Use spinners as party favors or classroom rewards.
- Pair this activity with a lesson on physics, discussing centripetal force and motion.
Final Thoughts
Creating DIY paper spinners is an enjoyable way to blend creativity with hands-on learning. The possibilities are endless, and each spinner can have its unique flair. We encourage you to share your own versions of paper spinners or any custom designs in the comments below! What colors or patterns did you choose? Let’s inspire each other with our crafty creations!
Print
DIY Paper Spinners
- Total Time: 20 minutes
- Yield: 1 spinner
- Diet: N/A
Description
Transform ordinary paper into mesmerizing spinners with this engaging DIY project, perfect for all ages and skill levels.
Ingredients
- Colored paper or cardstock
- Scissors
- A pencil
- Ruler
- String or a thin stick (like a skewer)
- A pushpin or small paper fastener
- Markers or crayons (for decoration)
- Tape or glue
Instructions
- Prepare Your Paper: Choose several colors of paper or cardstock. Measure and cut a square from your selected paper (about 6 inches by 6 inches) using a ruler.
- Create the Spinner Design: Fold the square diagonally in half and then unfold. Repeat with the opposite corners to create an “X” fold pattern on the paper. Draw shapes or designs on each quadrant created by the folds.
- Cut and Assemble: Cut along the folds from each corner toward the center, stopping about 1 inch from the center point. Fold alternate corners towards the center and secure each folded corner with tape or glue.
- Insert the Spinner Center: Push the pushpin or paper fastener through the center of the spinner, attaching the other end to the string or stick.
- Test and Enjoy: Hold the string or stick and give your spinner a whirl. Adjust the balance if needed by repositioning the center point.
Notes
Customize your spinner design with various shapes and decorations. Ensure adult supervision for younger children when using scissors.
- Prep Time: 15 minutes
- Cook Time: 5 minutes
- Category: Craft
- Method: Crafting
- Cuisine: N/A
Nutrition
- Serving Size: 1 spinner
- Calories: 0
- Sugar: 0g
- Sodium: 0mg
- Fat: 0g
- Saturated Fat: 0g
- Unsaturated Fat: 0g
- Trans Fat: 0g
- Carbohydrates: 0g
- Fiber: 0g
- Protein: 0g
- Cholesterol: 0mg

