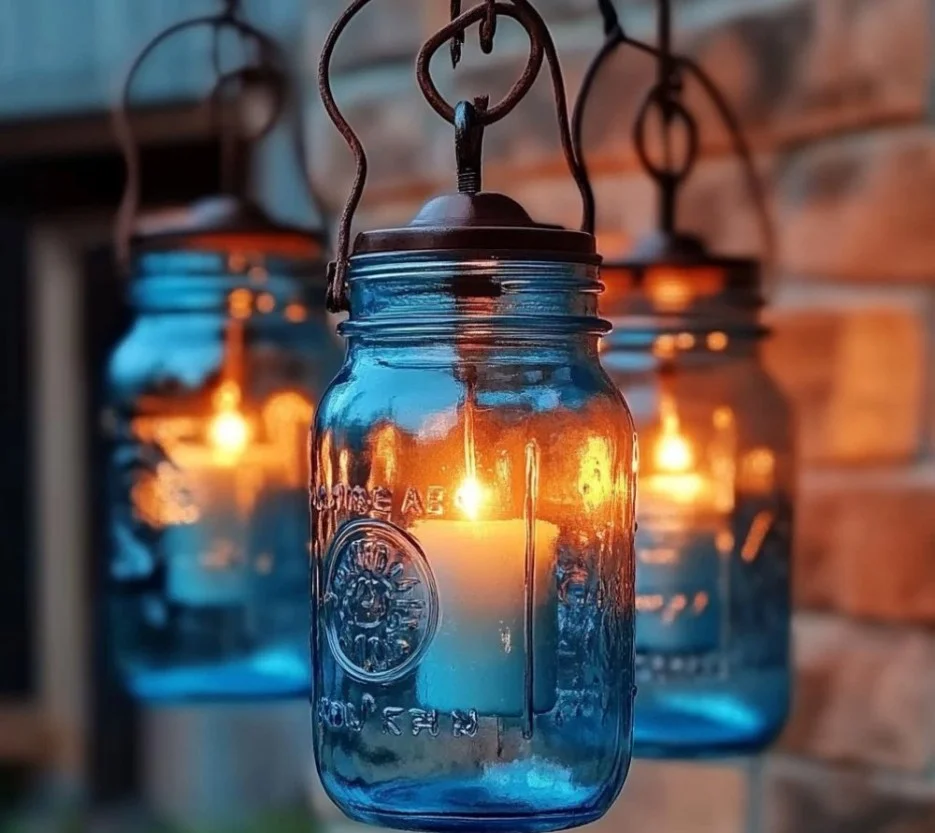
Creating an outdoor chandelier is a delightful way to illuminate your outdoor space while adding a touch of personal style. Whether you’re hosting a backyard dinner party or simply want to elevate your garden ambiance, a DIY outdoor chandelier can be a stunning focal point. This craft is not only budget-friendly but also allows you to express your creativity through various designs and materials. In this guide, you’ll find an easy-to-follow recipe that will transform your patio or garden area into a magical retreat. Let’s dive into why you’ll love this project and how to create your very own dazzling outdoor chandelier.
Why You’ll Love This DIY Outdoor Chandelier
- Customizable: Tailor the design to fit your personal style and outdoor decor.
- Budget-Friendly: Save money while creating a stylish lighting solution.
- Environmentally Friendly: Repurpose materials, giving them a new life.
- Easy to Make: Simple steps make it accessible for crafters of all skill levels.
- Impressive Ambiance: Creates a warm and inviting atmosphere for gatherings.
- Unique Statement Piece: Stand out with a one-of-a-kind lighting fixture.
Materials
- Old chandelier or light fixture
- Outdoor string lights or LED fairy lights
- Clear fishing line or wire
- Decorative elements (like greenery, flowers, or crystals)
- Spray paint (optional, for updating the look)
- Scissors
- Drill or screwdriver (if needed)
Full Step-by-Step
Prepare Your Base
- Clean Your Old Chandelier: Remove any dust or cobwebs to start with a clean base.
- Choose Your Color: If desired, spray paint the fixture in a color that complements your outdoor space. Allow to dry completely.
Add Your Lights
- String Your Lights: Wrap the outdoor string lights around the chandelier arms or hang them from below, ensuring even coverage.
- Secure the Lights: Use clear fishing line or wire to securely fasten the lights to the chandelier. Test to ensure lights are not too loose.
Enhance with Decorations
- Add Greenery: Wrap faux or real greenery around the fixture for a natural touch.
- Incorporate Accents: Attach crystals, flowers, or other decorative elements to enhance visual appeal.
Hang Your Chandelier
- Find the Perfect Location: Choose a spot over a seating area or outdoor table.
- Attach Securely: Use appropriate hardware to hang the chandelier safely. Ensure it is steady and can support the weight.
Tips & Variations
- Change Up the Lights: Experiment with colored or patterned outdoor lights for a festive vibe.
- Seasonal Decor: Swap out decorations based on holidays or seasons (think pinecones for fall or shells for summer).
- Use Different Materials: Instead of an old chandelier, use a vintage basket or even a DIY wooden frame.
Frequently Asked Questions
Q: Can I use battery-operated lights?
A: Absolutely! Battery-operated lights are a great option for areas without electrical access.
Q: How long will the chandelier last outdoors?
A: If left outside, ensure your materials are weather-resistant for longevity. Regular maintenance will also help.
Q: What if my chandelier is too heavy?
A: Choose lighter decorative materials or opt for a more lightweight base to ensure safe hanging.
Q: Can I use real plants in my design?
A: Yes, but keep in mind that real plants may require more maintenance and care.
Suggestions
- Experiment with various sizes and shapes of chandeliers for diverse looks.
- Consider pairing your chandelier with additional outdoor lighting, like lanterns or string lights.
- Take it up a notch by incorporating a dimmer switch for adjustable ambiance in the evening.
Final Thoughts
Creating a DIY outdoor chandelier is a rewarding and enjoyable craft that infuses personality into your outdoor space. Whether you follow our steps or put your own spin on this project, we invite you to share your versions or leave a comment below. We’d love to see your creativity shine!
Print
DIY Outdoor Chandelier
- Total Time: 30 minutes
- Yield: 1 chandelier
- Diet: N/A
Description
Transform your outdoor space with a budget-friendly and customizable DIY outdoor chandelier that adds charm and ambiance.
Ingredients
- Old chandelier or light fixture
- Outdoor string lights or LED fairy lights
- Clear fishing line or wire
- Decorative elements (like greenery, flowers, or crystals)
- Spray paint (optional, for updating the look)
- Scissors
- Drill or screwdriver (if needed)
Instructions
- Clean Your Old Chandelier: Remove any dust or cobwebs to start with a clean base.
- Choose Your Color: If desired, spray paint the fixture in a complementary color, and allow it to dry completely.
- String Your Lights: Wrap outdoor string lights around the chandelier arms or hang them from below, ensuring even coverage.
- Secure the Lights: Use clear fishing line or wire to securely fasten the lights to the chandelier.
- Add Greenery: Wrap faux or real greenery around the fixture for a natural touch.
- Incorporate Accents: Attach crystals, flowers, or other decorative elements to enhance visual appeal.
- Find the Perfect Location: Choose a spot over a seating area or outdoor table.
- Attach Securely: Use appropriate hardware to hang the chandelier safely, ensuring it is steady.
Notes
Experiment with seasonal decorations or different lighting options for varied aesthetics. Ensure all materials are weather-resistant if left outdoors.
- Prep Time: 30 minutes
- Cook Time: 0 minutes
- Category: Crafts
- Method: Crafting
- Cuisine: N/A
Nutrition
- Serving Size: 1 chandelier
- Calories: 0
- Sugar: 0g
- Sodium: 0mg
- Fat: 0g
- Saturated Fat: 0g
- Unsaturated Fat: 0g
- Trans Fat: 0g
- Carbohydrates: 0g
- Fiber: 0g
- Protein: 0g
- Cholesterol: 0mg

