Introduction
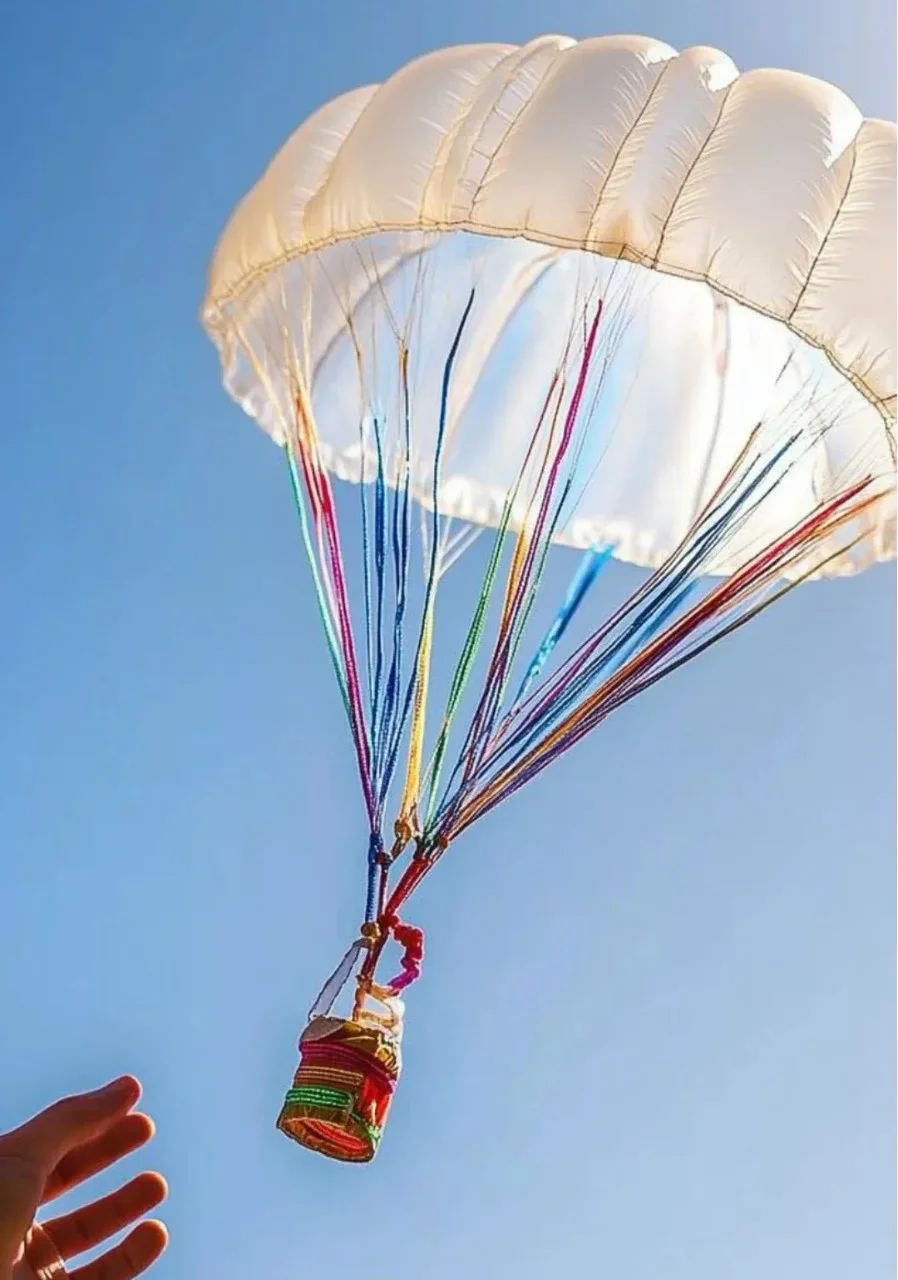
Making a DIY mini parachute is a fun and engaging project that can be enjoyed by both kids and adults. This simple craft not only offers a hands-on learning experience about gravity and aerodynamics but also encourages creativity and problem-solving skills. Whether you’re looking for an educational activity for a rainy day or a fun project for a birthday party, crafting your own parachute can be both exciting and rewarding. Plus, you’ll enjoy watching your creation float gracefully from a height, bringing elements of science and art together in one delightful experience. Get ready to gather your materials and have some fun!
Why You’ll Love This DIY Mini Parachute:
- Easy to Make: Requires minimal materials and setup.
- Educational: Teaches basic principles of physics and engineering.
- Customizable: Personalize with colors, shapes, and sizes.
- Great for Groups: Perfect for parties, classrooms, or family activities.
- Cost-Effective: Uses items you likely already have at home.
Materials
- Plastic bag or lightweight fabric
- String or thin yarn
- Scissors
- Small weight (like a washer)
- Tape or glue (optional for reinforcement)
- Marker or paint (optional for decoration)
Full Step-by-Step
Step 1: Prepare the Canopy
- Cut a circular shape from the plastic bag or fabric.
- Aim for a diameter of about 10-12 inches.
Step 2: Attach the Strings
- Cut four equal lengths of string, about 12 inches each.
- Use tape or glue to securely attach one end of each string to the edges of the canopy.
Step 3: Create the Suspension
- Gather the free ends of the strings at the center of the canopy.
- Tie them together in a knot, ensuring they are evenly distributed around the center.
Step 4: Add the Weight
- Attach a small weight (like a washer) to the knot where all strings meet. This prevents the parachute from flipping as it descends.
Step 5: Decorate (Optional)
- Use a marker or paint to personalize your parachute with colors, patterns, or designs.
Step 6: Test It Out!
- Find a safe height to drop your parachute, like a staircase or a balcony.
- Release it gently and observe how it floats downward.
Tips & Variations
- Custom Sizes: Try different sizes for the canopy; larger canopies catch more air and might float slower.
- Change the Weight: Experiment with different weights to see how it affects the descent.
- Add Colors: Use fabric dye or colored markers to make your parachute stand out.
- Shape Alteration: Instead of a circle, create other geometric shapes like squares or triangles for varied flight paths.
Frequently Asked Questions
1. Can I use other materials?
Yes! You can use lightweight fabrics like trash bags, paper, or even plastic sheeting for your parachute.
2. What if my parachute doesn’t open?
Make sure the strings are long enough and evenly spaced. You may also need to adjust the weight for better performance.
3. How can I make my parachute more durable?
Consider reinforcing the canopy’s edges with tape or sewing to prevent tearing.
4. What height is best for testing my parachute?
A drop of at least 10-15 feet is ideal. Ensure safety and avoid dropping from higher places without supervision.
Suggestions
- Create a mini parachute contest to see whose can stay airborne the longest.
- Document your experiments with a video to analyze performance.
- Scale up to larger parachutes using similar designs and materials.
Final Thoughts
Crafting a mini parachute is an enjoyable way to learn about physics and creativity. Once you’ve made your version, share your results or any variations you’ve tried in the comments below! We’d love to see photos of your creations or hear about your experience with this fun DIY project. Happy crafting!
Print
DIY Mini Parachute
- Total Time: 10 minutes
- Yield: 1 parachute
- Diet: N/A
Description
A fun and educational project for kids and adults to learn about gravity and aerodynamics while making their own mini parachutes.
Ingredients
- Plastic bag or lightweight fabric
- String or thin yarn
- Scissors
- Small weight (like a washer)
- Tape or glue (optional for reinforcement)
- Marker or paint (optional for decoration)
Instructions
- Cut a circular shape from the plastic bag or fabric, aiming for a diameter of about 10-12 inches.
- Cut four equal lengths of string, about 12 inches each, and securely attach one end of each string to the edges of the canopy using tape or glue.
- Gather the free ends of the strings at the center of the canopy and tie them together in a knot.
- Attach a small weight (like a washer) to the knot to prevent the parachute from flipping as it descends.
- Optionally, use a marker or paint to decorate your parachute.
- Find a safe height to drop your parachute and release it gently to observe how it floats downward.
Notes
Experiment with different sizes for the canopy and weights to see how it affects the descent. Ensure a safe height for testing.
- Prep Time: 10 minutes
- Cook Time: 0 minutes
- Category: Craft
- Method: Crafting
Nutrition
- Serving Size: 1 parachute
- Calories: 0
- Sugar: 0g
- Sodium: 0mg
- Fat: 0g
- Saturated Fat: 0g
- Unsaturated Fat: 0g
- Trans Fat: 0g
- Carbohydrates: 0g
- Fiber: 0g
- Protein: 0g
- Cholesterol: 0mg

