Introduction
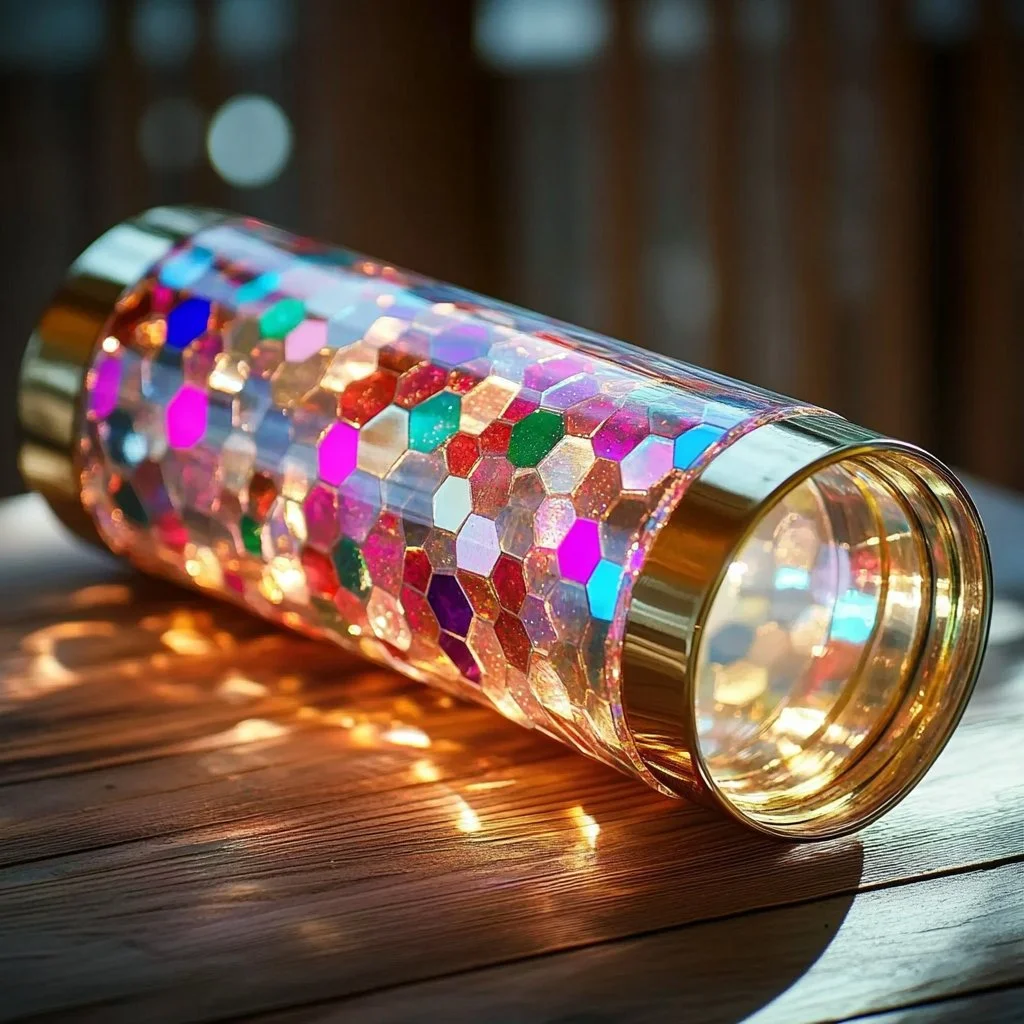
Creating a DIY light-filled kaleidoscope is not just a fun craft; it’s a mesmerizing journey into the world of colors and shapes! Perfect for kids, this activity combines art, science, and creativity into one engaging project. As they design their kaleidoscopes, children will learn about light reflection, symmetry, and how different materials produce unique visuals. With simple materials and a few steps, this craft can easily become a family favorite, fostering curiosity and imagination. Let’s dive into the wonderful world of kaleidoscopes and spark some creativity!
Why You’ll Love This DIY Light-Filled Kaleidoscope for Kids:
- Engaging Hands-On Activity: Keeps kids entertained while they craft.
- Encourages Creativity: Personalize designs using different materials.
- Educational Experience: Teaches concepts of light and reflection.
- Sensory Exploration: Engaging visual and tactile experience.
- Great for Groups: Perfect for parties, classrooms, or family bonding.
Materials
- Cardboard tube (from paper towel or wrapping paper)
- Plastic wrap or clear plastic sheet
- Colored cellophane or tissue paper (variety of colors)
- Scissors
- Tape or glue
- Decorative items (glitter, stickers, sequins)
- Craft knife (to be used by adults only)
Full Step-by-Step
1. Prepare the Tube
- Cut the cardboard tube to your desired length, usually about 10-12 inches.
- Ensure the edges are smooth by using a craft knife if needed.
2. Create the End Cap
- Cut a circle from a piece of cardboard that is slightly larger than the tube’s opening.
- Make a hole in the center of the circle, big enough to allow light to pass through.
3. Prepare the Mirage Window
- Cut colored cellophane or tissue paper into small squares.
- Layer different colors for more vibrant visuals.
4. Assemble the Kaleidoscope
- Stretch the plastic wrap over the end cap and secure it with tape.
- Place the colored squares on top of the plastic wrap.
- Attach the end cap to one end of the tube using glue or tape.
5. Decorate the Tube
- Use stickers, glitter, or paint to personalize the kaleidoscope’s exterior.
- Let dry completely if applicable.
6. Enjoy the View!
- Hold the kaleidoscope up to a light source and spin it while looking through the other end.
- Observe the beautiful patterns created!
Tips & Variations
- Experiment with Materials: Use colored glass beads or small jewels for different effects.
- Make it a Learning Experience: Discuss the science of light, patterns, and colors as you build.
- Create Themes: Design kaleidoscopes based on seasons or favorite characters.
Frequently Asked Questions
Q: Can I replace the cardboard tube with something else?
A: Yes! You can use any similar cylindrical object, like a Pringles can or a tin can, as long as it allows light to pass through.
Q: What if I don’t have colored cellophane?
A: Tissue paper or even colorful plastic bags can work just as well.
Q: Is this project suitable for very young children?
A: Yes, but supervision is needed, especially when using scissors or a craft knife.
Q: How do I clean the kaleidoscope if it gets dusty?
A: Use a soft, dry cloth to wipe the outside. Avoid using water or cleaners on the inside.
Suggestions
- Consider making a themed set of kaleidoscopes, each with a different color palette.
- Host a kaleidoscope-making party and let friends compete for the best design.
- Create a photo project by capturing the kaleidoscope’s patterns and turning them into fun prints or gifts.
Final Thoughts
Crafting a DIY kaleidoscope is a delightful way to explore art and science while having fun! We encourage you to share your versions or leave a comment about your experience with this project. Let’s light up the world with creativity!
Print
DIY Light-Filled Kaleidoscope for Kids
- Total Time: 15 minutes
- Yield: 1 kaleidoscope
- Diet: N/A
Description
Create a mesmerizing DIY kaleidoscope that combines art, science, and creativity! Perfect for kids, this engaging project teaches light reflection and symmetry.
Ingredients
- Cardboard tube (from paper towel or wrapping paper)
- Plastic wrap or clear plastic sheet
- Colored cellophane or tissue paper (variety of colors)
- Scissors
- Tape or glue
- Decorative items (glitter, stickers, sequins)
- Craft knife (to be used by adults only)
Instructions
- Cut the cardboard tube to your desired length, usually about 10-12 inches. Ensure the edges are smooth using a craft knife if needed.
- Cut a circle from a piece of cardboard that is slightly larger than the tube’s opening and make a hole in the center to allow light to pass through.
- Cut colored cellophane or tissue paper into small squares. Layer different colors for more vibrant visuals.
- Stretch the plastic wrap over the end cap and secure it with tape. Place the colored squares on top and attach the end cap to one end of the tube using glue or tape.
- Personalize the exterior of the tube with stickers, glitter, or paint and let dry completely if applicable.
- Hold the kaleidoscope up to a light source, spin it while looking through the other end, and observe the beautiful patterns created!
Notes
Experiment with materials like colored glass beads or small jewels for different effects. Discuss the science of light, patterns, and colors as you build.
- Prep Time: 15 minutes
- Cook Time: 0 minutes
- Category: Craft
- Method: Crafting
Nutrition
- Serving Size: 1 kaleidoscope
- Calories: 0
- Sugar: 0g
- Sodium: 0mg
- Fat: 0g
- Saturated Fat: 0g
- Unsaturated Fat: 0g
- Trans Fat: 0g
- Carbohydrates: 0g
- Fiber: 0g
- Protein: 0g
- Cholesterol: 0mg

