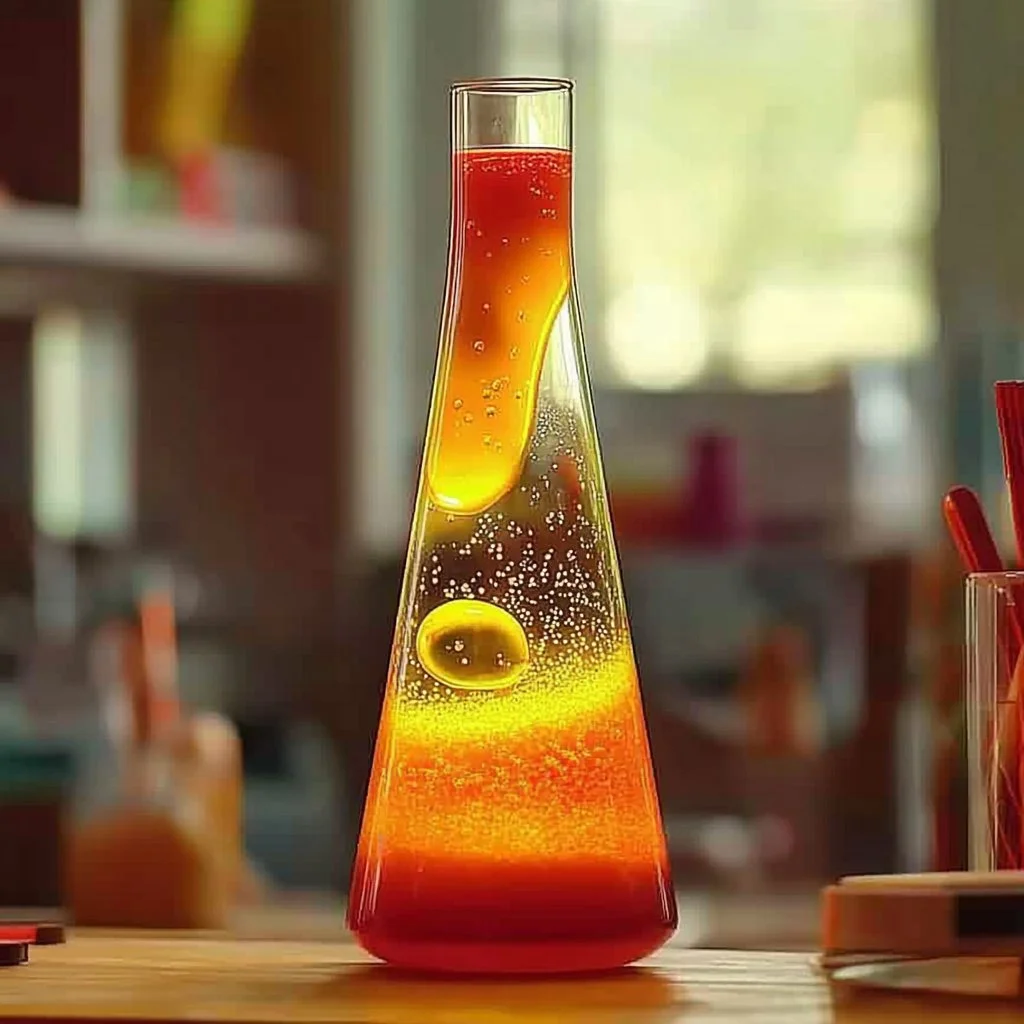
Creating a DIY lava lamp is a fun and educational project that captivates both kids and adults alike. This simple activity combines basic science principles with creativity, resulting in mesmerizing effects that can brighten up any room. With just a few household materials and easy-to-follow steps, you’ll be able to make a colorful display that bubbles and swirls in captivating patterns. Whether you’re looking for a project to do with your kids, want to decorate your workspace, or simply enjoy experimenting, this DIY lava lamp is a perfect choice. Let’s dive in and unleash your inner scientist!
Why You’ll Love This DIY Lava Lamp
- Interactive Fun: Engage the whole family in a hands-on science project.
- Educational: Learn about density, chemical reactions, and the science behind how lava lamps work.
- Customizable: Choose your colors and shapes to match your decor or mood.
- Relaxing Decor: Create a soothing ambiance for your living space or workspace.
- Easy and Affordable: Uses common household materials and takes only a few minutes to prepare.
Materials
- Clear plastic or glass bottle (empty soda or water bottle works great)
- Vegetable oil
- Water
- Food coloring (any color of your choice)
- Alka-Seltzer tablets or baking soda
- Funnel (optional)
- Small flashlight (optional, for extra effect)
Step-by-Step Instructions
1. Prepare Your Bottle
- Start with a clean, dry bottle. Remove any labels for a clearer view of the bubbling action.
2. Fill with Water
- Pour water into the bottle until it’s about one-quarter full. Use a funnel if needed to avoid spills.
3. Add Oil
- Slowly pour vegetable oil into the bottle. Fill it until it is almost full, leaving some space at the top. You’ll notice the oil floats on top of the water—it’s a beautiful sight!
4. Color It Up
- Add a few drops of food coloring to the bottle. Watch as the color sinks through the oil and into the water, creating an eye-catching effect.
5. Create the Lava Effect
- Break an Alka-Seltzer tablet into smaller pieces and drop one piece into the bottle. Watch the lava lamp come to life as it bubbles and swirls!
- If using baking soda, mix a tablespoon with a small amount of vinegar and pour it in to activate the bubbling.
6. Enhance Your Lamp (Optional)
- For a glowing effect, place a small flashlight underneath the bottle to illuminate your masterpiece.
Tips & Variations
- Color Combinations: Mix different food colors for a rainbow effect.
- Container Choices: Use different-shaped bottles or jars for unique looks.
- Change the Reaction: Swap Alka-Seltzer with vinegar and baking soda for different reaction durations.
- Glitter Option: Add glitter to enhance the visual effect if desired.
Frequently Asked Questions
Q1: Can I use other types of oil?
A1: While vegetable oil works best, you can experiment with baby oil or mineral oil for different effects.
Q2: Why does the food coloring sink?
A2: Food coloring is water-based and therefore denser than oil, which causes it to sink.
Q3: How long will the reaction last?
A3: Each reaction can last a few minutes. You can add more Alka-Seltzer or baking soda to create additional reactions.
Q4: Can I reuse the water and oil?
A4: Yes, but the effect may not be as vibrant as the first time. It’s best to start fresh for the best display.
Serving Suggestions or Pairings
- Pair your lava lamp with a cozy movie night, some popcorn, or refreshing fruit drinks for a perfect ambiance.
- Use with a calming music playlist to enhance relaxation while enjoying your DIY creation.
Final Thoughts
Making your own DIY lava lamp is a delightful project that combines creativity with a fun science experiment. Not only will you enjoy the mesmerizing visuals, but you’ll also gain a better understanding of scientific concepts in a playful way. We encourage you to share your own versions of the lava lamp, swap tips, or leave a comment about your experience. Happy crafting!
Print
DIY Lava Lamp
- Total Time: 7 minutes
- Yield: 1 lava lamp
- Diet: N/A
Description
Create your own mesmerizing DIY lava lamp using household materials. A fun and educational project for all ages!
Ingredients
- Clear plastic or glass bottle
- Vegetable oil
- Water
- Food coloring
- Alka-Seltzer tablets or baking soda
- Funnel (optional)
- Small flashlight (optional)
Instructions
- Prepare Your Bottle: Start with a clean, dry bottle. Remove any labels for a clearer view of the bubbling action.
- Fill with Water: Pour water into the bottle until it’s about one-quarter full. Use a funnel if needed to avoid spills.
- Add Oil: Slowly pour vegetable oil into the bottle. Fill it until it is almost full, leaving some space at the top.
- Color It Up: Add a few drops of food coloring to the bottle and watch as the color sinks through the oil.
- Create the Lava Effect: Break an Alka-Seltzer tablet into smaller pieces and drop one piece into the bottle to see the bubbling effect.
- Enhance Your Lamp (Optional): For a glowing effect, place a small flashlight underneath the bottle.
Notes
Use different-shaped bottles for unique looks or add glitter for an enhanced visual effect.
- Prep Time: 5 minutes
- Cook Time: 2 minutes
- Category: Craft
- Method: DIY
- Cuisine: N/A
Nutrition
- Serving Size: 1 lamp
- Calories: 0
- Sugar: 0g
- Sodium: 0mg
- Fat: 0g
- Saturated Fat: 0g
- Unsaturated Fat: 0g
- Trans Fat: 0g
- Carbohydrates: 0g
- Fiber: 0g
- Protein: 0g
- Cholesterol: 0mg

