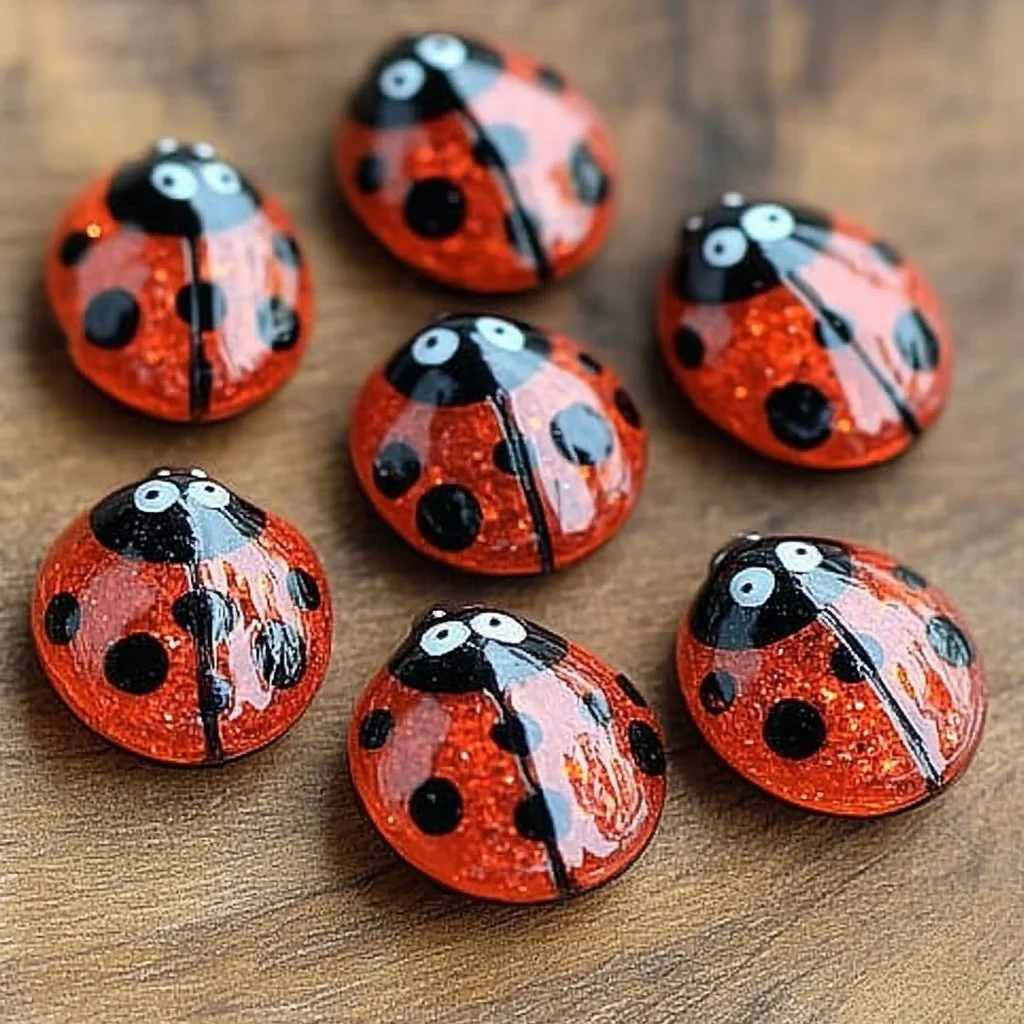
Creating fun and quirky DIY ladybug magnets can be a delightful activity for both kids and adults. These charming little insects add a splash of color and whimsy to any refrigerator or magnetic surface. Not only are they easy and inexpensive to make, but they also provide an opportunity for creativity and hands-on fun. This charming craft allows you to explore different colors and patterns, making each ladybug unique. Whether you are looking to brighten up your home or create a special gift, this project is perfect for all ages and skill levels. Gather your materials, roll up your sleeves, and let’s bring these adorable ladybugs to life!
Why You’ll Love This DIY Ladybug Magnets:
- Adorable Decor: These ladybug magnets will brighten up any space.
- Easy to Make: Requires minimal skills and supplies.
- Fun for All Ages: Perfect for kids, adults, and family activities.
- Customizable: Each ladybug can be uniquely designed.
- Great Gift Idea: A thoughtful handmade present for friends or family.
- Inexpensive Materials: Most items can be found at home or in local stores.
Materials:
- Red craft foam or felt
- Black craft foam or felt
- Scissors
- Hot glue gun (or craft glue)
- Small magnets (magnet strips or round)
- Black paint or a permanent marker (optional for details)
- Googly eyes (optional)
Full Step-by-Step:
Step 1: Prepare the Base
- Cut a rounded oval shape out of the red craft foam; this will be the body of your ladybug.
Step 2: Create the Spots
- Cut smaller circles out of the black foam for the ladybug’s spots.
- Arrange and glue them onto the red oval.
Step 3: Add the Head
- Cut a smaller oval from the black foam for the ladybug’s head.
- Attach it to the top of the red oval using glue.
Step 4: Attach Googly Eyes (Optional)
- If you are using googly eyes, glue them onto the black head.
Step 5: Add Antennae (Optional)
- Use thinner strips of black foam to create antennae; glue them on the top of the head.
Step 6: Magnify the Fun
- Glue a small magnet to the back of the ladybug. Ensure it’s securely attached.
Tips & Variations:
- Personalize: Use different colors of foam to create a variety of bugs—yellow for a bumblebee or green for a grasshopper.
- Swap Materials: If foam isn’t available, you can use felt, paper, or even painted stones.
- Add Details: Instead of using foam for spots, you can paint them directly on the ladybug.
- Use Stickers: For a quicker version, use ladybug stickers and attach them to pre-cut magnets.
Frequently Asked Questions:
Q1: Can I use regular glue instead of hot glue?
A1: Yes, but hot glue provides a stronger bond for the magnets.
Q2: What if I don’t have magnetic strips?
A2: You can use small round magnets or even repurpose magnets from old fridge magnets.
Q3: Can I paint the ladybug instead of using foam?
A3: Absolutely! You can paint a rounded stone to create a ladybug look.
Q4: How do I store leftover materials?
A4: Store foam or felt in a cool, dry place, preferably in a sealed container to keep them flat.
Suggestions:
- Consider making a set with different insects, such as butterflies or bumblebees, for a vibrant collection.
- Host a crafting party and have everyone create their unique ladybug designs.
- Use the finished magnets to teach kids about insects and nature.
Final Thoughts
DIY ladybug magnets offer a simple yet creative project you can enjoy with family and friends. Don’t forget to share your creations or any variations you tried! We’d love to see how your ladybugs turned out. Leave your comments or photos below!
Print
DIY Ladybug Magnets
- Total Time: 15 minutes
- Yield: 1 magnet
Description
Create fun and quirky DIY ladybug magnets that add color and whimsy to your refrigerator or magnetic surfaces. Perfect for all ages!
Ingredients
- Red craft foam or felt
- Black craft foam or felt
- Scissors
- Hot glue gun (or craft glue)
- Small magnets (magnet strips or round)
- Black paint or a permanent marker (optional for details)
- Googly eyes (optional)
Instructions
- Prepare the Base: Cut a rounded oval shape out of the red craft foam; this will be the body of your ladybug.
- Create the Spots: Cut smaller circles out of the black foam for the ladybug’s spots. Arrange and glue them onto the red oval.
- Add the Head: Cut a smaller oval from the black foam for the ladybug’s head. Attach it to the top of the red oval using glue.
- Attach Googly Eyes: If you are using googly eyes, glue them onto the black head.
- Add Antennae: Use thinner strips of black foam to create antennae; glue them on the top of the head.
- Magnify the Fun: Glue a small magnet to the back of the ladybug. Ensure it’s securely attached.
Notes
You can personalize your ladybug by using different colors and materials. Consider making a set with various insects.
- Prep Time: 15 minutes
- Cook Time: 0 minutes
- Category: Craft
- Method: Crafting
Nutrition
- Serving Size: 1 magnet
- Calories: 0
- Sugar: 0g
- Sodium: 0mg
- Fat: 0g
- Saturated Fat: 0g
- Unsaturated Fat: 0g
- Trans Fat: 0g
- Carbohydrates: 0g
- Fiber: 0g
- Protein: 0g
- Cholesterol: 0mg

