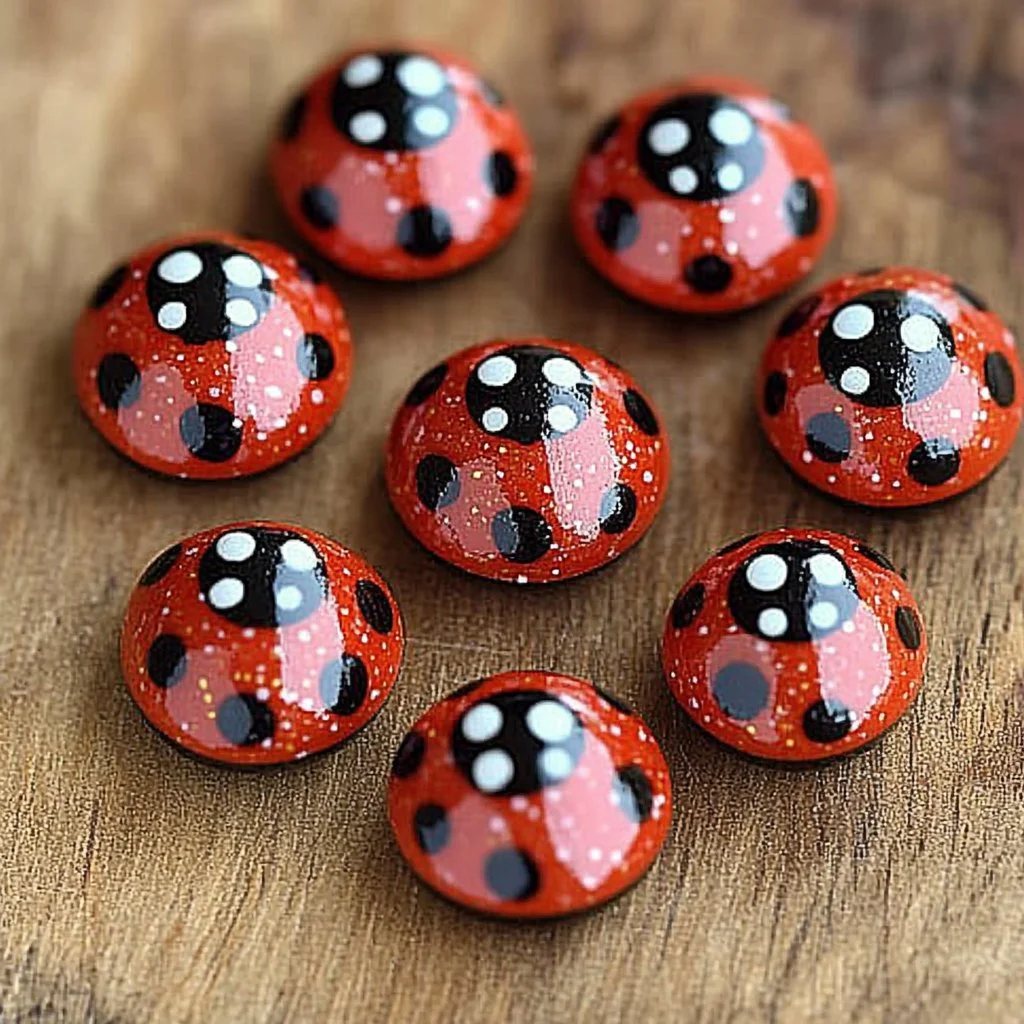
Crafting is a delightful way to express creativity while enjoying quality time with family and friends. One charming DIY project that brings a splash of color and whimsy to your fridge is making ladybug magnets. These adorable little bugs not only brighten up your space but are also a fun and simple craft that kids and adults can tackle together. With just a few materials, you can create a set of personalized ladybug magnets that reflect your unique style. Whether you’re looking for a creative activity for a rainy day or a thoughtful gift, these ladybug magnets are sure to impress. Let’s dive into why this project is so enjoyable and how to make your own cute critters!
Why You’ll Love This DIY Ladybug Magnets:
- Fun for All Ages: Perfect for kids and adults alike.
- Easy to Customize: Personalize with different colors and patterns.
- Great for Home Decor: Adds a cheerful touch to your fridge or workspace.
- Inexpensive Materials: Use items you may already have at home.
- Perfect for Gifts: Make unique presents for friends or family.
- Promotes Fine Motor Skills: Great for helping little ones develop coordination.
Materials
- Red and black craft felt
- Strong adhesive (hot glue gun or craft glue)
- Scissors
- Googly eyes (optional)
- Magnet strips or small round magnets
- Pencil or chalk for tracing (optional)
- Ladybug template (optional)
Full Step-by-Step
Step 1: Gather Your Materials
Collect all the necessary materials mentioned above. Find a comfortable workspace where you have ample room for crafting.
Step 2: Create the Ladybug Shape
- If using a template, trace the ladybug outline onto the red felt.
- Cut out the shape with scissors, aiming for a round or oval body.
Step 3: Add Features
- Cut out small black spots from the black felt and glue them onto the red body as decorations.
- For the head, cut a smaller circular piece from the black felt and attach it to one end of the ladybug body.
- Attach googly eyes for added charm if you wish!
Step 4: Attach the Magnet
- Cut a small piece of the magnet strip.
- Glue it to the back of your ladybug, ensuring it’s secure.
Step 5: Finished Product
Let the glue dry completely before hanging your new ladybug magnets on the fridge or any magnetic surface.
Tips & Variations
- Color Choices: Try different colors like pink or orange for a unique twist.
- Add Textures: Use patterned felt or embellishments, like glitter, to make your ladybugs stand out.
- Theme Variations: Incorporate seasonal themes by adding accessories like tiny hats or scarves.
- Group Crafting: Organize a crafting session with friends for a more social experience.
Frequently Asked Questions
-
Can I use different types of magnets?
Yes! You can use adhesive magnet strips or small button magnets based on your preference. -
What if I don’t have felt?
You can substitute felt with cardstock or even old magazines for a more textured look. -
How do I ensure the magnets stick well?
Ensure that the magnets are securely glued and give them adequate time to dry before use. -
Can I make these ladybugs larger or smaller?
Absolutely! Just adjust the size of your template to create ladybugs in various sizes.
Suggestions
- Craft Party: Host a craft party and encourage guests to create their own versions.
- Themed Decor: Use these magnets as part of themed decor for birthdays, gardens, or other events.
- DIY Gifts: Create a collection of these ladybug magnets as handmade gifts for family and friends.
Final Thoughts
Making ladybug magnets is not only a fun craft but also a wonderful opportunity to unleash your creativity. We’d love to see your versions of this project! Share your photos or experiences in the comments below. Happy crafting!
Print
DIY Ladybug Magnets
- Total Time: 10 minutes
- Yield: Multiple magnets
- Diet: N/A
Description
Create adorable ladybug magnets that brighten your space and provide a fun crafting activity for all ages.
Ingredients
- Red and black craft felt
- Strong adhesive (hot glue gun or craft glue)
- Scissors
- Googly eyes (optional)
- Magnet strips or small round magnets
- Pencil or chalk for tracing (optional)
- Ladybug template (optional)
Instructions
- Gather your materials in a comfortable workspace.
- Create the ladybug shape by tracing the outline onto the red felt and cutting it out.
- Add features by attaching black spots and a head to the ladybug.
- Attach a magnet securely to the back of your ladybug.
- Allow the glue to dry completely before displaying your magnets.
Notes
Try using different colors and patterns for unique ladybugs. Group crafting sessions can enhance the fun!
- Prep Time: 10 minutes
- Cook Time: 0 minutes
- Category: Crafts
- Method: Crafting
- Cuisine: N/A
Nutrition
- Serving Size: 1 magnet
- Calories: 0
- Sugar: 0g
- Sodium: 0mg
- Fat: 0g
- Saturated Fat: 0g
- Unsaturated Fat: 0g
- Trans Fat: 0g
- Carbohydrates: 0g
- Fiber: 0g
- Protein: 0g
- Cholesterol: 0mg

