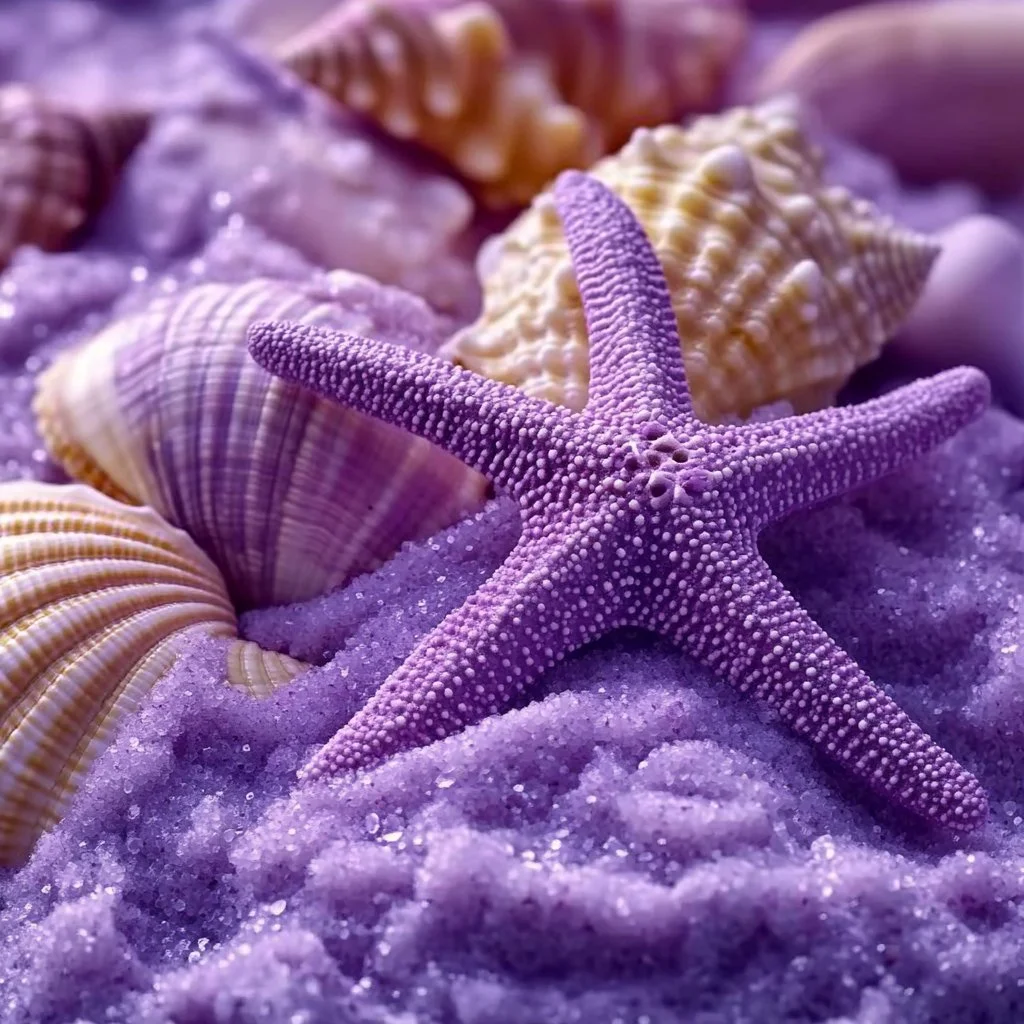
Kinetic sand is an engaging sensory play material that has captured the hearts of both children and adults alike. This unique substance blends the moldability of traditional sand with a subtle, yet captivating, texture that allows for endless creative possibilities. Creating your own DIY kinetic sand is not only a fun and rewarding experience, but it also allows you to customize the color and texture to fit your preferences. Whether you’re looking to entertain children or indulge your own artistic side, this simple recipe provides an excellent opportunity to create a tactile environment where imagination can flourish.
In this guide, you’ll discover just how easy it is to whip up your own kinetic sand at home, along with tips for customization, sensory benefits, and answers to your frequently asked questions. Dive in and unleash the creativity!
Why You’ll Love This DIY Kinetic Sand
- Sensory Exploration: Offers a unique tactile experience that soothes and engages.
- Customizable Colors: Dye your sand any way you like for personalized fun.
- Easy to Make: Requires only a few common materials and minimal effort.
- Non-toxic Ingredients: Safe for kids and pets.
- Reusable: Lasts for several weeks with proper storage.
- Promotes Fine Motor Skills: Great for children’s development through play.
- Mess Containment: Easy to clean up compared to traditional sand.
Materials
- 4 cups of all-purpose flour
- 1 cup of cornstarch
- 1 ½ cups of water
- ½ cup of vegetable oil or baby oil
- Baking tray or large bowl for mixing
- Food coloring (optional)
- Plastic container for storage
Step-by-Step Instructions
1. Combine Dry Ingredients
- In a mixing bowl or tray, combine 4 cups of all-purpose flour and 1 cup of cornstarch.
2. Mix Wet Ingredients
- In a separate bowl, mix together 1 ½ cups of water and ½ cup of vegetable or baby oil. If using food coloring, add it to this mixture for a vibrant hue.
3. Combine the Mixtures
- Slowly pour the wet mixture into the dry ingredients while stirring continuously. This helps prevent clumping and ensures the sand has an even consistency.
4. Knead the Mixture
- Once combined, use your hands to knead the mixture for several minutes. Focus on the texture—notice how it should be moist but not sticky.
5. Check Consistency
- If the mixture is too crumbly, add small amounts of water a tablespoon at a time until it reaches your desired consistency. If it’s too wet, add a bit more flour.
6. Store Properly
- Once the kinetic sand is ready, store it in a plastic container with a lid to keep it fresh for future playtime.
Tips & Variations
- Color Variations: Experiment with different food colorings to create vibrant shades or even swirled effects.
- Scent Additives: Add a few drops of essential oils for a sensory boost (lavender for relaxation, citrus for energy).
- Textural Add-ins: Mix in glitter or small beads for extra sensory stimulation.
- Sand Ratio: Adjust the ratio of flour to cornstarch for a different texture; more cornstarch creates a softer feel.
Frequently Asked Questions
1. Can I use different types of flour?
Yes, while all-purpose flour works best, you can experiment with gluten-free options, though the texture may vary.
2. How long does DIY kinetic sand last?
With proper storage in an airtight container, it can last for several weeks to months.
3. What can I do if the sand becomes dry?
If it dries out, add a little bit of water or oil and knead it again until it reaches the desired consistency.
4. Is it safe for children?
Yes, all the ingredients are non-toxic and safe for kids, but supervision is recommended for younger children to avoid ingestion.
Serving Suggestions or Pairings
Pair your DIY kinetic sand with refreshing beverages like lemonade or iced tea for a warm day of play. For added fun, set up a playful picnic scene with healthy snacks like fruit skewers and mini sandwiches.
Final Thoughts
Creating your own DIY kinetic sand is an enjoyable activity that opens the door to endless creativity and sensory exploration. Whether you’re molding, shaping, or simply running your fingers through the sand, the experience is both relaxing and stimulating. We hope you enjoy making your own version of kinetic sand and encourage you to share your creations or leave a comment about your experience! Happy crafting!
Print
DIY Kinetic Sand
- Total Time: 10 minutes
- Yield: Approx. 5 cups
- Diet: Non-specific
Description
Create your own kinetic sand at home with this easy and fun recipe. Customize colors and enjoy sensory play!
Ingredients
- 4 cups of all-purpose flour
- 1 cup of cornstarch
- 1 ½ cups of water
- ½ cup of vegetable oil or baby oil
- Food coloring (optional)
- Baking tray or large bowl for mixing
- Plastic container for storage
Instructions
- Combine Dry Ingredients: In a mixing bowl or tray, combine 4 cups of all-purpose flour and 1 cup of cornstarch.
- Mix Wet Ingredients: In a separate bowl, mix together 1 ½ cups of water and ½ cup of vegetable or baby oil. If using food coloring, add it to this mixture.
- Combine the Mixtures: Slowly pour the wet mixture into the dry ingredients while stirring continuously.
- Knead the Mixture: Use your hands to knead the mixture for several minutes until the texture is moist but not sticky.
- Check Consistency: Adjust with small amounts of water or flour as needed to achieve desired consistency.
- Store Properly: Store the kinetic sand in a plastic container with a lid to keep it fresh.
Notes
Feel free to customize with different colors, scents, or textural add-ins like glitter.
- Prep Time: 10 minutes
- Cook Time: 0 minutes
- Category: Craft
- Method: Mixing
- Cuisine: Homemade
Nutrition
- Serving Size: 1 batch
- Calories: 250 (per 1/2 cup of kinetic sand)
- Sugar: 0g
- Sodium: 0mg
- Fat: 14g
- Saturated Fat: 1g
- Unsaturated Fat: 13g
- Trans Fat: 0g
- Carbohydrates: 38g
- Fiber: 2g
- Protein: 5g
- Cholesterol: 0mg

