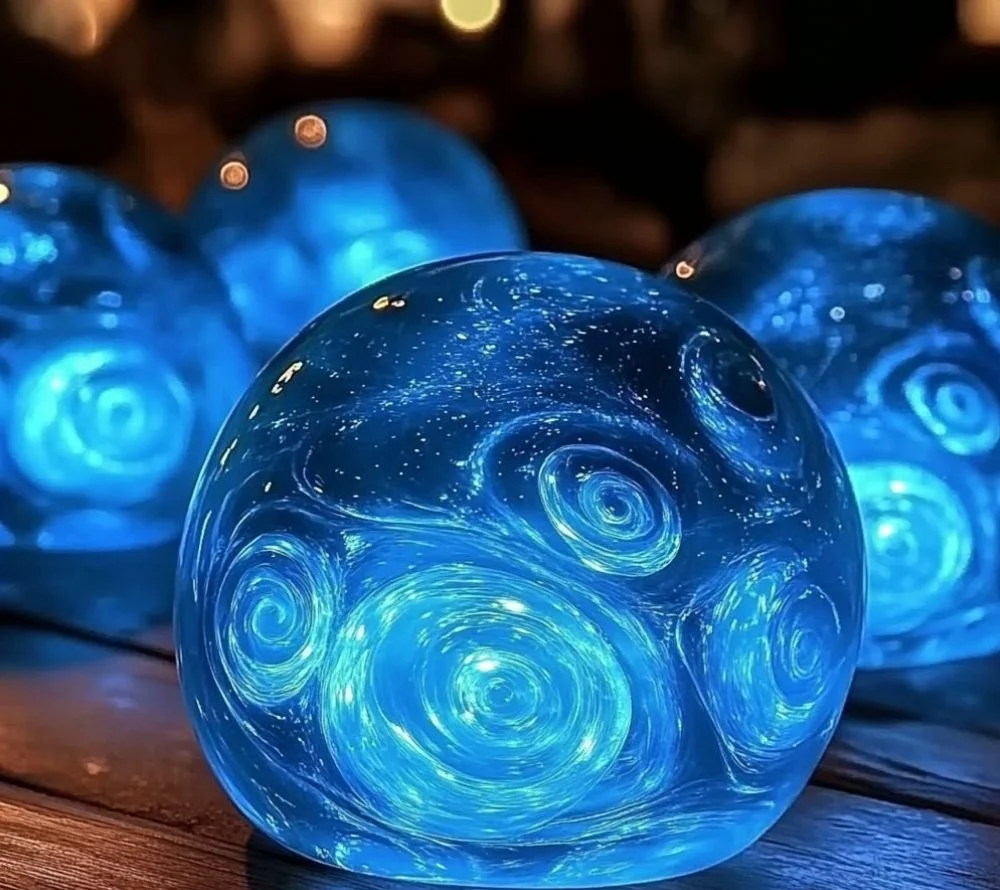
Creating glowing moon rocks is a fun and magical DIY project that adds a whimsical touch to any space or occasion. This enchanting craft combines creativity and science, making it an excellent activity for kids and adults alike. With just a few materials, you can transform ordinary rocks into mesmerizing glowing treasures that capture the beauty of the night sky. Whether you’re hosting a galactic-themed party, looking for a unique gift, or simply want to brighten up your garden or home decor, this DIY project will spark joy and ignite imaginative play.
In this guide, you’ll discover how to make your own glowing moon rocks, along with tips for customization and answers to common questions. Get ready to unleash your creativity and bring a little piece of the cosmos right into your hands!
Why You’ll Love This DIY Glowing Moon Rocks
- Easy and fun to make: Perfect for all ages and skill levels.
- Unique decor: Great for parties, garden decoration, or as a night light.
- Educational: Teaches kids about luminescence and creativity.
- Customizable: Tailor colors and glow intensity to your preference.
- Cost-effective: Uses simple materials often found at home or easily sourced.
Materials
- Smooth, clean rocks (river rocks or craft stones)
- Glow-in-the-dark paint (non-toxic)
- Paintbrushes
- A small tray or newspaper (for painting area)
- Optional: Glitter or sequins for added sparkle
Step-by-Step Instructions
1. Prepare Your Workspace
Set up a clean, flat area using a tray or newspaper to catch any drips from the paint. This will keep your workspace tidy!
2. Choose Your Rocks
Select smooth rocks that are easy to paint. Rinse them off to remove any dust, then let them dry completely.
3. Paint the Rocks
Using a paintbrush, apply an even coat of glow-in-the-dark paint to your rocks.
- Ensure full coverage for the best glow effect.
- Use a separate brush for each color if you’re using multiple colors.
4. Add Extra Shine (Optional)
For a sparkling effect, sprinkle glitter or place sequins on the wet paint.
- Tap off any excess glitter to avoid clumps.
5. Let Them Dry
Allow the rocks to dry completely in a cool, dark place for several hours or overnight. This ensures that they absorb the glow properly.
6. Charge Your Rocks
To activate the glow, simply expose your moon rocks to light for at least 30 minutes before displaying them in the dark.
Tips & Variations
- Color Customization: Experiment with different colors of glow-in-the-dark paint for personalized moon rocks.
- Layering: For a more textured look, apply multiple layers of paint, allowing each layer to dry before adding the next.
- Outdoor Use: If using outdoors, seal your rocks with a clear waterproof sealant to protect the paint from the elements.
- Themed Rocks: Create combinations that represent different celestial bodies, like stars or planets, using paint and shapes.
Frequently Asked Questions
1. Can I use regular paint instead of glow-in-the-dark paint?
- Regular paint will not glow; you need specific glow-in-the-dark paint for the effect.
2. How long will the glow last?
- The glow typically lasts for a few hours after exposure to light, depending on the quality of the paint used.
3. Is it safe for children?
- Yes, as long as you use non-toxic glow-in-the-dark paint and supervise younger children during the project.
4. Can I use acrylic paint?
- Absolutely! Just ensure that it’s a glow-in-the-dark acrylic paint for the desired luminescent effect.
Serving Suggestions or Pairings
- Pair your glowing moon rocks with a space-themed party by serving "galactic snacks" like star-shaped cookies and blue raspberry or grape soda.
- Use soft, ambient lighting to enhance the glow of your rocks during nighttime gatherings.
Final Thoughts
Creating glowing moon rocks is not just a craft; it’s an opportunity to ignite imagination and creativity while enjoying a fun, hands-on project. We encourage you to share your glowing creations or variations in the comments below or with friends! Transforming everyday items into magical pieces can brighten up your life and inspire others to unleash their creativity. Happy crafting!
Print
DIY Glowing Moon Rocks
- Total Time: 60 minutes
- Yield: Varies based on rocks used
- Diet: N/A
Description
Transform ordinary rocks into enchanting glowing treasures with this fun DIY project, perfect for all ages.
Ingredients
- Smooth, clean rocks (river rocks or craft stones)
- Glow-in-the-dark paint (non-toxic)
- Paintbrushes
- A small tray or newspaper (for painting area)
- Optional: Glitter or sequins for added sparkle
Instructions
- Prepare Your Workspace: Set up a clean, flat area using a tray or newspaper to catch any drips from the paint.
- Choose Your Rocks: Select smooth rocks, rinse them off, and let them dry completely.
- Paint the Rocks: Apply an even coat of glow-in-the-dark paint to your rocks.
- Add Extra Shine (Optional): Sprinkle glitter or place sequins on the wet paint.
- Let Them Dry: Allow the rocks to dry completely in a cool, dark place for several hours or overnight.
- Charge Your Rocks: Expose your moon rocks to light for at least 30 minutes before displaying them in the dark.
Notes
For outdoor use, seal your rocks with a clear waterproof sealant to protect the paint from the elements. Experiment with colors and layering for unique effects.
- Prep Time: 10 minutes
- Cook Time: 0 minutes
- Category: Crafts
- Method: DIY Crafting
- Cuisine: N/A
Nutrition
- Serving Size: N/A
- Calories: 0
- Sugar: 0g
- Sodium: 0mg
- Fat: 0g
- Saturated Fat: 0g
- Unsaturated Fat: 0g
- Trans Fat: 0g
- Carbohydrates: 0g
- Fiber: 0g
- Protein: 0g
- Cholesterol: 0mg

