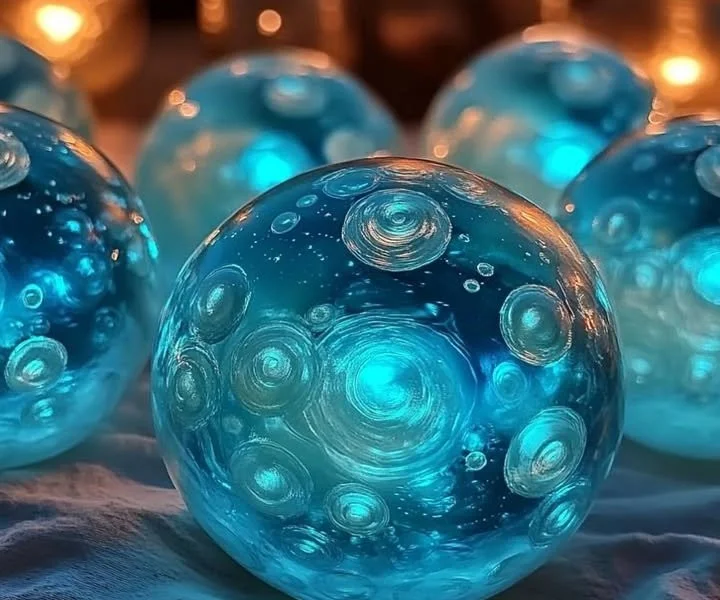
Creating glowing moon rocks is a fun and exciting DIY project that brings a touch of whimsy to your home. These luminescent creations not only serve as delightful decor but also make for a fantastic activity for kids and adults alike. With just a few basic materials, you can craft enchanting moon rocks that glow in the dark, perfect for adding a magical ambiance to parties, children’s rooms, or unique gifts. Plus, the satisfaction of creating something imaginative adds a whole new dimension to this project!
Why You’ll Love This DIY Glowing Moon Rocks
- Fun for All Ages: An enjoyable project for kids, teens, and adults.
- Easy to Make: Quick and simple instructions that require minimal time and effort.
- Customizable: Personalize your moon rocks with different colors and textures.
- Glowing Effect: A captivating glow that adds charm to your space.
- Educational: Teaches kids about light and materials in a fun and engaging way.
- Unique Gifts: An excellent handmade gift idea for friends and family.
Materials
- Baking soda (1 cup)
- Cornstarch (1/2 cup)
- White vinegar (1/2 cup)
- Food coloring (various colors)
- Glow-in-the-dark paint or powder
- Baking tray
- Mixing bowl
- Spoon
- Oven (for drying)

Step-by-Step Instructions
1. Prepare the Mixture
- In a mixing bowl, combine the baking soda and cornstarch.
- Gradually add the white vinegar, stirring continuously to prevent fizzing.
- Once the mixture is well combined, it should have a thick, dough-like consistency.
2. Add Color
- Divide the mixture into smaller bowls based on how many colors you want.
- Add a few drops of food coloring to each bowl and mix until you achieve the desired color.
3. Incorporate Glow-in-the-Dark Element
- Stir in the glow-in-the-dark paint or powder into each colored mixture. Ensure it’s evenly distributed for the best glowing effect.
4. Shape the Moon Rocks
- Take small amounts of the mixture and form them into irregular rock shapes.
- Place the shaped moon rocks on a baking tray lined with parchment paper.
5. Dry the Moon Rocks
- Preheat your oven to 200°F (93°C).
- Bake the moon rocks for about 1-2 hours or until they are completely dry.
6. Cool and Enjoy
- Once baked, remove the tray from the oven and let the moon rocks cool completely.
- Place them in a dark area to see them glow!
Tips & Variations
- Color Swaps: Experiment with different shades of food coloring for unique creations.
- Texture: Consider adding sand or crushed shells for a more textured finish.
- Glow Enhancements: Use additional layers of glow-in-the-dark paint for a brighter effect.
- Shape Variations: Use molds to create various shapes like stars and hearts.

Frequently Asked Questions
1. Can I use other types of paint for glowing effects?
Yes! Look for other non-toxic glowing paints available at craft stores. Just make sure they are safe for kids if you’re crafting with them.
2. How long do the moon rocks glow?
The glowing effect usually lasts for a few hours, depending on the quality of the glow-in-the-dark material used.
3. Can I store the moon rocks?
Absolutely! Keep them in a cool, dry place away from direct sunlight to preserve their glow effect.
4. What if I don’t have an oven?
You can air-dry the moon rocks, though it may take longer for them to fully harden.
Serving Suggestions or Pairings
These glowing moon rocks make for enchanting decor! Pair them with:
- Fun LED lighting for added luminescence.
- Themed party snacks or goodies, like star-shaped cookies.
- A stargazing night complemented by cozy blankets and hot cocoa.
Final Thoughts
Crafting your own glowing moon rocks is not only a creative outlet but also a delightful way to brighten your living space. We encourage you to share your custom versions or any unique twists you’ve added to the recipe. Join the conversation below and inspire others with your glowing creations!

