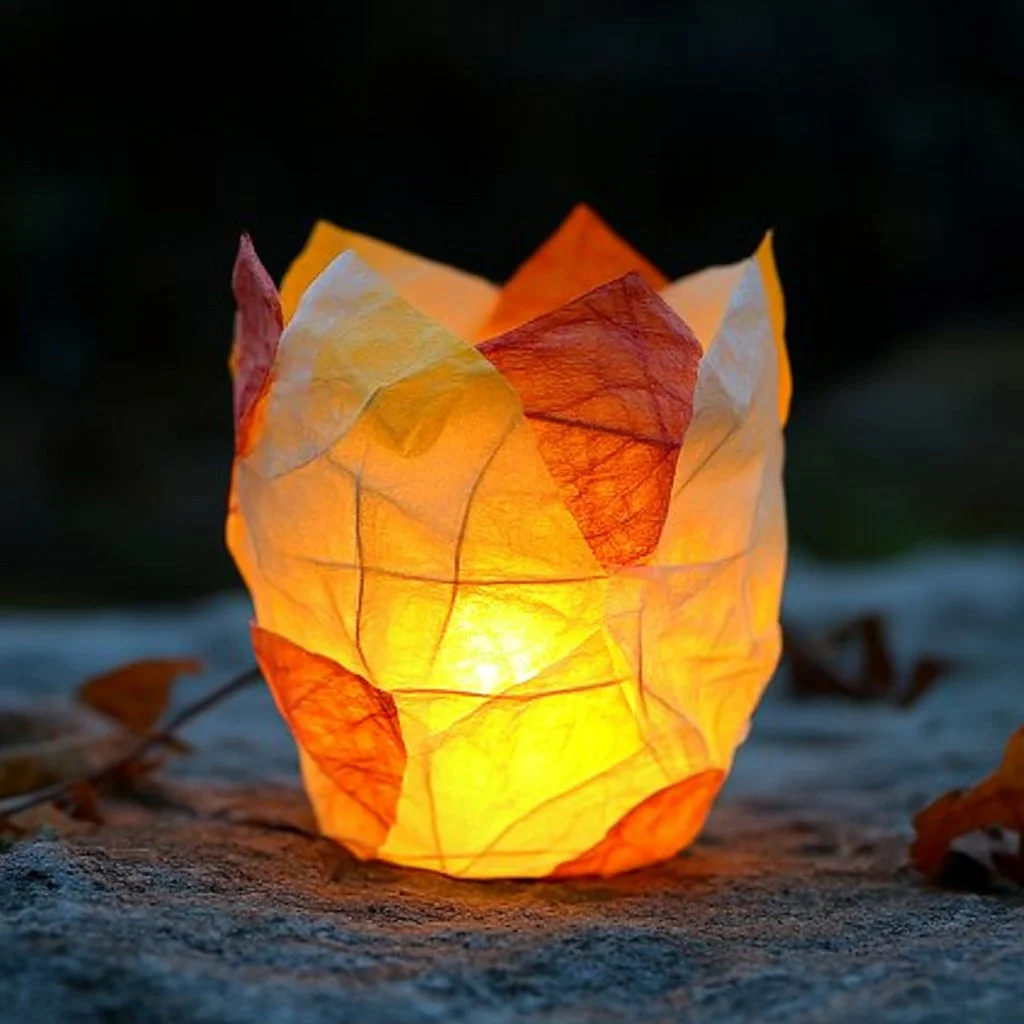
Creating a glowing campfire craft is a delightful way to engage kids in a fun and creative activity. This DIY project not only inspires their artistic skills but also introduces them to the magic of lighting in art and craft. As children work with vibrant colors and glow-in-the-dark elements, they develop fine motor skills and unleash their imagination. The best part? They’ll have a glowing keepsake that brings the warmth of a campfire into their own space, perfect for nighttime storytelling or just adding a cozy touch to their room. Let’s ignite their creativity with this fun, easy, and educational DIY craft!
Why You’ll Love This DIY Glowing Campfire Craft for Kids:
- Encourages Creativity: Kids can design their own campfires with various colors and materials.
- Sensory Experience: The glow-in-the-dark aspect adds an exciting visual element.
- Educational Value: Introduces concepts of light and materials.
- Safe Indoor Fun: No actual fire required, perfect for any indoor setting.
- Family Bonding: Enjoy crafting together and share stories around your glowing creation.
Materials:
- Red, orange, and yellow tissue paper
- LED tealight candles
- Cardboard or cardstock for the base
- Scissors
- White glue
- Optional: Glow-in-the-dark paint or stickers
- Optional: Small pebbles or sand for texture
Full Step-by-Step:
Prepare the Base
- Cut the Base: Take your cardboard or cardstock and cut out a circle or oval to serve as the campfire base.
- Add Texture: If using, glue small pebbles or sand around the edge of the base for added realism.
Create the Flames
- Tear Tissue Paper: Tear the red, orange, and yellow tissue paper into flame-shaped pieces. Ensure they vary in size for a more dynamic look.
- Layer and Glue: Start from the bottom layer with the red pieces, overlapping slightly. Add the orange pieces above it, and finally, the yellow pieces on top.
- Affix the Flames: Glue all the layers securely to the base, ensuring they stand upright to mimic real flames.
Add the Glow
- Place the Candle: Once the flames are glued and dry, position an LED tealight in the center on the base.
- Enhance with Glow: If using glow-in-the-dark paint or stickers, apply them to the flames or around the base to enhance the glowing effect at night.
Tips & Variations:
- Color Choices: Use different colors of tissue paper to create a unique, colorful campfire.
- Size Variation: Experiment with large or small campfires, allowing kids to personalize their projects.
- Textures: Introduce other materials like yarn for the flames or even crumpled foil for a reflective effect.
- Seasonal Themes: Incorporate themes like spooky Halloween fires or festive holiday colors.
Frequently Asked Questions:
Q1: Can I use real flames instead of LED lights?
A1: It’s safer to use LED tealights for this craft, especially for children, to avoid fire hazards.
Q2: What if I don’t have tissue paper?
A2: You can use colored paper or even recycled materials like magazines cut into flame shapes.
Q3: How can I make my campfire glow brighter?
A3: Use glow-in-the-dark paint on the flames and ensure the LED tealight is functioning properly.
Q4: Can multiple kids work on this project together?
A4: Yes! It’s a great group activity, just ensure there is enough space and materials for each child.
Suggestions:
- Pair this craft with a storytelling session in the dark to enhance the campfire ambiance.
- Create a whole camp scene by adding miniature tents or animals using other crafts.
- Encourage your kids to name their campfire creation and share a story about it.
Final Thoughts
This DIY glowing campfire craft is a fantastic way to bring fun and creativity into your child’s life. It’s simple, engaging, and perfect for all ages. We would love to see how your glowing campfire turns out! Please share your versions or leave a comment below with your thoughts, variations, and experiences!
Print
DIY Glowing Campfire Craft for Kids
- Total Time: 30 minutes
- Yield: 1 campfire craft
- Diet: N/A
Description
A fun and creative DIY project that allows kids to design their own glowing campfire using vibrant colors and glow-in-the-dark elements.
Ingredients
- Red, orange, and yellow tissue paper
- LED tealight candles
- Cardboard or cardstock for the base
- Scissors
- White glue
- Optional: Glow-in-the-dark paint or stickers
- Optional: Small pebbles or sand for texture
Instructions
- Cut a circle or oval from cardboard or cardstock for the campfire base.
- If using, glue small pebbles or sand around the edge of the base for added texture.
- Tear tissue paper into flame-shaped pieces of varying sizes.
- Layer the tissue paper starting from the bottom with red pieces, then orange, and finally yellow on top.
- Glue all layers securely to the base, ensuring they stand upright.
- Position an LED tealight in the center of the base once the flames are dry.
- If using, apply glow-in-the-dark paint or stickers to the flames or around the base for a glowing effect at night.
Notes
Consider using different colors of tissue paper for variety or incorporating other materials like yarn for a unique texture.
- Prep Time: 10 minutes
- Cook Time: 20 minutes
- Category: Craft
- Method: Crafting
- Cuisine: N/A
Nutrition
- Serving Size: 1 child
- Calories: 0
- Sugar: 0g
- Sodium: 0mg
- Fat: 0g
- Saturated Fat: 0g
- Unsaturated Fat: 0g
- Trans Fat: 0g
- Carbohydrates: 0g
- Fiber: 0g
- Protein: 0g
- Cholesterol: 0mg

