Introduction
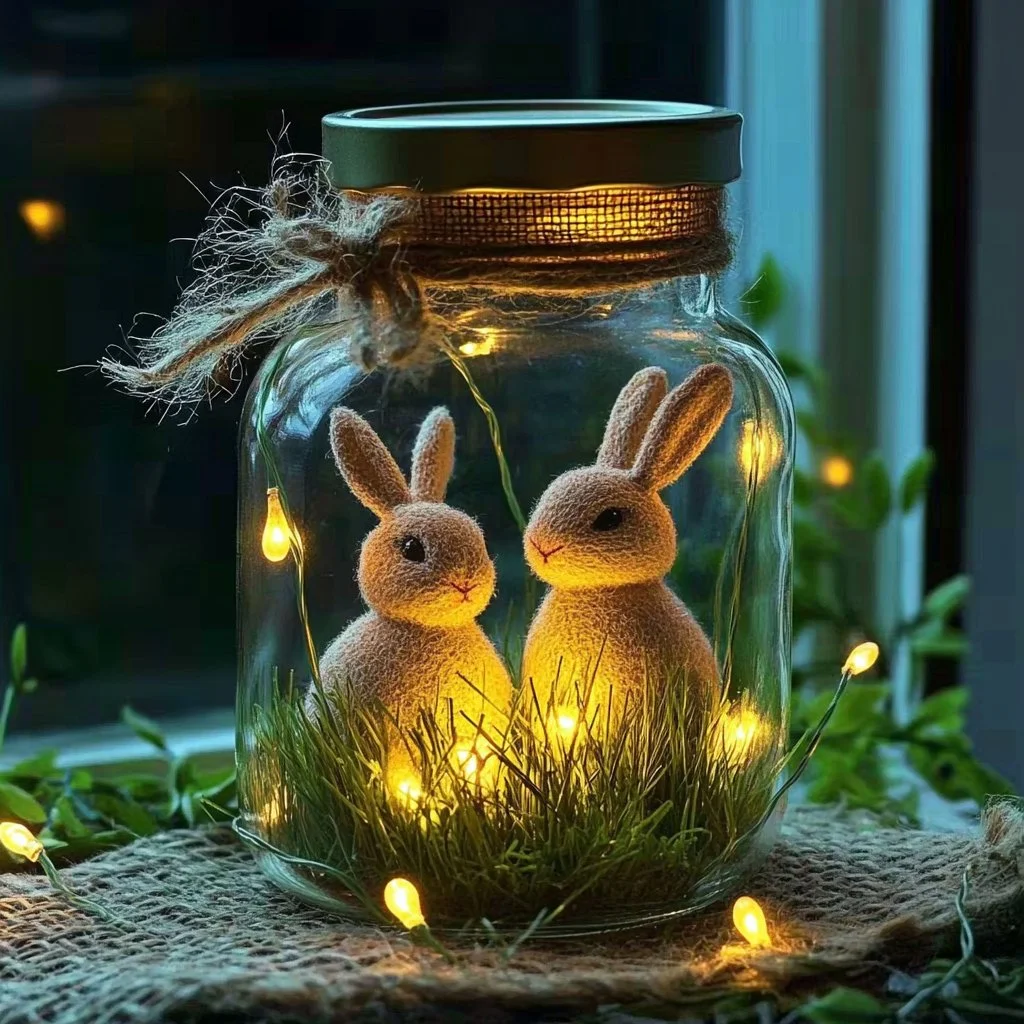
Brighten your home and bring an enchanting touch to your decor with a DIY Glow-in-the-Dark Bunny Lantern Jar! This festive craft is perfect for celebrating spring, Easter, or simply adding a whimsical charm to your space. The combination of easy-to-follow steps and minimal materials makes it a delightful project for both kids and adults. As the sun sets, your bunny lantern will glow softly, creating a cozy ambiance and a magical atmosphere that’s perfect for storytelling or nighttime adventures. Let your creativity shine as you customize your jar to reflect your personal style!
Why You’ll Love This DIY Glow-in-the-Dark Bunny Lantern Jar:
- Fun for All Ages: This craft is suitable for kids and adults alike, making it a great family project.
- Easy to Make: With simple materials and straightforward steps, anyone can create this glowing delight.
- Customizable Design: Personalize the lantern with different colors, sizes, and patterns.
- Eco-Friendly Option: Repurpose old jars instead of buying new decor.
- Magical Glow: Watch your bunny lantern light up at night, adding a whimsical touch to any room.
Materials
- Clear glass jar or vase
- Glow-in-the-dark paint
- Paintbrush
- Bunny stencil or template
- Black acrylic paint
- Adhesive vinyl or contact paper (optional)
- Craft scissors
- Newspaper or drop cloth for protection
Full Step-by-Step
1. Prepare Your Work Area
- Lay down newspaper or a drop cloth to protect surfaces from paint.
2. Create Your Bunny Design
- If using a stencil, position it on the jar and secure it in place with tape.
- Alternatively, trace or cut a bunny shape from vinyl or contact paper.
3. Paint the Bunny Outline
- Using the paintbrush, carefully apply the black acrylic paint to create the bunny outline.
- Allow this layer to dry completely before proceeding.
4. Add Glow-in-the-Dark Paint
- Once the black paint is dry, start painting the inner area of the bunny shape using glow-in-the-dark paint.
- Apply a few layers for a brighter glow, ensuring each layer dries before adding the next.
5. Final Touches
- Once everything is dry, carefully remove any stencils or vinyl.
- Place the jar in a spot where it can charge in the light, enhancing the glow effect.
Tips & Variations
- Color Choices: Experiment with different colors of glow-in-the-dark paint for a personalized touch.
- Add Accessories: Consider adding ribbon or twine around the neck of the jar for extra flair.
- Seasonal Themes: Switch up the stencil designs for different holidays (e.g., pumpkins for Halloween).
- Lids and Lights: For a more dramatic effect, place a small battery-operated tea light inside the jar.
Frequently Asked Questions
1. Can I use different types of paint?
Yes, you can use fabric paint or other non-toxic paints, but ensure they are safe for indoor use.
2. What if I don’t have a stencil?
You can freehand the bunny design or print out a template online to trace.
3. How long does the glow last?
The duration of the glow depends on the quality of the paint and the amount of light it absorbs. Generally, it will shine for a few hours.
4. Can I use plastic jars instead of glass?
Yes, but the glow effect might vary. Glass jars tend to provide a better result due to their transparency.
Suggestions
- Create a themed set of jars featuring different animals or designs for a charming display.
- Use these lanterns as table centerpieces for parties or festive gatherings.
- Pair the glow-in-the-dark bunny with fairy lights for added ambience.
Final Thoughts
This DIY Glow-in-the-Dark Bunny Lantern Jar is not just a craft; it’s an opportunity to unleash your creativity and make something magical that brings joy to your home. We’d love to see your versions of this project! Please share your creations or leave a comment below, and let’s inspire each other with our glowing masterpieces!
Print
DIY Glow-in-the-Dark Bunny Lantern Jar
- Total Time: 15 minutes
- Yield: 1 lantern
- Diet: N/A
Description
Brighten your home with this enchanting DIY Glow-in-the-Dark Bunny Lantern Jar, perfect for spring or Easter.
Ingredients
- Clear glass jar or vase
- Glow-in-the-dark paint
- Paintbrush
- Bunny stencil or template
- Black acrylic paint
- Adhesive vinyl or contact paper (optional)
- Craft scissors
- Newspaper or drop cloth for protection
Instructions
- Prepare Your Work Area: Lay down newspaper or a drop cloth to protect surfaces from paint.
- Create Your Bunny Design: Position the stencil on the jar and secure it with tape, or trace a bunny shape from vinyl.
- Paint the Bunny Outline: Use the paintbrush to apply black acrylic paint for the bunny outline. Let it dry completely.
- Add Glow-in-the-Dark Paint: Paint the inner area of the bunny shape with glow-in-the-dark paint, applying several layers, drying each one before adding the next.
- Final Touches: Remove stencils or vinyl carefully, and place the jar in light to enhance the glow effect.
Notes
Experiment with different colors and designs. Consider adding ribbon or twine for flair.
- Prep Time: 15 minutes
- Cook Time: 0 minutes
- Category: Craft
- Method: DIY Crafting
- Cuisine: N/A
Nutrition
- Serving Size: 1 lantern
- Calories: Not applicable
- Sugar: 0g
- Sodium: 0mg
- Fat: 0g
- Saturated Fat: 0g
- Unsaturated Fat: 0g
- Trans Fat: 0g
- Carbohydrates: 0g
- Fiber: 0g
- Protein: 0g
- Cholesterol: 0mg

