Introduction
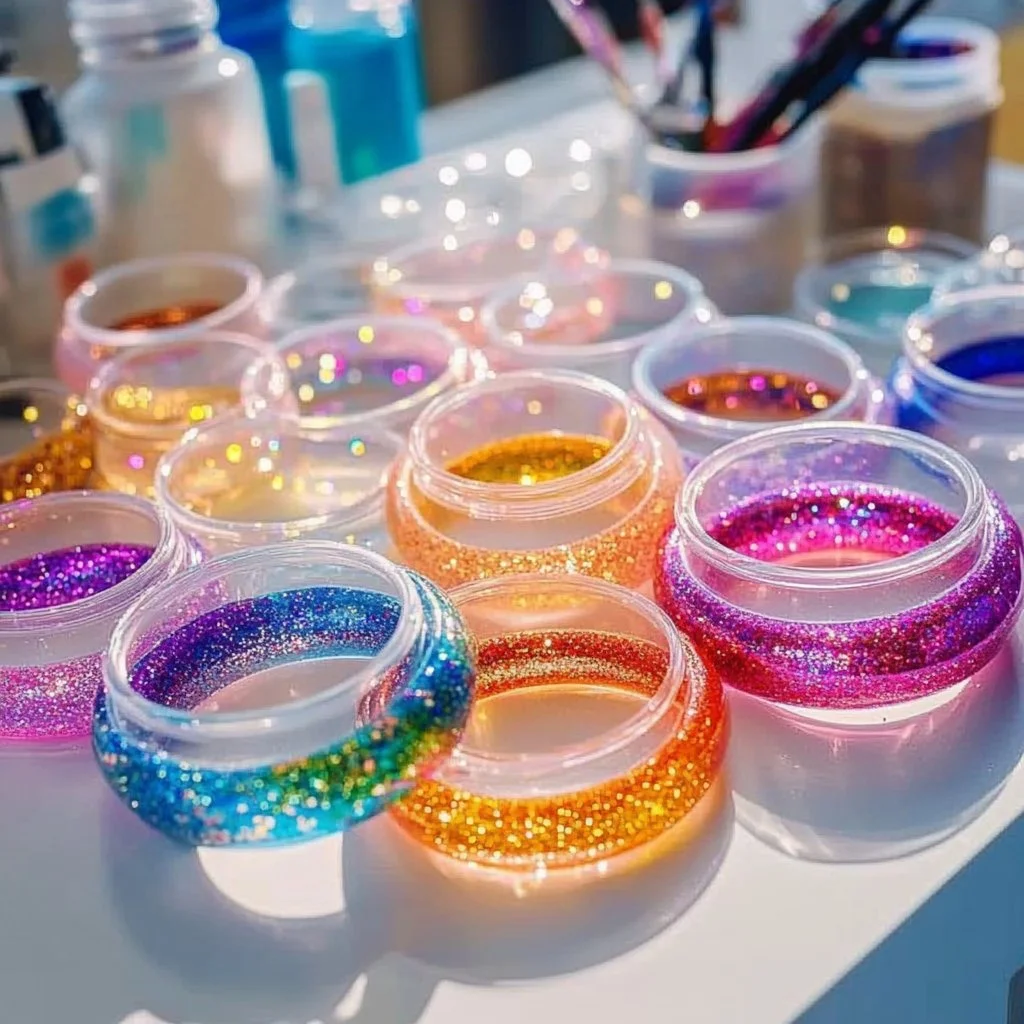
Creating your own jewelry can be an incredibly fulfilling experience, and DIY glitter tube bracelets offer an exciting way to combine creativity with a bit of sparkle. Whether you’re looking to make unique accessories for yourself or fun gifts for friends, this craft project is perfect for crafters of all ages. With a variety of materials and endless customization options, these glitter tube bracelets not only allow you to express your personal style but also make for a fun afternoon activity. Plus, the process is simple and engaging, making it a great choice for parties, sleepovers, or family bonding time. So gather your supplies, unleash your inner artist, and let’s dive into this dazzling DIY project!
Why You’ll Love This DIY Glitter Tube Bracelets:
- Endless Customization: Choose colors, patterns, and designs that suit your style.
- Fun for All Ages: Perfect for kids and adults to craft together.
- Minimal Supplies Needed: Just a few materials are required.
- Great Gift Idea: Handmade bracelets make thoughtful gifts for friends and family.
- Shiny and Eye-Catching: Who doesn’t love a little extra sparkle in their accessories?
- Easy to Follow: Simple steps ensure that anyone can create beautiful bracelets.
Materials
- Clear plastic tubes (available at craft stores)
- Fine glitter (various colors)
- Small beads (optional)
- Strong adhesive (e.g., glue or epoxy)
- Jewelry string or elastic cord
- Scissors
- Funnel (optional)
- Tweezers (for bead placement)
Full Step-by-Step
Step 1: Prepare Your Tubes
- Clean and dry the clear plastic tubes.
- If they have any labels, remove them to ensure a clean surface.
Step 2: Fill the Tubes with Glitter
- Using a funnel, pour fine glitter into the tubes.
- Tip: Experiment by mixing different colors of glitter for a unique look.
Step 3: Add Beads (Optional)
- If you want to incorporate beads, use tweezers to carefully add them after the glitter.
- Sensory Cue: Listen for the gentle clink of beads as you drop them in!
Step 4: Seal the Tubes
- Apply a strong adhesive to one end of the tube and cap it securely.
- Allow it to dry completely.
Step 5: Create the Bracelet
- Cut a length of jewelry string or elastic cord.
- Thread the glitter tube onto the string, adding more beads as desired.
- Tie the ends securely to create a bracelet.
Step 6: Final Touches
- Trim any excess cord and enjoy your new accessory!
Tips & Variations
- Color Themes: Create matching sets for holidays, events, or moods.
- Swap Materials: Use glitter foam or glow-in-the-dark materials for a twist.
- Personalization: Write names or messages on adhesive labels and stick them on the tubes.
Frequently Asked Questions
Q1: Can I use different sizes of tubes?
A1: Absolutely! Experimenting with different sizes can lead to unique designs.
Q2: What if I don’t have strong adhesive?
A2: Hot glue or tape can work in a pinch, but be sure to secure well to avoid spills.
Q3: How do I clean up glitter spills?
A3: Use a damp cloth or sticky tape to pick up glitter easily.
Q4: Can toddlers participate in this project?
A4: While they can help, adult supervision is recommended due to small parts and adhesives.
Suggestions
- Consider making matching bracelets for a group of friends.
- Host a craft night and have different glitter colors for everyone.
- Create themed bracelets for specific occasions, such as birthdays or holidays.
Final Thoughts
Crafting your own glitter tube bracelets is not just a fun activity, but also a fantastic way to express your creativity and individuality. Once you create your own, we’d love to see your versions! Share your designs or leave a comment below, and let us know how your crafting experience went. Happy crafting!
Print
DIY Glitter Tube Bracelets
- Total Time: 15 minutes
- Yield: 1 bracelet
- Diet: N/A
Description
Create your own stunning glitter tube bracelets with minimal supplies and endless customization options. Perfect for all ages!
Ingredients
- Clear plastic tubes
- Fine glitter (various colors)
- Small beads (optional)
- Strong adhesive (e.g., glue or epoxy)
- Jewelry string or elastic cord
- Scissors
- Funnel (optional)
- Tweezers (for bead placement)
Instructions
- Prepare your tubes by cleaning and drying them, removing any labels.
- Using a funnel, pour fine glitter into the tubes.
- If desired, add beads using tweezers.
- Seal the tubes by applying a strong adhesive to one end and cap it securely.
- Create the bracelet by cutting a length of jewelry string or elastic cord, then thread the glitter tube onto the string, adding more beads if desired.
- Tie the ends securely and trim any excess cord.
Notes
Experiment with different colors and sizes of tubes for unique designs. Adult supervision is recommended for younger children due to small parts.
- Prep Time: 15 minutes
- Cook Time: 0 minutes
- Category: Crafts
- Method: DIY
- Cuisine: N/A
Nutrition
- Serving Size: 1 bracelet
- Calories: 0
- Sugar: 0g
- Sodium: 0mg
- Fat: 0g
- Saturated Fat: 0g
- Unsaturated Fat: 0g
- Trans Fat: 0g
- Carbohydrates: 0g
- Fiber: 0g
- Protein: 0g
- Cholesterol: 0mg

