- Introduction
Creating a DIY frog planter out of a plastic bottle is a fun and creative way to recycle while adding a playful touch to your garden or indoor space. This charming craft not only gives new life to an empty bottle but also serves as an adorable home for your favorite plants. Perfect for kids and adults alike, this project encourages creativity and can be easily customized to suit your style. Whether you’re an experienced crafter or new to DIY projects, making a frog planter is an enjoyable way to spend an afternoon while promoting sustainability. Let’s hop into the details of this delightful craft!
- Why You’ll Love This DIY Frog Planter Using a Plastic Bottle:
- Eco-Friendly: Reuses plastic bottles, reducing waste.
- Simple and Fun: Easy to make, perfect for all skill levels.
- Customizable: Personalize with your favorite colors, patterns, and plants.
- Great for Kids: An engaging project that sparks creativity in young crafters.
- Unique Decor: Adds a whimsical touch to your home or garden.
- Perfect Gift: A thoughtful and handmade gift for friends and family.
- Materials:
- 1 clean plastic bottle (2-liter size works best)
- Green acrylic paint
- Black and white permanent markers
- Scissors or a craft knife
- Paintbrush
- Potting soil
- Succulent or small plant
- Small stones or gravel (for drainage)
- Optional: googly eyes, crafting glue
- Full Step-by-Step:
Prepare the Bottle
- Clean the Bottle: Rinse out the plastic bottle thoroughly to remove any residue.
- Cut the Bottle: Use scissors to cut the bottle in half horizontally. Keep the bottom half to create the planter.
Paint the Frog
- Paint the Bottle: Use green acrylic paint to cover the exterior of the bottle’s bottom half. Apply a second coat for a vibrant color.
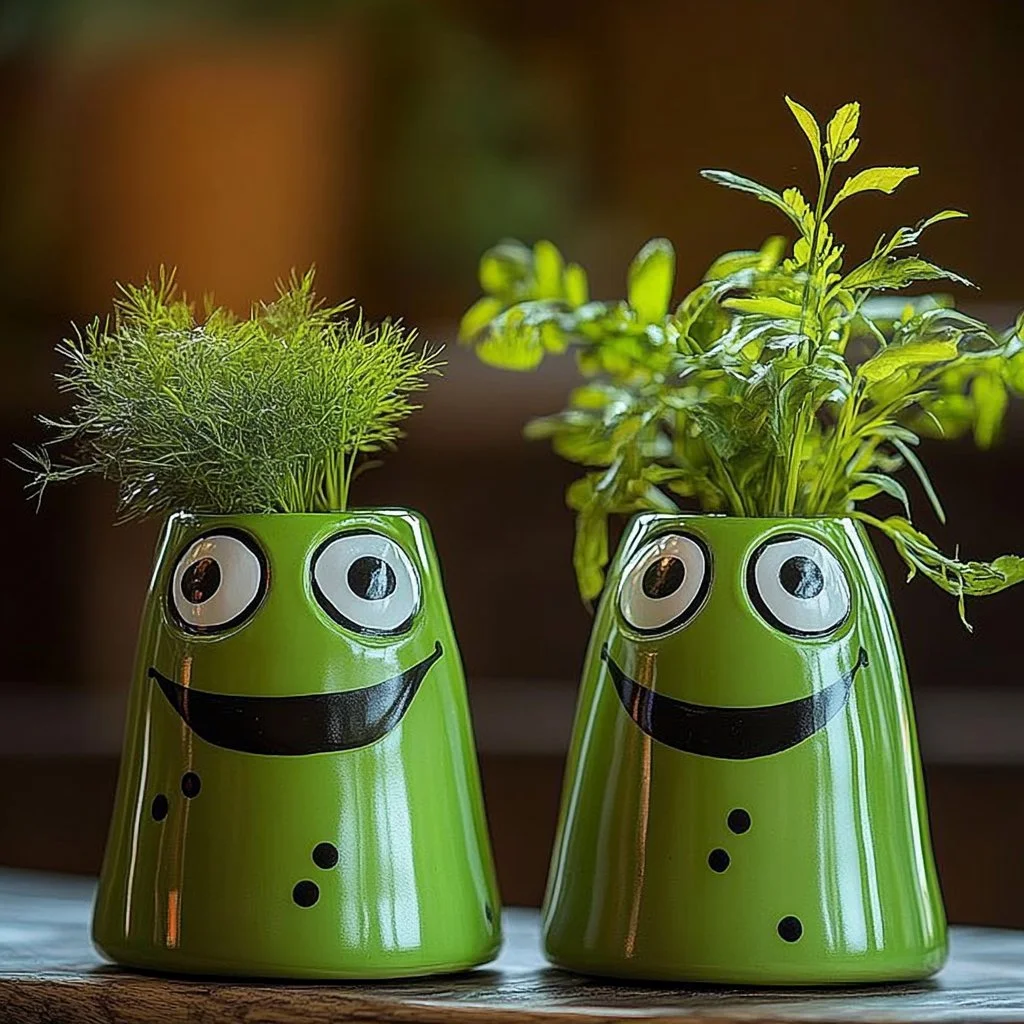
- Add Eyes: Once the paint has dried, use black and white markers or googly eyes to create the frog’s face and details. Be creative!
Assemble the Planter
- Add Drainage: Place small stones or gravel at the bottom of the painted bottle for drainage.
- Fill with Soil: Add potting soil on top of the stones, leaving enough space for your plant.
- Plant Your Succulent: Gently remove the plant from its pot and place it in the frog planter. Fill around the plant with additional soil.
Final Touches
- Water: Lightly water the plant to help settle the soil.
- Display: Place your finished frog planter in a sunny spot and admire your work!
- Tips & Variations:
- Customize the Color: Experiment with different paint colors to create a unique frog design.
- Add Accessories: Use crafting supplies to embellish your planter, like flowers or butterflies.
- Swap Plants: Try different types of plants that thrive in small spaces, such as herbs or flowering plants.
- Create a Family: Make several frog planters of varying sizes to create a playful display.
- Frequently Asked Questions:
Q1: Can I use a smaller bottle for this project?
A1: Yes, you can use any size plastic bottle! Just adjust the amount of soil and the type of plant accordingly.
Q2: What types of plants work best for the frog planter?
A2: Succulents, small herbs, or even flowers that don’t require deep soil work well in this type of planter.
Q3: How can I ensure my plant gets enough sunlight?
A3: Place your frog planter in a bright, sunny location, or consider rotating it regularly to ensure even exposure to light.
Q4: Can I paint the bottle with spray paint instead of acrylic?
A4: While you can use spray paint, be cautious to ensure it is safe for gardening and outdoors. Allow it to cure completely before using it for plants.
- Suggestions:
- Consider pairing your frog planter with other animal designs, such as a turtle or ladybird, for a whimsical garden theme.
- Plan a craft day with friends or family; it’s a great opportunity to bond and share creative ideas!
- Final Thoughts
Creating a DIY frog planter is not just a fun craft; it’s a personal statement for your home or garden. We encourage you to dive into this creative project, and we would love to see your versions! Share your finished frog planters or any tips you discover along the way in the comments below! Happy crafting!

DIY Frog Planter Using a Plastic Bottle
- Total Time: 15 minutes
- Yield: 1 planter 1x
- Diet: N/A
Description
A fun and eco-friendly craft to create a charming frog planter from a plastic bottle, perfect for kids and adults alike.
Ingredients
- 1 clean plastic bottle (2-liter size works best)
- Green acrylic paint
- Black and white permanent markers
- Scissors or a craft knife
- Paintbrush
- Potting soil
- Succulent or small plant
- Small stones or gravel (for drainage)
- Optional: googly eyes, crafting glue
Instructions
- Clean the Bottle: Rinse out the plastic bottle thoroughly to remove any residue.
- Cut the Bottle: Use scissors to cut the bottle in half horizontally. Keep the bottom half to create the planter.
- Paint the Bottle: Use green acrylic paint to cover the exterior of the bottle’s bottom half. Apply a second coat for a vibrant color.
- Add Eyes: Once the paint has dried, use black and white markers or googly eyes to create the frog’s face and details.
- Add Drainage: Place small stones or gravel at the bottom of the painted bottle for drainage.
- Fill with Soil: Add potting soil on top of the stones, leaving enough space for your plant.
- Plant Your Succulent: Remove the plant from its pot and place it in the frog planter, filling around it with additional soil.
- Water: Lightly water the plant to help settle the soil.
- Display: Place your finished frog planter in a sunny spot.
Notes
Customize colors and accessories to create a unique frog design. Consider making several frog planters in varying sizes for a playful display.
- Prep Time: 15 minutes
- Cook Time: 0 minutes
- Category: Craft
- Method: Crafting
- Cuisine: N/A
Nutrition
- Serving Size: 1 planter
- Calories: 0
- Sugar: 0g
- Sodium: 0mg
- Fat: 0g
- Saturated Fat: 0g
- Unsaturated Fat: 0g
- Trans Fat: 0g
- Carbohydrates: 0g
- Fiber: 0g
- Protein: 0g
- Cholesterol: 0mg

