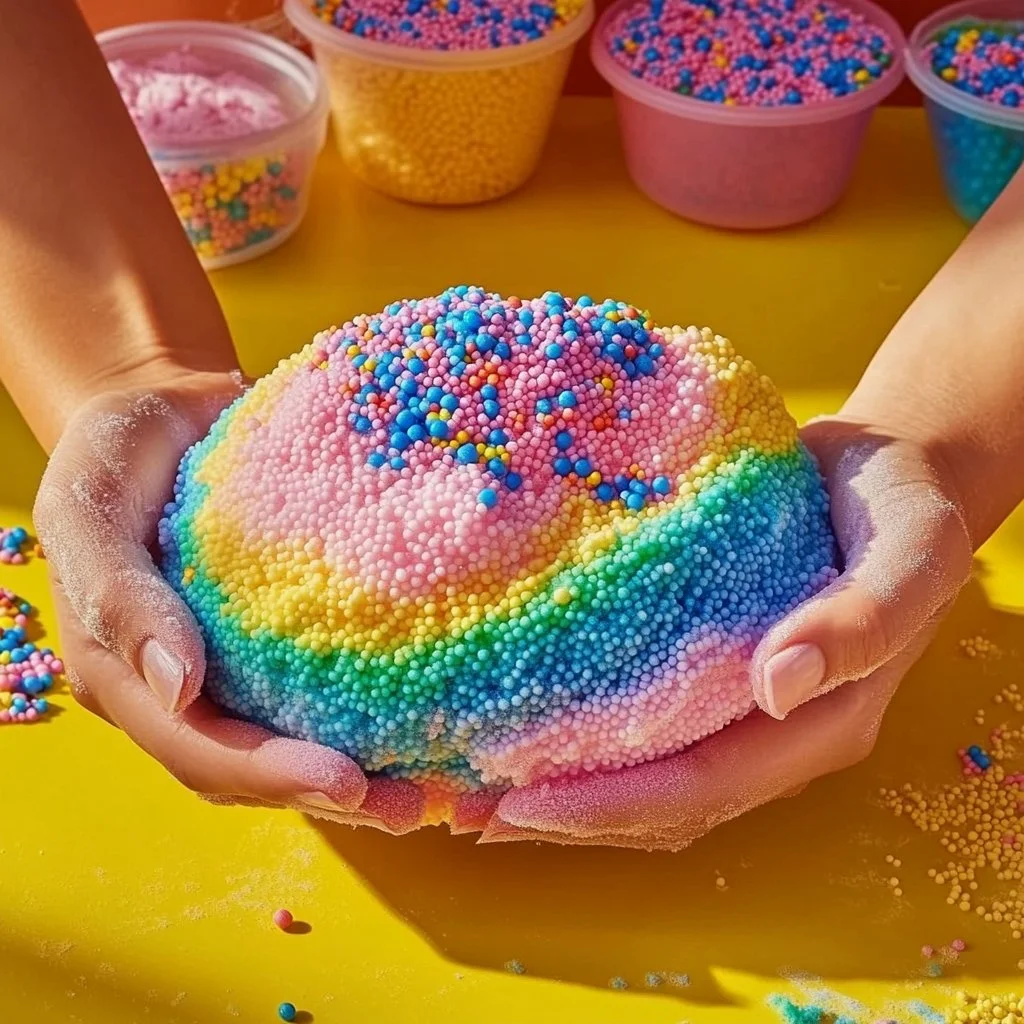
DIY Floam
Growing up in my grandmother’s cozy kitchen, summers were all about concocting fun, hands-on projects that kept both the kids and the creative juices flowing. Among the many activities we tackled, making our own colorful floam was always a favorite. This delightful, puffy, and squishy material offered unlimited hours of entertainment and was a seasonally cherished tradition that blended creativity with sensory play. It made my mama’s days brighter as we made memories, and now, I want to share this nostalgic experience with you!
With winter upon us, what better way to brighten the chilly days than by creating your very own DIY floam? This simple and engaging craft is not only a wonderful way to bond with family but also introduces the fun of texture and color to your home. It’s easy to make, customizable, and a surefire hit with both kids and adults alike. Grab your ingredients, roll up your sleeves, and let’s dive into the world of floam!
Why You’ll Love This DIY Floam
- Kid-Approved: Perfect for children and fosters imaginative play.
- Customizable Colors: Add your favorite hues to make it uniquely yours.
- Sensory Play: Great for developing fine motor skills through tactile engagement.
- Non-Toxic Ingredients: Safe for little hands.
- Quick and Easy: Whip it up in under 30 minutes with simple pantry items.
Ingredients
- 1 cup white school glue
- ½ cup shaving cream (whipped)
- 1 cup foam ball filler (styrofoam or similar)
- 1 tablespoon contact lens solution
- Food coloring (optional, as desired)
- Baking soda (1 teaspoon for added texture)
Step-by-Step Instructions
1. Mix Glue and Shaving Cream
- In a large mixing bowl, combine the white school glue and whipped shaving cream.
- Stir well until the mixture is thoroughly blended and fluffy.
2. Add Color
- If you’d like to add a splash of color, drip in your preferred food coloring.
- Mix until you achieve your desired shade.
3. Incorporate Foam Ball Filler
- Gradually fold in the foam ball filler into the glue and shaving cream mixture.
- The texture should transform into a lightweight, puffy concoction.
4. Activate the Floam
- Sprinkle in the baking soda and pour in the contact lens solution.
- Mix thoroughly until the floam begins to clump together.
5. Knead and Play
- Once combined, knead the mixture with your hands to enhance the texture and ensure an even consistency.
- Enjoy your new DIY floam creation as a sensory treat!
Tips & Variations
- Add Glitter: For a sparkling touch, sprinkle in some glitter before kneading.
- Experiment with Colors: Mix colors to create unique shades or use seasonal palettes.
- Flavor/Scents: Add a drop of essential oil for a delightful scent.
- Storage: Store in an airtight container to keep it fresh longer.
Storage Instructions
- Store the floam in an airtight container at room temperature.
- If properly stored, it can last for up to two weeks without drying out.
Nutritional Information
- Prep Time: 10 minutes
- Cook Time: 0 minutes
- Total Time: 10 minutes
- Calories per Serving: N/A (not edible)
- Servings: This recipe yields approximately 2 cups of floam.
Frequently Asked Questions
1. Is this floam safe for children?
Yes! The ingredients are non-toxic, making it safe for kids during play.
2. Can I make floam without shaving cream?
Shaving cream provides the puffy texture, but you can experiment with other foam-based products if needed.
3. How do I store floam?
Keep it in an airtight container to prevent it from drying out.
4. What if my floam turns out too sticky?
If it’s too sticky, add a little more baking soda or foam ball filler until the texture is just right.
Serving Suggestions or Pairings
Pair your DIY floam fun with a warm cup of hot cocoa and some sweet cookies for a delightful afternoon. Gather around the table and let creativity flow while enjoying snacks!
Final Thoughts
Crafting your own floam is not just a fun activity; it’s about sharing joy and creativity with those around you. I’d love to hear how your floam turns out! Feel free to share your creations or leave a comment below with your unique twists on this recipe. Happy crafting!

