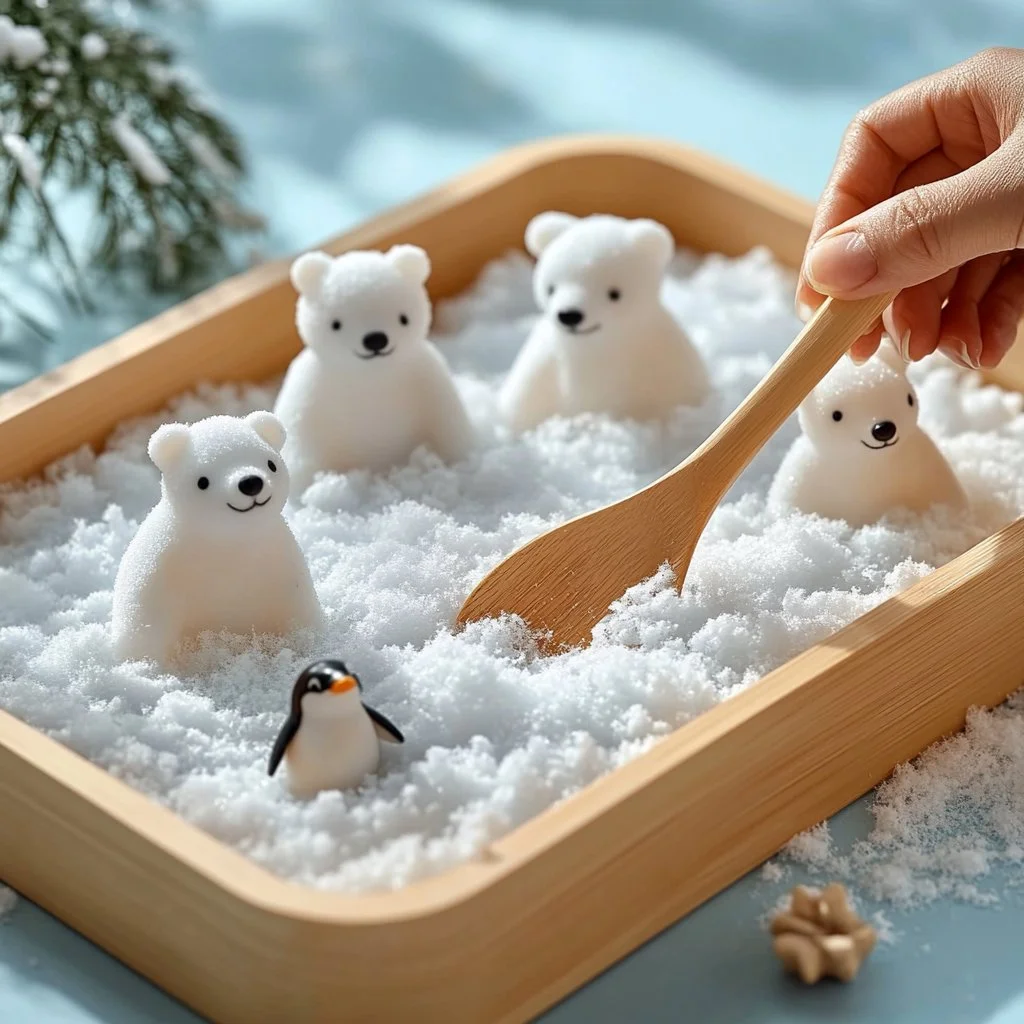
DIY Fake Snow: A Winter Wonderland Treat
Introduction
As a child, winter meant bundling up in layers and venturing outside to play in the snow, the world transformed into a sparkling white wonderland. One of my fondest memories is of helping my grandmother in the kitchen, where we’d make her special DIY fake snow during those chilly afternoons. This delightful concoction was not just a simple activity but a magical moment that brought the essence of winter indoors.
The crispness of the air mingled with the sweet scents of vanilla and powdered sugar created an atmosphere of pure joy. This DIY fake snow not only brightened our home but also sparked creativity and imagination. Perfect for festive decorations or playful sensory experiences, this recipe quickly became a staple in our holiday traditions. Whether it’s for decorating a winter-themed party or just a fun afternoon with the kids, this faux snow is sure to delight. Get ready to discover a festive treat that embodies the spirit of winter while keeping you warm inside.
Why You’ll Love This DIY Fake Snow
- Kid-Approved: Safe and fun for children to play with.
- Simple Ingredients: Uses everyday pantry staples.
- Versatile Use: Perfect for crafts, decor, or sensory play.
- Customizable: Add scents or colors to suit the occasion!
- No Cooking Required: Quick and easy to prepare.
Ingredients
- 3 cups of baking soda
- 1 cup of conditioner (any white, creamy type)
- 1 teaspoon of vanilla extract (optional for scent)
- Optional: Glitter for a sparkly effect
Step-by-Step Instructions
Step 1: Measure Your Ingredients
- In a large mixing bowl, add 3 cups of baking soda.
Step 2: Mix in the Conditioner
- Slowly pour 1 cup of conditioner over the baking soda.
- Use your hands to blend the ingredients together; it should feel soft and fluffy, resembling real snow.
Step 3: Add Vanilla (Optional)
- If you want to enhance the aroma, stir in 1 teaspoon of vanilla extract for a lovely scent.
Step 4: Customize with Glitter
- For an extra touch of magic, sprinkle in some glitter and mix well until uniformly distributed.
Step 5: Play and Enjoy!
- The texture should feel cool and slightly damp but not wet. Mold shapes and create a winter scene!
Tips & Variations
- For Different Textures: Adjust the amount of conditioner for a more crumbly or fluffier consistency.
- Scent Alternatives: Use peppermint extract for a fresh wintery aroma or essential oils for a festive touch.
- Color It Up: Add a few drops of food coloring if you want colored snow for decorating.
- Gluten-Free: Naturally gluten-free, this DIY snow is perfect for everyone!
Storage Instructions
- Store your DIY fake snow in an airtight container at room temperature for up to 2 weeks.
- If it starts to dry out, simply mix in a little more conditioner to restore its texture.
Nutritional Information
- Prep Time: 10 minutes
- Total Time: 10 minutes
- Calories per Serving: 0 (not edible but safe for sensory play!)
- Servings: Makes approximately 4 cups of fake snow.
Frequently Asked Questions
1. Can I eat this fake snow?
No, while the ingredients are not toxic, it is intended for sensory play and decoration, not for consumption.
2. How long does the fake snow last?
It can last up to 2 weeks when stored properly in an airtight container.
3. What can I do if it dries out?
You can restore it by adding a little more conditioner and mixing it well until the desired texture is achieved.
4. Can I use this fake snow for decoration?
Absolutely! It makes for a beautiful winter decoration and is safe for indoor use.
Serving Suggestions or Pairings
- Pair this DIY fake snow with hot cocoa or a winter-themed cake for a cozy treat.
- Use it as a centerpiece for your holiday table or as filling for gift boxes during winter festivities.
Final Thoughts
This DIY fake snow recipe is a testament to the joy of creation, reminiscent of childhood winters filled with laughter and family connections. I’d love to hear how this recipe works for you! Share your variations or leave a comment below. Let’s keep the magic of winter alive, one fluffy scoop at a time!

