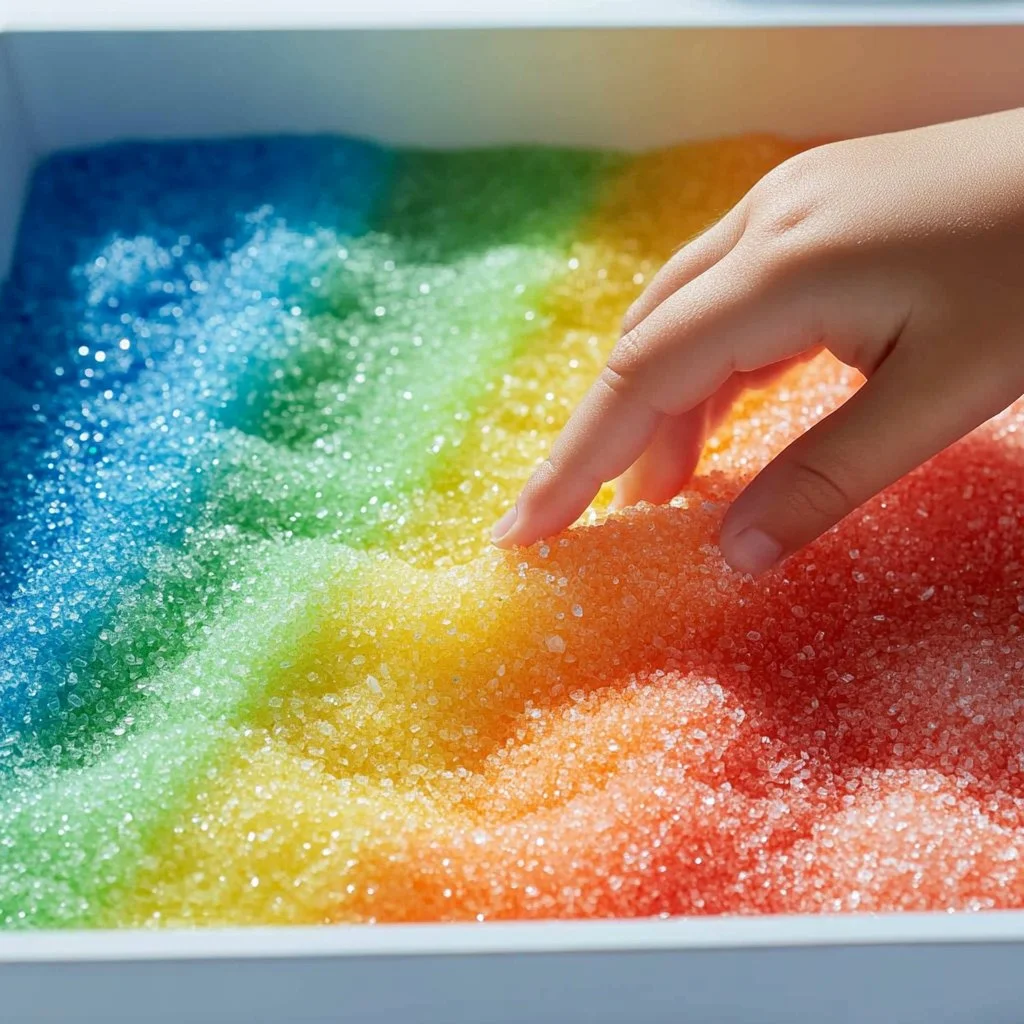
Creating a DIY dyed salt tray is not only a fun activity but also a wonderful way to engage with your senses and unleash your creativity. This craft is perfect for children and adults alike, providing an opportunity to play with colors, textures, and shapes. By transforming simple salt into a colorful medium, you can create a sensory experience that promotes focus and exploration. Whether it’s for sensory play, art projects, or educational purposes, a dyed salt tray can add vibrancy to learning and creativity. Let’s dive into this enjoyable project and discover the joys of DIY dyed salt trays.
Why You’ll Love This DIY Dyed Salt Tray:
- Engaging and Fun: Perfect for sensory play for kids and a relaxing activity for adults.
- Customizable Colors: Choose colors that match your decor or favorite themes.
- Educational Tool: Use it for letters, numbers, or art activities.
- Easy to Make: Simple ingredients and steps needed.
- Budget-Friendly: Uses inexpensive materials commonly found at home.
- Versatile: Ideal for various occasions like parties, playdates, or classroom activities.
Materials:
- 1 cup salt
- Food coloring or liquid watercolors
- Baking tray or parchment paper
- Mixing bowls and spoons
- Airtight container for storage (optional)
Full Step-by-Step:
1. Prepare Your Space
- Lay down some newspaper or a plastic tablecloth to protect your workspace.
- Gather all your materials, ensuring everything is within reach.
2. Dye the Salt
- In a mixing bowl, combine 1 cup of salt with a few drops of food coloring.
- Stir the mixture thoroughly using a spoon to achieve an even color.
- Adjust the color intensity by adding more food coloring if desired.
3. Dry the Salt
- Spread the dyed salt evenly on a baking tray lined with parchment paper.
- Preheat your oven to 200°F (93°C).
- Place the tray in the oven for about 10 minutes to dry the salt.
- Sensory Cue: Enjoy the vibrant colors and the satisfying texture of the salt.
4. Cool and Store
- Remove the tray from the oven and allow it to cool completely.
- Once cooled, store the dyed salt in an airtight container if not using immediately.
5. Create Your Tray
- Pour the cooled dyed salt into a shallow tray or container.
- Sensory Cue: Feel the grainy texture and marvel at the array of colors.
Tips & Variations:
- Color Mixing: Try blending different shades to create your custom colors.
- Texture Experimentation: Consider using coarse sea salt for a different feel.
- Natural Dyes: Swap food coloring for natural dyes made from spices or vegetable extracts for a more organic touch.
- Additives: Mix in glitter or essential oils for an extra sensory experience.
Frequently Asked Questions:
1. Can I use table salt instead of coarse salt?
Yes, table salt will work perfectly, though the texture will be different.
2. What if I want to use less salt?
You can scale down the recipe; just keep the ratio of salt to color consistent.
3. How long will the dyed salt last?
If stored in an airtight container, it can last indefinitely and won’t lose its color.
4. Is this project safe for young children?
Yes, but supervise young kids to prevent ingestion. Use edible coloring for extra safety.
Suggestions:
- Use the dyed salt for art projects like mandala designs or sand paintings.
- Incorporate the tray into learning for younger children, using it for letter and number recognition.
- Combine with other sensory materials like rice or sand for varied experiences.
Final Thoughts
DIY dyed salt trays are a delightful and sensory-rich project that can be easily tailored to your preferences. Whether creating art, enhancing educational play, or simply exploring textures, this craft is sure to bring joy and creativity into your day. We would love to see your versions of this craft! Share your creations or comments below, and let’s inspire each other!
Print
DIY Dyed Salt Tray
- Total Time: 25 minutes
- Yield: 1 tray of dyed salt 1x
- Diet: N/A
Description
Engage your senses and unleash your creativity with this fun DIY project to create colorful dyed salt trays perfect for sensory play, art projects, or educational activities.
Ingredients
- 1 cup salt
- Food coloring or liquid watercolors
- Baking tray or parchment paper
- Mixing bowls and spoons
- Airtight container for storage (optional)
Instructions
- Prepare Your Space: Lay down newspaper or a plastic tablecloth and gather all materials.
- Dye the Salt: In a mixing bowl, combine salt with food coloring and stir until evenly colored.
- Dry the Salt: Spread dyed salt on a baking tray and dry in a preheated oven at 200°F for about 10 minutes.
- Cool and Store: Let the salt cool before storing it in an airtight container.
- Create Your Tray: Pour the cooled dyed salt into a shallow tray or container.
Notes
Experiment with color mixing, natural dyes, or add glitter for a sensory experience. Supervise young children while using this craft.
- Prep Time: 15 minutes
- Cook Time: 10 minutes
- Category: Craft
- Method: Crafting
- Cuisine: DIY
Nutrition
- Serving Size: 1 tray
- Calories: 0
- Sugar: 0g
- Sodium: 0mg
- Fat: 0g
- Saturated Fat: 0g
- Unsaturated Fat: 0g
- Trans Fat: 0g
- Carbohydrates: 0g
- Fiber: 0g
- Protein: 0g
- Cholesterol: 0mg

