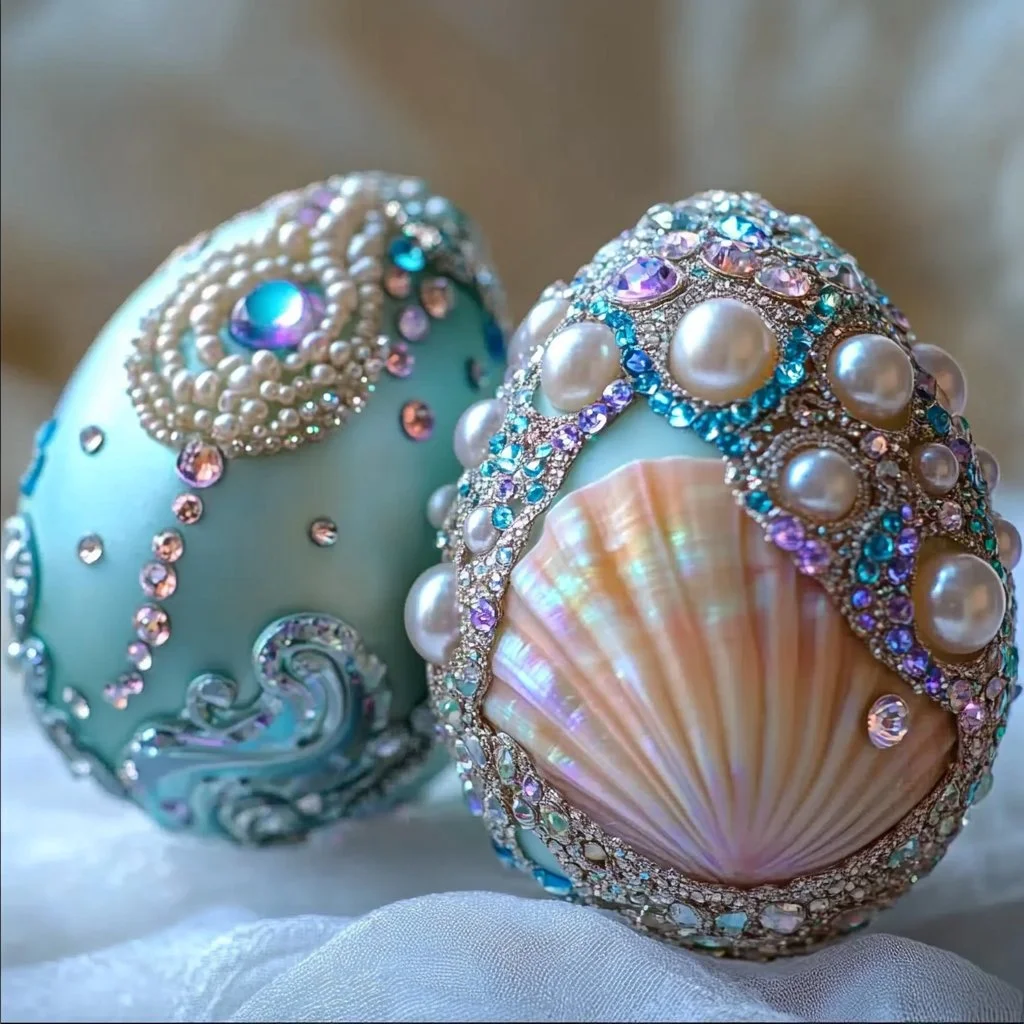
Crafting your very own dragon eggs is an enchanting project that invites the magic of creativity into your home. This DIY craft is not only a fun way to unleash your artistic flair, but it also creates stunning decorative pieces that can ignite the imagination of everyone, whether young or old. With simple materials and steps, you can create eye-catching dragon eggs that mimic the mystical aura of fantasy realms. Get ready to delve into a world of colors and textures that will surely captivate the hearts and minds of all who dare to embark on this imaginative journey.
Why You’ll Love This DIY Dragon Eggs – A Magical Craft for All Ages:
- Creative Expression: Engage your artistic side and explore different designs and colors.
- Family Fun: Perfect for family bonding, allowing both kids and adults to craft together.
- Decorative Touch: Add a whimsical touch to your home decor, especially for themed parties or celebrations.
- Gifts with a Twist: Handmade dragon eggs make unique gifts for friends who appreciate creativity.
- Quick and Easy: This project requires just a few materials and can be completed in a few hours.
Materials:
- Eggs (plastic or foam)
- Acrylic paint (various colors)
- Paintbrushes
- Glitter (gold, silver, or color of choice)
- Clear sealant (spray or paint)
- Hot glue gun (optional, for added embellishments)
- Optional: Decorative gems, beads, or feathers
Full Step-by-Step:
1. Prepare Your Workspace
- Gather all your materials on a clean, flat surface.
- Lay down newspaper or a drop cloth to protect the area.
2. Base Coat
- Choose your desired base egg color.
- Use a paintbrush to apply an even coat of acrylic paint over the entire surface of the egg.
- Allow it to dry completely (approximately 30 minutes).
3. Add Texture
- Once dry, use a different color of paint to create scales or patterns.
- Dab the brush lightly to create a spongy texture reminiscent of dragon scales.
4. Embellishments
- While the paint is still slightly wet, sprinkle glitter over the egg for a magical touch.
- If desired, hot glue decorative gems or beads onto the egg for extra flair.
5. Seal Your Creation
- Once everything is dry, use a clear sealant to protect your egg and enhance its shine.
- Allow the sealant to dry completely according to the product instructions.
6. Display Your Dragon Eggs
- Place your finished dragon eggs in a decorative bowl, on a shelf, or as centerpieces for themed events.
Tips & Variations:
- Color Combinations: Experiment with a blend of colors for a multi-toned dragon egg.
- Material Swaps: Try using spray paint or metallic finishes for a unique look.
- Size Variety: Use different-sized eggs for a more dynamic display.
- Seasonal Themes: Create a collection based on holiday colors or themes.
Frequently Asked Questions:
Q1: Can I use real eggs for this craft?
A1: It’s not recommended, as real eggs can rot and create mess. Plastic or foam eggs are ideal.
Q2: What if I don’t have a hot glue gun?
A2: You can skip embellishing or use regular craft glue, though it may take longer to dry.
Q3: How do I store my dragon eggs after crafting?
A3: Store them in a cool, dry place away from direct sunlight to preserve their colors.
Q4: Can I paint on the eggs before sealing?
A4: Yes, but ensure all paint layers are completely dry to avoid smudging.
Suggestions:
- Create a whole dragon egg nest for a dramatic display.
- Host a crafting party where everyone can make their own unique designs.
- Incorporate your dragon eggs into a story or fantasy-themed game for kids.
Final Thoughts
Crafting dragon eggs is a delightful way to unleash your creativity and add a touch of enchantment to your environment. We encourage you to make this craft your own, experimenting with colors, textures, and personal touches. Share your versions of these magical creations in the comments below! Your dragon egg might just inspire someone else’s crafting adventure!
Print
DIY Dragon Eggs – A Magical Craft for All Ages
- Total Time: 45 minutes
- Yield: 4 dragon eggs
- Diet: N/A
Description
Unleash your creativity with enchanting DIY dragon eggs that are perfect for all ages. Create stunning decorative pieces that spark imagination!
Ingredients
- Plastic or foam eggs
- Acrylic paint (various colors)
- Paintbrushes
- Glitter (gold, silver, or color of choice)
- Clear sealant (spray or paint)
- Hot glue gun (optional, for added embellishments)
- Decorative gems, beads, or feathers (optional)
Instructions
- Prepare your workspace by gathering all materials on a clean, flat surface and laying down newspaper or a drop cloth.
- Choose a base egg color and use a paintbrush to apply an even coat of acrylic paint. Allow it to dry completely (approximately 30 minutes).
- Use a different color of paint to create scales or patterns by dabbing the brush lightly.
- While the paint is still slightly wet, sprinkle glitter over the egg and add decorative gems or beads if desired.
- Once everything is dry, use a clear sealant to protect your egg and enhance its shine, letting it dry completely as per the product instructions.
- Display your finished dragon eggs in a decorative bowl or as centerpieces for themed events.
Notes
Experiment with different colors and textures for unique designs! Store finished eggs in a cool, dry place to preserve colors.
- Prep Time: 15 minutes
- Cook Time: 30 minutes
- Category: Craft
- Method: Crafting
- Cuisine: N/A
Nutrition
- Serving Size: 1 dragon egg
- Calories: 0
- Sugar: 0g
- Sodium: 0mg
- Fat: 0g
- Saturated Fat: 0g
- Unsaturated Fat: 0g
- Trans Fat: 0g
- Carbohydrates: 0g
- Fiber: 0g
- Protein: 0g
- Cholesterol: 0mg

