Introduction
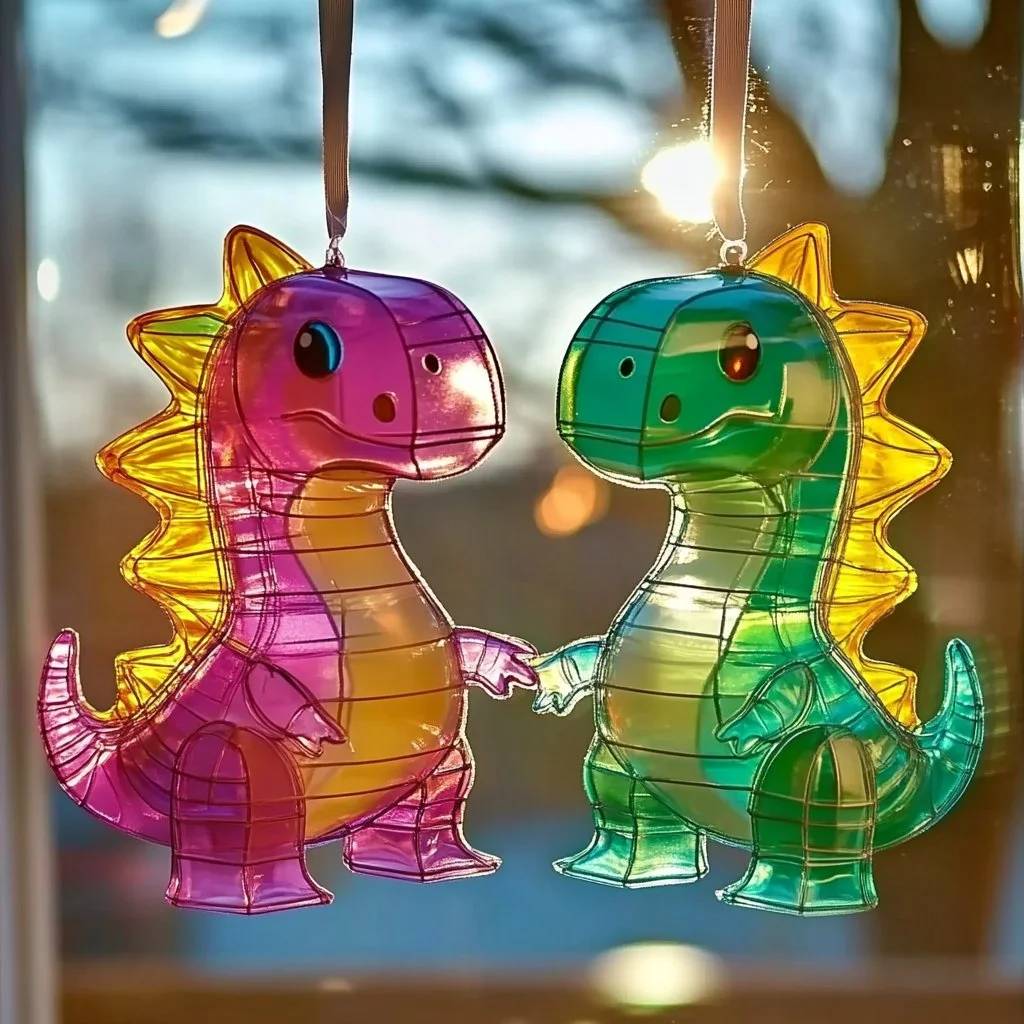
DIY Dinosaur Suncatchers are a delightful craft project that combines creativity and imagination, perfect for kids and adults alike. These vibrant decorations not only add a splash of color to your windows but also serve as a wonderful way to teach children about the prehistoric world and the magic of light. Using simple materials, you can create your own unique suncatchers featuring your favorite dinosaurs. Whether you’re planning a themed birthday party, looking for an engaging weekend project, or simply enjoying some quality family time, this crafting activity is guaranteed to spark joy and creativity. Get ready to embark on a fun, artistic journey filled with prehistoric wonders!
Why You’ll Love This DIY Dinosaur Suncatchers
- Engaging Activity: Perfect for family bonding or educational purposes.
- Creative Expression: Encourages kids to explore their artistic side.
- Easy to Make: Requires minimal materials and steps.
- Customizable Designs: Personalize each suncatcher with unique colors and patterns.
- Brightens Up Spaces: Adds vibrant colors to your home and catches the light beautifully.
Materials
- Clear plastic sheets or transparency film
- Permanent markers or acrylic paints
- Dinosaur stencils or printouts
- Scissors
- Black marker (optional for outlining)
- String or suction cups for hanging (optional)
- Water or a container for clean-up
Step-by-Step Instructions
Preparing Your Workspace
- Lay down newspaper or an old cloth to protect surfaces.
- Gather all materials within reach for convenience.
Create the Dinosaurs
- Choose Your Stencils: Select your favorite dinosaur images or create your own.
- Trace the Stencils: Place the stencil under the clear plastic sheet and trace it with a permanent marker or black marker for outlines.
Start Coloring
- Add Color: Use permanent markers or acrylic paints to color in your dinosaurs.
- Experiment with Techniques: Try layering colors, blending, or stippling for a unique look.
Cutting Out the Shapes
- Carefully Cut: Once the coloring is dry, use scissors to cut out your dinosaur shapes.
- Make a Hole (Optional): If you want to hang them, make a small hole in the top of each suncatcher.
Tips & Variations
- Different Shapes: Consider creating other prehistoric creatures or plants for a more diverse display.
- Layering: Create multiple layers of suncatchers for a 3D effect by gluing two pieces together.
- Material Swaps: Try using colored tissue paper for a softer look.
- Customize Colors: Encourage kids to invent their own color schemes that reflect their unique style.
Frequently Asked Questions
Q: Can I use regular markers instead of permanent markers?
A: Regular markers may smudge when wet or fade over time, so permanent markers are recommended for vibrant, long-lasting colors.
Q: Are these suncatchers weatherproof?
A: While they are suitable for indoor use, prolonged exposure to sunlight and weather elements can fade the colors. Consider placing them indoors or in a protected area.
Q: Can I use other materials for suncatchers?
A: Yes! You can use things like tissue paper, foil, or recycled plastic containers. Just ensure they can catch light effectively.
Q: How should I clean my suncatchers?
A: Wipe them gently with a damp cloth or use a mild glass cleaner to avoid smudging the designs.
Serving Suggestions or Pairings
While this craft is delightful on its own, consider pairing it with some chilled lemonade or fruit-infused water for a refreshing drink during your crafting time. It also makes a lovely companion to a themed dinosaur movie marathon, enhancing the fun atmosphere!
Final Thoughts
Creating DIY Dinosaur Suncatchers is a fantastic way to merge creativity with fun education about dinosaurs. These vibrant crafts are not only visually appealing but also a reminder of sweet family moments spent together. We would love to hear about your crafting adventures! Share your versions or leave a comment below with your thoughts and tips. Happy crafting!
Print
DIY Dinosaur Suncatchers
- Total Time: 15 minutes
- Yield: Varies by quantity of suncatchers made
- Diet: N/A
Description
Create vibrant dinosaur-themed suncatchers using simple materials for a fun and engaging family craft project.
Ingredients
- Clear plastic sheets or transparency film
- Permanent markers or acrylic paints
- Dinosaur stencils or printouts
- Scissors
- Black marker (optional for outlining)
- String or suction cups for hanging (optional)
- Water or a container for clean-up
Instructions
- Prepare your workspace by laying down newspaper or an old cloth to protect surfaces.
- Gather all materials within reach for convenience.
- Select your favorite dinosaur images or create your own stencils.
- Place the stencil under the clear plastic sheet and trace with a permanent marker or black marker.
- Add color using permanent markers or acrylic paints, experimenting with layering, blending, or stippling.
- Once the coloring is dry, carefully cut out your dinosaur shapes using scissors.
- If desired, make a small hole in the top of each suncatcher for hanging.
Notes
Encourage kids to invent their own color schemes. Consider creating other prehistoric creatures or plants for a diverse display.
- Prep Time: 15 minutes
- Cook Time: 0 minutes
- Category: Craft
- Method: Crafting
- Cuisine: N/A
Nutrition
- Serving Size: N/A
- Calories: 0
- Sugar: 0g
- Sodium: 0mg
- Fat: 0g
- Saturated Fat: 0g
- Unsaturated Fat: 0g
- Trans Fat: 0g
- Carbohydrates: 0g
- Fiber: 0g
- Protein: 0g
- Cholesterol: 0mg

