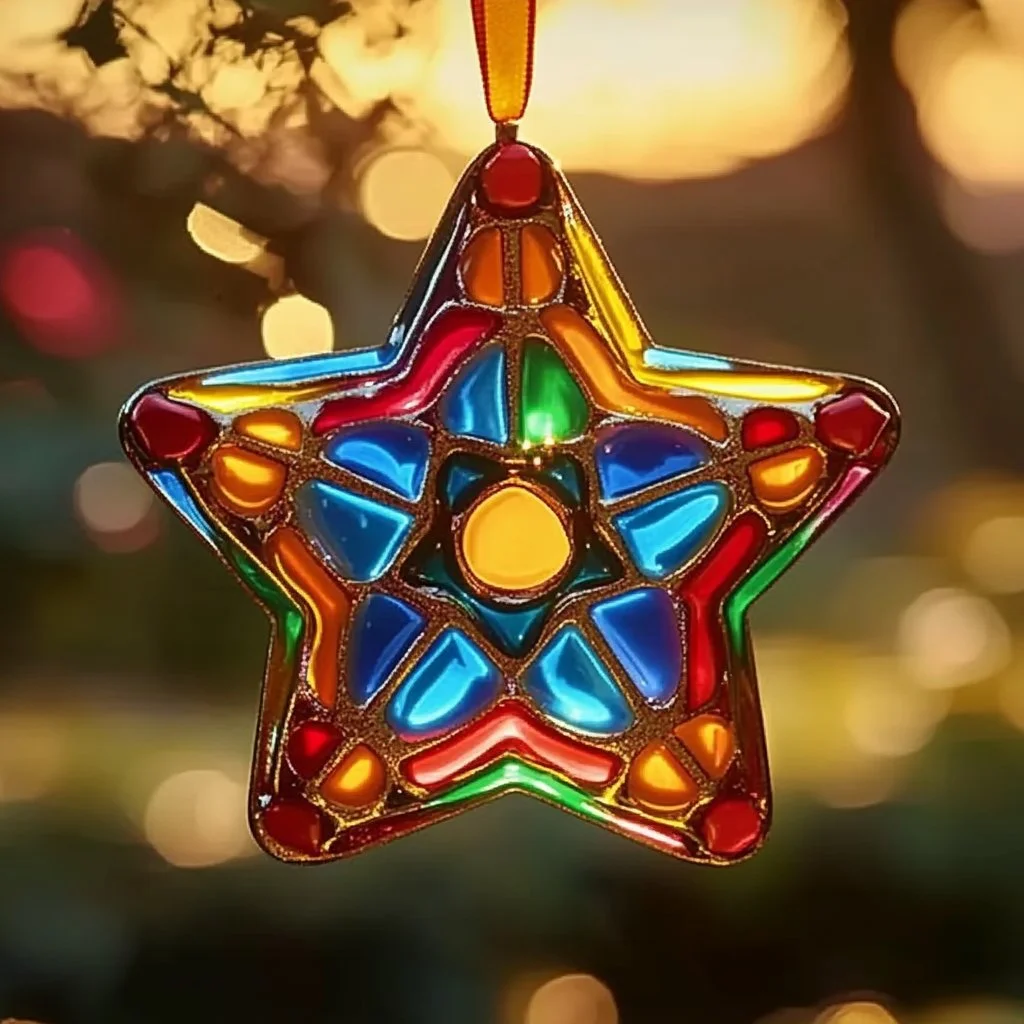
Creating DIY Crayon Suncatchers is a fun and vibrant way to add color to your space while engaging in a creative project. This simple craft not only brings joy to children and adults alike but also recycles old crayons that may have lost their shine. As sunlight filters through these beautiful creations, it transforms ordinary windows into a canvas of colorful patterns. All you need are a few supplies and a bit of time to watch your environment brighten up with these artistic displays. Whether you’re looking for an afternoon activity with the kids or a relaxing solo project, DIY Crayon Suncatchers offer both a sense of accomplishment and a splash of creativity to your home.
Why You’ll Love This DIY Crayon Suncatchers
- Easy to Make: Requires minimal supplies and effort.
- Eco-Friendly: Utilize broken or old crayons that might otherwise be discarded.
- Customizable: You can choose any colors or shapes you desire.
- Sensory-Stimulating: Enjoy the colorful melting process and the resulting textures.
- Beautiful Display: Creates stunning light patterns when hung in windows.
- Fun for All Ages: Suitable for kids and adults, making it a perfect family activity.
Materials
- Broken crayons (varied colors)
- Silicone molds (shapes of your choice)
- Baking sheet or pan
- Oven
- Parchment paper (optional for easy cleanup)
- Sander or sandpaper (for a smooth finish, optional)
- String or fishing line (for hanging)
Step-by-Step Instructions
Preheat the Oven
- Preheat your oven to 200°F (93°C). This low heat allows the crayons to melt evenly without burning.
Prepare the Molds
- Choose silicone molds in fun shapes like hearts, stars, or flowers.
- If desired, line the molds with parchment paper for easier release later.
Crayon Preparation
- Unwrap the broken crayons and break them into smaller pieces.
- Mix and match colors for unique designs—let your creativity flow!
Fill the Molds
- Place the crayon pieces into the molds, filling them about 3/4 full.
- Aim for a mix of colors to create a marbled effect.
Bake
- Place the molds on a baking sheet and put them in the oven.
- Bake for about 10-15 minutes, until the crayons are completely melted.
Cool and Remove
- Carefully remove the molds from the oven (they will be hot!).
- Let them cool at room temperature for about 30 minutes.
- Once cool, gently pop out the suncatchers.
Finish and Hang
- If needed, use sandpaper to smooth out any rough edges.
- Attach a string or fishing line to each suncatcher for hanging.
Tips & Variations
- Color Combinations: Experiment with color layers for interesting patterns.
- Shape Variety: Use different molds like cookie cutters or muffin tins for unique shapes.
- Surface Finish: For a shiny finish, you can coat the suncatchers with a clear craft sealant.
- Seasonal Themes: Create specific designs for holidays (pumpkins for Halloween, snowflakes for winter).
Frequently Asked Questions
Q1: Can I use crayons that aren’t Crayola?
A1: Yes, any brand of crayons can work, but be aware that some may melt differently.
Q2: What if I don’t have silicone molds?
A2: You can use paper cup liners or muffin tins, but silicone molds are easier to work with for popping out the finished product.
Q3: Can I add glitter to the crayons?
A3: Absolutely! Just mix in a small amount of glitter before baking for a sparkling effect.
Q4: How do I clean up if crayons spill?
A4: If wax spills in the oven, allow it to cool completely and then gently scrape it off once hardened. For any other surfaces, a paper towel as you work while wet can help catch spills.
Serving Suggestions or Pairings
Enhance your crafting session with a refreshing drink like iced lemonade or herbal tea. Pair your suncatcher-making experience with some light snacks such as fruit skewers or popcorn to keep energy levels up while being creative.
Final Thoughts
DIY Crayon Suncatchers are not only a delightful craft but also a beautiful addition to any window. Whether you hang them in a sunroom, kids’ playroom, or even in your own workspace, they bring a splash of color and joy into your life. Share your versions, variations, or any tips you discover along the way in the comments below! We’d love to see how your creations turn out!
Print
DIY Crayon Suncatchers
- Total Time: 30 minutes
- Yield: 4-6 suncatchers
- Diet: N/A
Description
Create vibrant and colorful suncatchers using old crayons. A fun and eco-friendly craft perfect for all ages.
Ingredients
- Broken crayons (varied colors)
- Silicone molds (shapes of your choice)
- Baking sheet or pan
- Oven
- Parchment paper (optional for easy cleanup)
- Sander or sandpaper (for a smooth finish, optional)
- String or fishing line (for hanging)
Instructions
- Preheat your oven to 200°F (93°C).
- Choose silicone molds and line with parchment paper if desired.
- Unwrap and break the crayons into smaller pieces, mixing colors.
- Fill the molds with crayon pieces about 3/4 full.
- Bake in the oven for 10-15 minutes until melted.
- Carefully remove from the oven and let cool for about 30 minutes.
- Pop out the suncatchers and smooth edges if necessary.
- Attach string or fishing line for hanging.
Notes
Experiment with color combinations and shapes for unique designs. Consider seasonal themes for added creativity.
- Prep Time: 15 minutes
- Cook Time: 15 minutes
- Category: Crafts
- Method: Crafting
- Cuisine: N/A
Nutrition
- Serving Size: 1 suncatcher
- Calories: Variable based on materials used
- Sugar: 0g
- Sodium: 0mg
- Fat: 0g
- Saturated Fat: 0g
- Unsaturated Fat: 0g
- Trans Fat: 0g
- Carbohydrates: 0g
- Fiber: 0g
- Protein: 0g
- Cholesterol: 0mg

