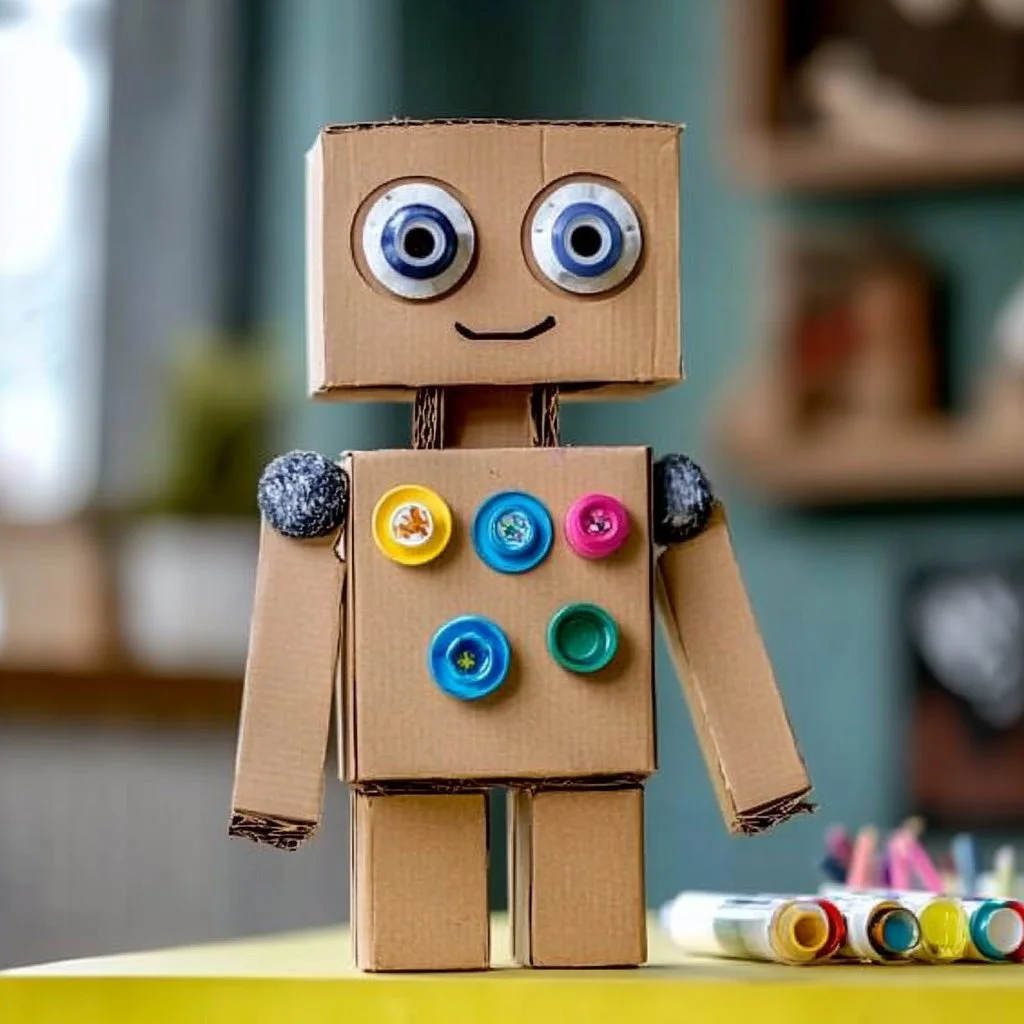
Creating a DIY cardboard robot is not only a fun and engaging activity but also a fantastic way to unleash your creativity. Whether you’re looking for a project to do with kids, a way to repurpose cardboard, or simply a unique craft idea, this cardboard robot will provide hours of entertainment. With just a few materials and simple instructions, you can transform ordinary cardboard into an extraordinary robot that can be customized to reflect your personality or your favorite sci-fi character. This project encourages imaginative play and is perfect for all ages. Plus, building your own robot allows you to explore engineering concepts while having a blast. Get ready to dive into the world of creativity and innovation with this hands-on DIY cardboard robot project!
Why You’ll Love This DIY Cardboard Robot
- Affordable: Uses recyclable materials you likely already have at home.
- Customizable: Personalize your robot with paints, stickers, or other decorations.
- Educational: Teaches basic engineering and design principles.
- Sustainable: Repurposes cardboard, reducing waste.
- Fun for All Ages: Enjoyable for kids and adults alike, great for family bonding.
- Unique Decor: A quirky addition to your room or workspace.
Materials
- Cardboard boxes
- Scissors
- Hot glue gun or glue
- Markers or paints
- Ruler
- Pencil
- Pipe cleaners (optional for arms and antennas)
- Googly eyes (optional for facial features)
- Craft paper or stickers (for decoration)
Step-by-Step Instructions
Step 1: Gather Materials
Collect all your materials in a clean workspace. Make sure you have everything ready before starting the project.
Step 2: Design Your Robot
- Use a pencil to sketch your robot’s design on a piece of cardboard first.
- Think about the size and shape of the body, head, arms, and legs.
Step 3: Cut Out the Cardboard Pieces
- Carefully cut out the shapes for the body, head, arms, and legs using scissors.
- Ensure all edges are smooth to prevent any cuts.
Step 4: Assemble the Body
- Start gluing the body pieces together using a hot glue gun.
- Hold each piece in place for a few seconds until it bonds well.
Step 5: Add Details
- Attach arms and legs using additional pieces of cardboard or pipe cleaners for flexibility.
- Glue on googly eyes, draw a mouth, and use crafts paper for added features.
Step 6: Paint and Decorate
- Use markers or paint to decorate your robot.
- Get creative! Add colors, patterns, and any designs you envision.
Step 7: Let It Dry
- Allow your robot to dry completely. This is important for the glue and paint to set.
Tips & Variations
- Personalize with Themes: Create robots based on your favorite movies or games.
- Swap Materials: Use recycled items like bottle caps and old electronics for unique features.
- Add Movement: Use straws and skewer sticks to create movable arms or legs.
Frequently Asked Questions
1. What type of cardboard works best for this project?
Any type of cardboard will work, but thicker cardboard (like cereal boxes) provides better stability.
2. Can I paint my robot with acrylic paint?
Yes, acrylic paint works well, but ensure the glue is completely dry before painting.
3. How can I make my robot sturdier?
Use additional layers of cardboard for the body and reinforce joints with more glue.
4. What can I do if I don’t have a hot glue gun?
You can use regular craft glue, but it may take longer to dry and hold.
Serving Suggestions or Pairings
- Pair this project with a movie night featuring sci-fi classics.
- Enjoy snacks like popcorn or candy while crafting.
- Set the finished robot in a themed display with other crafts or toys.
Final Thoughts
This DIY cardboard robot is an engaging project that blends creativity with hands-on crafting. We hope you have as much fun making your robot as we did creating this guide! Don’t forget to share your unique versions or leave a comment below. We’d love to see how your cardboard creations turn out!
Print
DIY Cardboard Robot
- Total Time: 30 minutes
- Yield: 1 cardboard robot
- Diet: N/A
Description
Create a fun and customizable cardboard robot using recyclable materials. Perfect for kids and adults alike, this project promotes creativity and hands-on learning.
Ingredients
- Cardboard boxes
- Scissors
- Hot glue gun or glue
- Markers or paints
- Ruler
- Pencil
- Pipe cleaners (optional for arms and antennas)
- Googly eyes (optional for facial features)
- Craft paper or stickers (for decoration)
Instructions
- Gather Materials: Collect all your materials in a clean workspace.
- Design Your Robot: Use a pencil to sketch your robot’s design on a piece of cardboard.
- Cut Out the Cardboard Pieces: Carefully cut out shapes for the body, head, arms, and legs using scissors.
- Assemble the Body: Start gluing the body pieces together using a hot glue gun.
- Add Details: Attach arms and legs using additional pieces of cardboard or pipe cleaners.
- Paint and Decorate: Use markers or paints to decorate your robot.
- Let It Dry: Allow your robot to dry completely.
Notes
Personalize with themes and swap materials for unique features. Use straws and skewer sticks for movable parts.
- Prep Time: 30 minutes
- Cook Time: 0 minutes
- Category: Craft
- Method: Crafting
- Cuisine: N/A
Nutrition
- Serving Size: 1 project
- Calories: 0
- Sugar: 0g
- Sodium: 0mg
- Fat: 0g
- Saturated Fat: 0g
- Unsaturated Fat: 0g
- Trans Fat: 0g
- Carbohydrates: 0g
- Fiber: 0g
- Protein: 0g
- Cholesterol: 0mg

