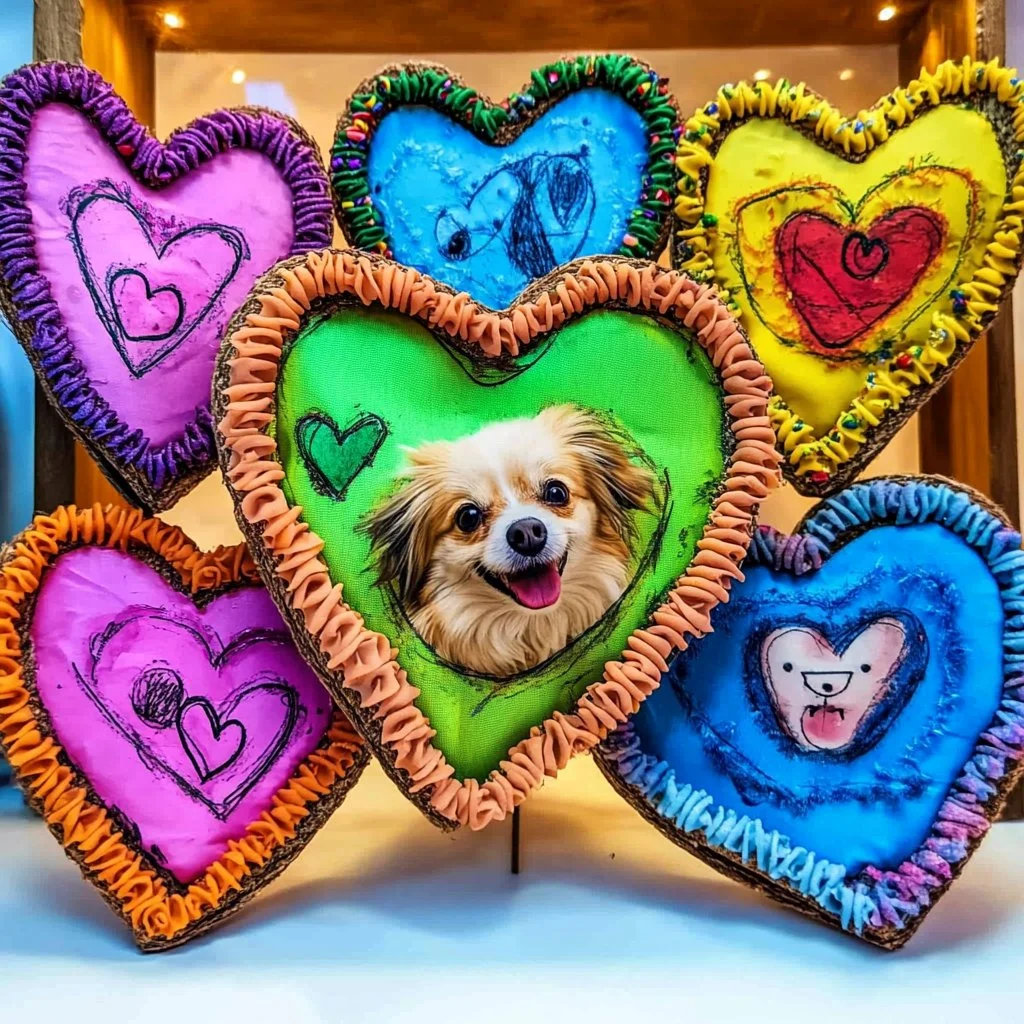
Creating a DIY cardboard frame with pasta is a fun and engaging craft project that combines creativity with recycling. Perfect for both kids and adults, this innovative project not only encourages artistic expression but also reuses materials you might find lying around your home. Whether you’re looking to decorate your space or create a unique gift for a loved one, this old-school craft brings a delightful touch to your decor. The process itself is engaging, providing a perfect opportunity for family bonding or a creative afternoon with friends. With just a few simple materials and steps, you can transform ordinary pasta into a stunning focal point for your home. Let’s dive into this exciting project that promises both fun and a touch of elegance!
Why You’ll Love This DIY Cardboard Frame with Pasta
- Eco-Friendly: Use recycled materials and reduce waste.
- Budget-Friendly: Low-cost materials make this project accessible to everyone.
- Creative Freedom: Personalize your frame with different pasta shapes and colors.
- Family Fun: A great activity to do with kids or friends.
- Unique Decor: Create a one-of-a-kind piece that adds personality to your space.
- Gift-Worthy: Perfect for sentimental gifts that show you care.
Ingredients
- Cardboard (old boxes or packaging)
- Assorted pasta shapes (macaroni, penne, fusilli, etc.)
- Craft glue or hot glue gun
- Paint (optional)
- Scissors
- Ruler and pencil (for measuring)
- Picture or artwork to frame
Step-by-Step Instructions
Step 1: Prepare Your Frame
- Measure and Cut: Use your ruler and pencil to measure a rectangle or square on the cardboard. Cut out the desired shape.
- Create an Inside Opening: Draw another rectangle inside the first one to create the opening for the picture. Cut this part out, ensuring the frame is sturdy.
Step 2: Arrange the Pasta
- Design Layout: Before gluing, lay out your pasta on the frame in the desired pattern. Experiment with shapes, layering, and colors.
- Sensory Cue: Enjoy the tactile experience of touching the pasta and feeling its texture.
Step 3: Glue the Pasta
- Apply Glue: Working in sections, apply glue to the cardboard frame, then place the pasta firmly. Allow each section to dry partially before moving on to the next for a strong bond.
- Tip: For added dimension, use different pasta shapes to build up the frame.
Step 4: Paint (Optional)
- Enhance Look: If desired, use paint to add a pop of color to your frame. Brush it all over or focus on specific areas for a more artistic look.
- Dry Completely: Allow the paint to dry thoroughly before proceeding.
Step 5: Insert Your Picture
- Final Touch: Once everything is dry, place your chosen picture or artwork into the frame, and your DIY project is complete!
Tips & Variations
- Colorful Pasta: Dye your pasta with food coloring for added flair.
- Themed Frames: Create seasonal designs (e.g., holiday themes) using specific pasta shapes.
- Photo Collage: Make smaller frames to create a collage effect on your wall.
- Add Embellishments: Incorporate beads, glitter, or other craft materials for added detail.
Frequently Asked Questions
1. Can I use uncooked pasta?
Yes! Uncooked pasta is ideal since it holds its shape well and adheres to the glue.
2. What kind of glue is best for this project?
Both craft glue and hot glue work well, but hot glue dries faster and creates a more robust bond.
3. How can I ensure my pasta frame is sturdy?
Make sure to apply enough glue and allow each section to dry properly before moving to the next.
4. Can I hang the frame on the wall?
Absolutely! Just make sure to reinforce the back with additional cardboard or hanging hardware.
Serving Suggestions or Pairings
- Pair your framed art with matching decor items, like a pasta-themed kitchen centerpiece.
- Consider decorating the space with coordinated colors or themes for a cohesive look.
- Serve with a side of creative flair by showcasing your craft at gatherings!
Final Thoughts
Creating a DIY cardboard frame with pasta is not only a fantastic way to recycle but also a delightful craft that inspires creativity. We hope you enjoyed this project and are excited to display your unique frame or give it as a heartfelt gift. Don’t forget to share your versions or leave a comment about your experience! Happy crafting!

DIY Cardboard Frame with Pasta
- Total Time: 30 minutes
- Yield: 1 frame
- Diet: N/A
Description
A fun and engaging craft project that transforms ordinary pasta into a beautiful decorative frame.
Ingredients
- Cardboard (old boxes or packaging)
- Assorted pasta shapes (macaroni, penne, fusilli, etc.)
- Craft glue or hot glue gun
- Paint (optional)
- Scissors
- Ruler and pencil (for measuring)
- Picture or artwork to frame
Instructions
- Prepare Your Frame: Measure and cut the cardboard to create a frame with an inside opening for the picture.
- Arrange the Pasta: Lay out your pasta on the frame in the desired pattern and enjoy the tactile experience.
- Glue the Pasta: Apply glue to the cardboard, press the pasta firmly, and allow each section to dry.
- Paint (Optional): Add a pop of color with paint and let it dry completely.
- Insert Your Picture: Place your chosen picture or artwork into the frame, completing your DIY project!
Notes
Consider dyeing your pasta for colorful variations and adding embellishments for extra detail.
- Prep Time: 30 minutes
- Cook Time: 0 minutes
- Category: Crafts
- Method: Crafting
- Cuisine: N/A
Nutrition
- Serving Size: 1 frame
- Calories: 0
- Sugar: 0g
- Sodium: 0mg
- Fat: 0g
- Saturated Fat: 0g
- Unsaturated Fat: 0g
- Trans Fat: 0g
- Carbohydrates: 0g
- Fiber: 0g
- Protein: 0g
- Cholesterol: 0mg

