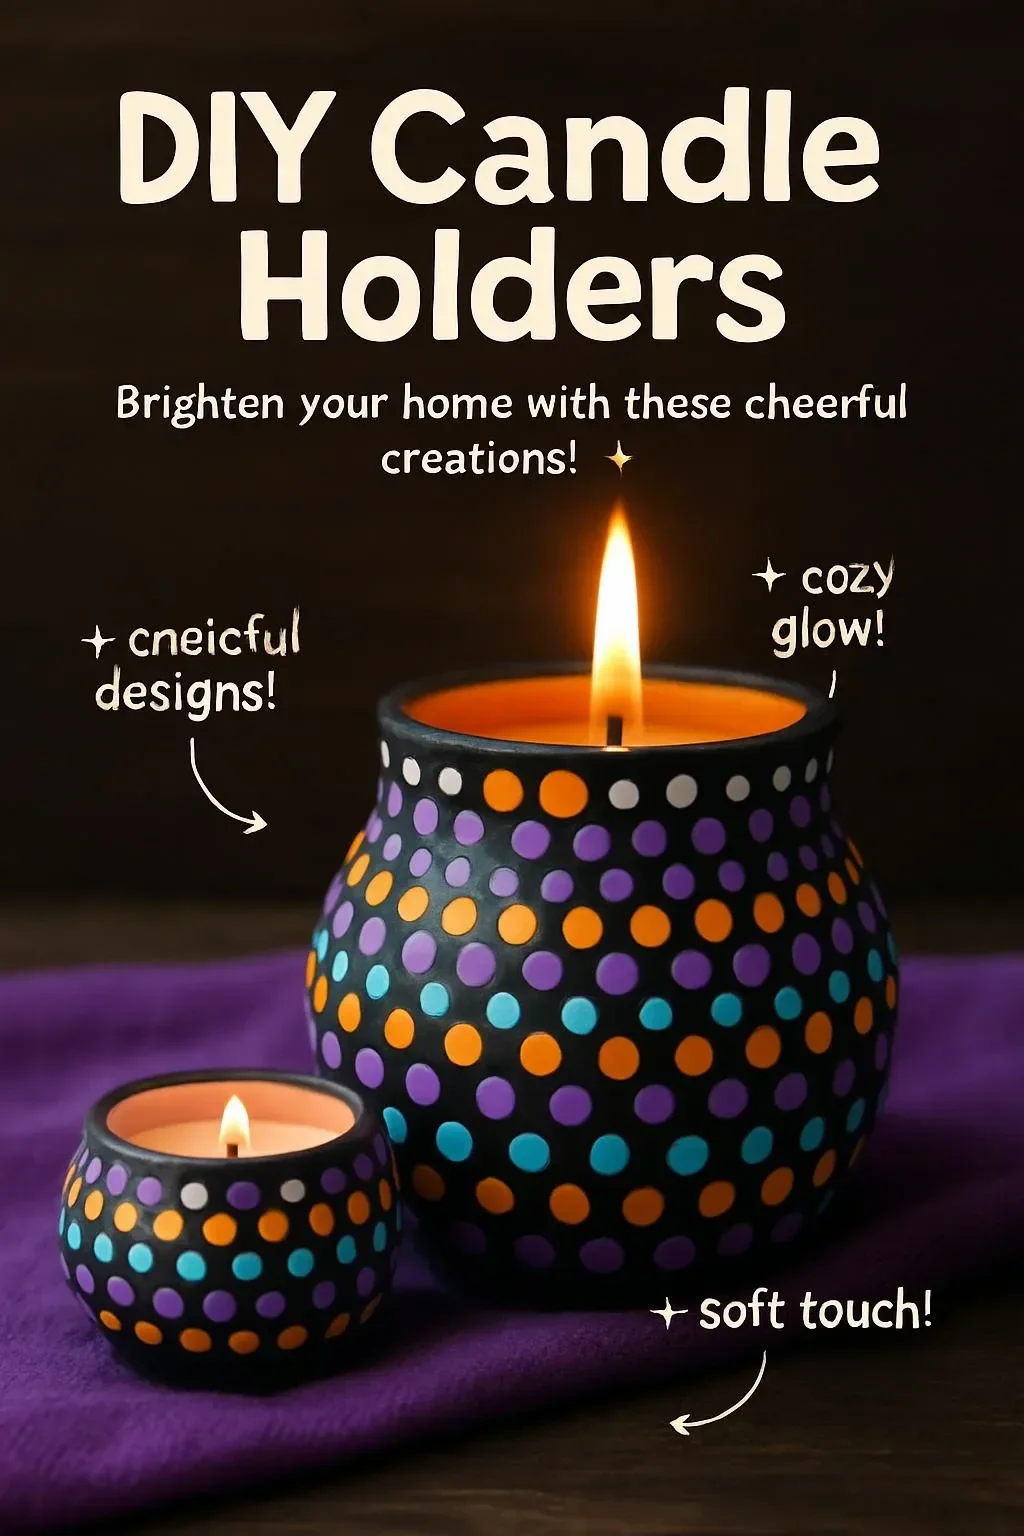
Creating your own DIY candle holders is a delightful craft that not only beautifies your living space but also allows you to express your creativity. Whether you’re gearing up for a cozy dinner, planning a celebration, or simply looking to add warmth to any room, handcrafted candle holders can elevate the atmosphere significantly. This easy and engaging project is perfect for both beginners and experienced crafters, offering a chance to personalize your décor with unique styles and designs. The satisfaction of lighting a candle in a holder made by your own hands is unparalleled, making this a great activity to share with family and friends. So, roll up your sleeves and get ready to transform simple materials into stunning candle holders that will shine brightly in any corner of your home!
Why You’ll Love This DIY Candle Holders:
- Customization: Tailor your candle holder to fit your style and décor.
- Budget-friendly: Use inexpensive materials or repurpose items you already have at home.
- Creative outlet: Express your creativity and artistic flair in designing unique pieces.
- Satisfying experience: Enjoy the rewarding process of crafting something with your own two hands.
- Perfect gift idea: Handmade candle holders make thoughtful gifts for any occasion.
Materials:
- Glass jars or containers (e.g., mason jars, recycled candle jars)
- Acrylic paint or spray paint
- Paintbrushes or sponges (for applying paint)
- Decorative elements (e.g., twine, lace, beads, or stickers)
- Tealight candles or small pillar candles
- Optional: Sealant (if using paint or wood materials)
Full Step-by-Step
1. Prepare Your Workspace
- Set up a clean, flat area for crafting.
- Lay down newspaper or a plastic sheet to protect the surface from paint.
2. Select and Clean Your Containers
- Choose your jars or containers and ensure they are clean and dry.
- Remove any labels or stickers.
3. Apply the Base Coat
- Using a paintbrush or sponge, apply a coat of paint to the outside of the container.
- Sensory cue: Enjoy the smooth texture of the paint as it glides over the surface.
4. Decorate Your Holders
- Once the base coat is dry, add your decorative elements.
- Wrap twine around the jar, attach lace, or stick on beads to create texture.
- Sensory cue: Feel the different materials and notice how they complement each other.
5. Insert Candles
- Place a tealight or pillar candle inside the holder.
- Ensure the fit is snug and secure.
6. Seal (Optional)
- If desired, apply a sealant over the paint and decorations to protect them from heat and moisture.
Tips & Variations
- Color schemes: Experiment with different color combinations to match your seasonal décor.
- Shape choices: Try using various shapes of jars, like cylindrical or square, for different visual effects.
- Natural elements: Consider incorporating natural items like dried flowers, leaves, or stones for a rustic touch.
- Personalization: Use stencils or stamps to add initials or meaningful quotes to your candle holders.
Frequently Asked Questions
Q1: Can I use any type of paint?
A1: For glass jars, acrylic paint works well, but you may also opt for spray paint. Just ensure it’s suitable for the material of your container.
Q2: How can I clean my candle holders?
A2: Wipe them with a damp cloth after use, but avoid soaking them in water, especially if they have intricate decorations.
Q3: What if I don’t have jars?
A3: Consider using other containers like tin cans or even small flower pots!
Q4: Can I use real candles instead of tealights?
A4: Yes, as long as the holder can safely accommodate the size and heat of real candles.
Suggestions
- Pair your candle holders with scented candles for an aromatic ambiance.
- Use them as centerpieces for special events or gatherings.
- Create a themed set for holidays or seasons, like autumn leaves for fall or pastel colors for spring.
Final Thoughts
Crafting your own DIY candle holders is not only a fun and rewarding experience, but it’s also a fantastic way to add charm and warmth to your home. We encourage you to try this project, personalize it, and let your creativity shine! Don’t forget to share your versions or leave a comment about your experiences—happy crafting!
Print
DIY Candle Holders
- Total Time: 15 minutes
- Yield: 1 candle holder
- Diet: N/A
Description
Create beautiful and personalized candle holders using simple materials.
Ingredients
- Glass jars or containers (e.g., mason jars, recycled candle jars)
- Acrylic paint or spray paint
- Paintbrushes or sponges
- Decorative elements (e.g., twine, lace, beads, or stickers)
- Tealight candles or small pillar candles
- Optional: Sealant
Instructions
- Prepare Your Workspace: Set up a clean, flat area and protect the surface.
- Select and Clean Your Containers: Choose jars and ensure they are clean and dry.
- Apply the Base Coat: Apply paint to the outside of the container.
- Decorate Your Holders: Add decorative elements to personalize your holders.
- Insert Candles: Place a tealight or pillar candle inside the holder securely.
- Seal (Optional): Apply sealant to protect decorations.
Notes
Experiment with different colors and shapes for unique designs.
- Prep Time: 15 minutes
- Cook Time: 0 minutes
- Category: Craft
- Method: Crafting
- Cuisine: N/A
Nutrition
- Serving Size: 1 candle holder
- Calories: 0
- Sugar: 0g
- Sodium: 0mg
- Fat: 0g
- Saturated Fat: 0g
- Unsaturated Fat: 0g
- Trans Fat: 0g
- Carbohydrates: 0g
- Fiber: 0g
- Protein: 0g
- Cholesterol: 0mg

