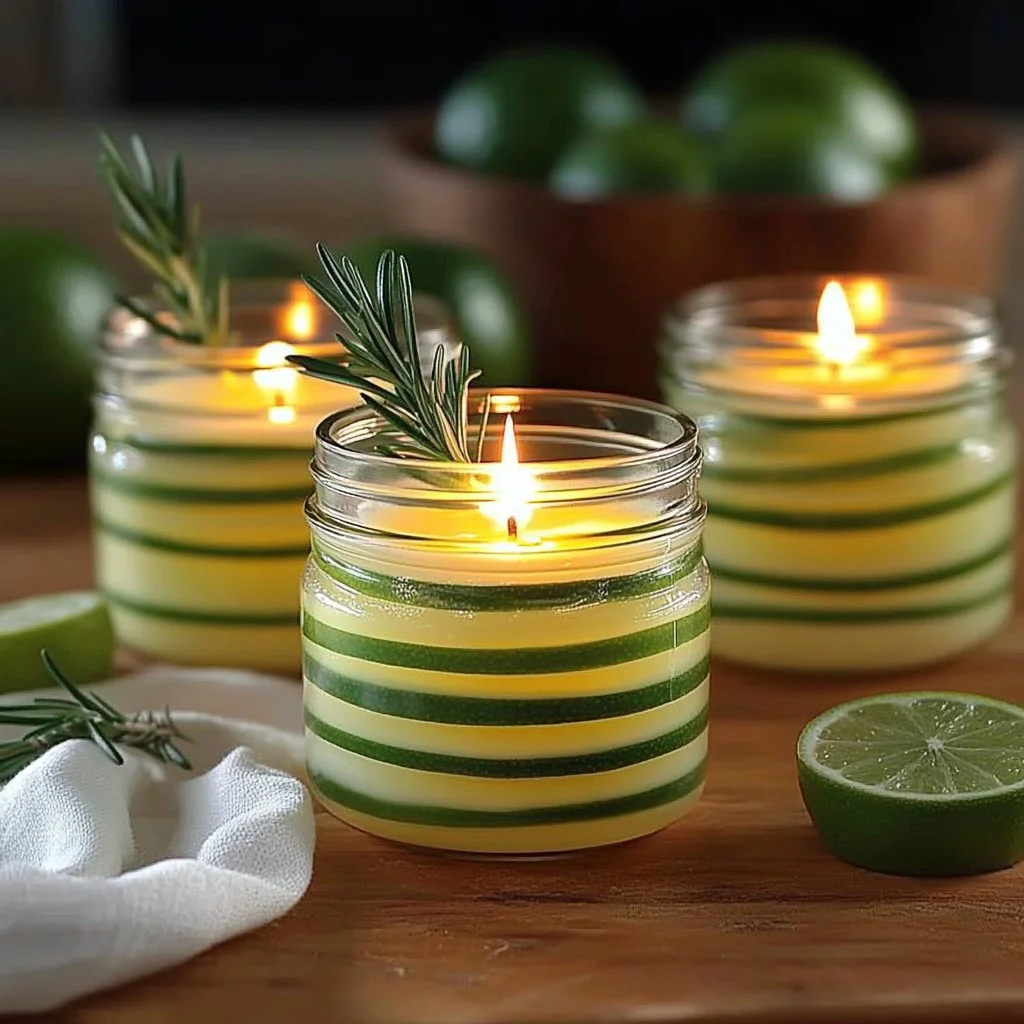
DIY Bug Repellent Candle Jars: A Natural Approach to Outdoor Comfort
Creating your own bug repellent candle jars is not only a fun and rewarding craft project but also a practical solution for enjoying the great outdoors without pesky insect interruptions. These candles are infused with essential oils known for their natural insect-repelling properties, making them an eco-friendly alternative to chemical sprays. Picture yourself relaxing on the patio, surrounded by the warm glow of flickering candlelight and a soothing aroma that deters unwanted bugs. Plus, the process of making these candles allows you to personalize your scent blends, ensuring they will fit beautifully into your outdoor ambiance. Whether you’re hosting a summer barbecue or just unwinding in your backyard, these DIY bug repellent candle jars will enhance your outdoor experience. Get ready to illuminate your evenings and keep the bugs at bay!
Why You’ll Love This DIY Bug Repellent Candle Jars:
- Natural Ingredients: Made with essential oils, free from harmful chemicals.
- Customizable Scents: Tailor the fragrance to your preference.
- Eco-Friendly: Use reusable jars to promote sustainability.
- Budget-Friendly: Save money compared to store-bought alternatives.
- Fun Activity: Enjoy a creative and hands-on project, great for all ages.
- Great Gift Idea: Perfect for friends and family who love the outdoors.
Materials:
- Glass jars or metal tins (clean and dry)
- Soy wax or beeswax (natural waxes)
- Wick (cotton or wood)
- Essential oils (e.g., citronella, eucalyptus, lavender, peppermint)
- Double boiler or microwave-safe container
- Thermometer (for wax temperature)
- Stirring stick (wooden or silicone)
- Wick holder or adhesive (to secure the wick)
- Optional: Color dye for candles (if desired)
Full Step-by-Step:
1. Prepare Your Workspace
- Choose a clean area: Lay down newspaper or a plastic sheet to catch any spills.
- Gather materials: Ensure everything is within reach for convenience.
2. Melt the Wax
- Using a double boiler: Fill the bottom pot with water and bring it to a simmer. Place the wax in the top pot to melt gently, stirring occasionally.
- Microwave method: Heat wax in a microwave-safe container in short bursts (30 seconds) until fully melted. Stir in between.
3. Add Essential Oils
- Timing is Everything: Once the wax reaches approximately 185°F (85°C), remove from heat.
- Mix in oils: Add your chosen essential oils (commonly 1 ounce per pound of wax) and stir well to combine.
4. Prepare the Jars
- Secure the wick: Use a wick holder or adhesive to position the wick in the center of the jar, ensuring it stands upright.
5. Pour the Wax
- Temperature check: Allow the wax to cool to around 140°F (60°C).
- Careful pouring: Slowly pour the wax into the prepared jars, leaving a small space at the top.
6. Cool and Trim
- Let it set: Allow the candles to cool and harden completely (usually 2-4 hours).
- Trim the wick: Once solidified, cut the wick down to about ¼ inch above the wax.
Tips & Variations:
- Custom Scents: Try blending different essential oils to create your unique fragrance.
- Add Colors: If desired, incorporate natural color dyes to match your décor.
- Use Different Containers: Experiment with various jars, bowls, or tins for different appearances.
Frequently Asked Questions:
1. Can I use paraffin wax instead of soy or beeswax?
Yes, but it’s less eco-friendly. Soy and beeswax are generally preferred for natural properties.
2. How long do the candles last?
Burn time varies based on size and wax type, but generally, they can last several hours.
3. What if I don’t have a double boiler?
You can use a microwave or a makeshift double boiler by placing a heatproof bowl over a pot of simmering water.
4. Can I use other essential oils?
Yes! While some oils are more effective for repelling bugs, feel free to experiment with oils you prefer.
Suggestions:
- Bring to Gatherings: Use these candles during picnics, camping trips, or backyard parties for an added protective layer.
- Pair with Other Outdoor Decor: Combine with fairy lights or lanterns for an enchanting outdoor atmosphere.
- Gift Sets: Package multiple candles in a cute basket as a thoughtful gift.
Final Thoughts
DIY bug repellent candle jars are a wonderful addition to any outdoor space, combining creativity with functionality. They not only illuminate your surroundings but also create a barrier against annoying bugs that can ruin a beautiful evening. Share your own versions or leave a comment with your experiences or any tips you might have! Happy crafting!
Print
DIY Bug Repellent Candle Jars
- Total Time: 135 minutes
- Yield: 4 candles
- Diet: N/A
Description
Create your own bug repellent candle jars infused with essential oils for a natural, eco-friendly solution to repel insects while enjoying the outdoors.
Ingredients
- Glass jars or metal tins (clean and dry)
- Soy wax or beeswax
- Cotton or wood wick
- Essential oils (e.g., citronella, eucalyptus, lavender, peppermint)
- Double boiler or microwave-safe container
- Thermometer
- Stirring stick (wooden or silicone)
- Wick holder or adhesive
- Optional: Color dye for candles
Instructions
- Prepare Your Workspace: Lay down newspaper or a plastic sheet and gather materials.
- Melt the Wax: Use a double boiler to melt wax gently, or microwave in short bursts until fully melted.
- Add Essential Oils: Once wax reaches 185°F (85°C), mix in essential oils.
- Prepare the Jars: Secure the wick in the center of the jar with a wick holder or adhesive.
- Pour the Wax: Cool the wax to 140°F (60°C) and pour into the jars.
- Cool and Trim: Allow candles to harden completely (2-4 hours) and trim the wick to ¼ inch above the wax.
Notes
Feel free to blend different essential oils and experiment with colors to personalize your candles.
- Prep Time: 15 minutes
- Cook Time: 120 minutes
- Category: Craft
- Method: Crafting
- Cuisine: N/A
Nutrition
- Serving Size: 1 candle
- Calories: 50
- Sugar: 0g
- Sodium: 0mg
- Fat: 4g
- Saturated Fat: 1g
- Unsaturated Fat: 3g
- Trans Fat: 0g
- Carbohydrates: 1g
- Fiber: 0g
- Protein: 0g
- Cholesterol: 0mg

