

Creating is often a dance of textures and sensations that wraps us in a gentle embrace. As you pick up the fragrant dried flowers, feel their delicate petals slip between your fingers. The crispness reminds you of sun-drenched gardens, while the scent hangs lightly in the air, inviting calm and comfort. DIY Botanical Heart Ornaments offer an enchanting opportunity to transform these simple, natural elements into something beautiful and meaningful. The process of crafting each ornament becomes not just about the final product but a moment of mindfulness among the scents and sounds of nature’s hand.
The Heart Behind This DIY
The journey of making DIY Botanical Heart Ornaments embodies a gentle philosophy towards creativity. There’s a warmth in bringing your focus to something so tender and pure. Every time you find yourself gathering materials or layering flowers, it feels like a pause in your busy day. This heart-shaped project invites you to slow down, reflecting on the beauty in the simple, overlooked aspects of life.
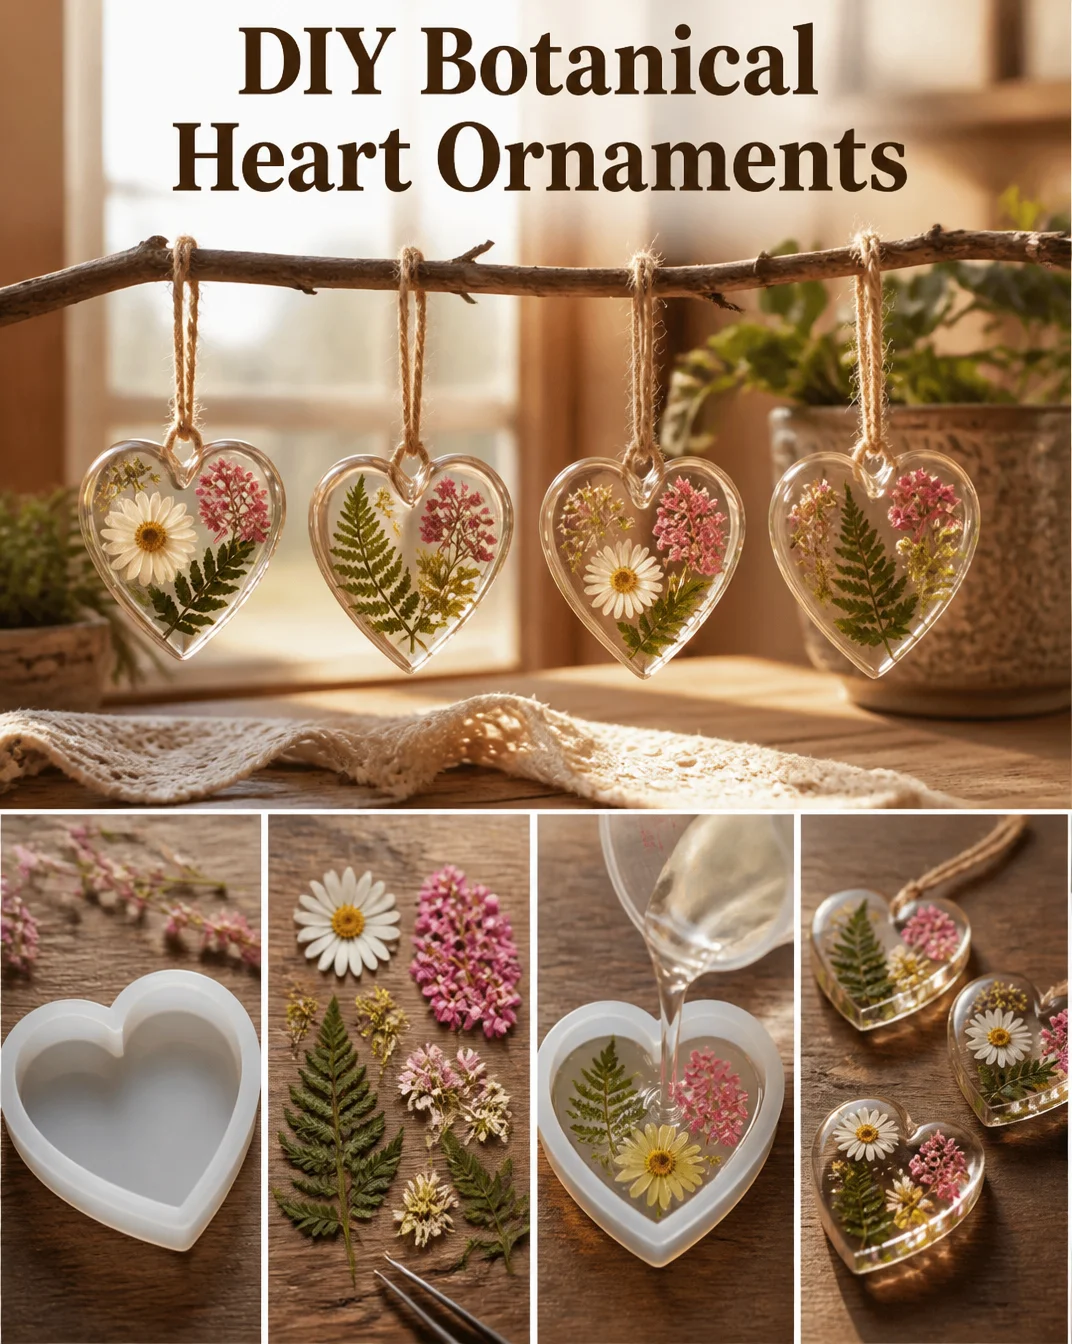
Creating something handmade nurtures the soul. Each movement can be soothing, whether carefully placing petals or weaving together twine. This process encourages a quiet mindfulness, acting like a meditation. The heart shape is significant, symbolizing love and connection to nature’s beauty. It prompts us to acknowledge the care we pour into our creations and how that spills into our everyday spaces.
A Gentle Look at the Process
As you embark on creating your ornaments, imagine the experience flowing smoothly like a soft river. You will start with a few beautiful flowers, their colors warming your hands and your heart. The delicate sounds of rustling leaves or the gentle snap of twigs will accompany you, an orchestra of nature harmonizing with your creative spirit.
You will layer, assemble, and wrap your materials, each task a gentle invitation to immerse yourself in the present moment. Textures will shift from velvety petals to sturdy twine, awakening your senses to the richness of your surroundings. With each step, you will find yourself drawn deeper into a peaceful rhythm, allowing your mind to quiet and your heart to expand.
Materials You’ll Need
- Dried flowers (easy to find at craft stores or gather from your garden)
- Strong natural twine (substitutes can include yarn or ribbon)
- Heart-shaped molds or frames (simple, handmade options work too)
- PVA glue or mod podge (applied carefully, it gives a lovely finish)
- Scissors (for precise trimming and clean lines)
- Additional embellishments (optional: beads, feathers, or lace)
Gather your materials in a cozy, inviting space. Enjoy finding the textures and scents that resonate with you. Each piece you select will add to the story you’ll create.
Step-by-Step Directions
-
Prepare Your Workspace: Settle into a calm spot with your materials. Lay them out so you can easily see and access everything.
-
Select Your Flowers: Choose the dried flowers that catch your eye. Allow yourself to imagine how they will look together.

-
Arrange the Flowers: Place the flowers delicately in your heart-shaped mold. Play with the arrangement until you feel they hold a pleasing balance.
-
Secure the Flowers: Take your PVA glue and lightly brush it over the flowers to help them stick together. Ensure every petal is embraced by the glue.
-
Add Twine: Cut a length of twine. Weave it through the heart’s top, creating a loop for hanging. Secure it well with glue.
-
Embellish as Desired: If you want to add beads or lace, now is the time. Let your creativity flow with each embellishment.
-
Let It Dry: Allow your ornaments to dry completely. Take a moment to reflect while you wait, embracing the stillness.
-
Display Your Creations: Once dry, find a lovely spot to hang or place your ornaments. Let them brighten your space with their natural beauty.
Enjoying the Finished Piece
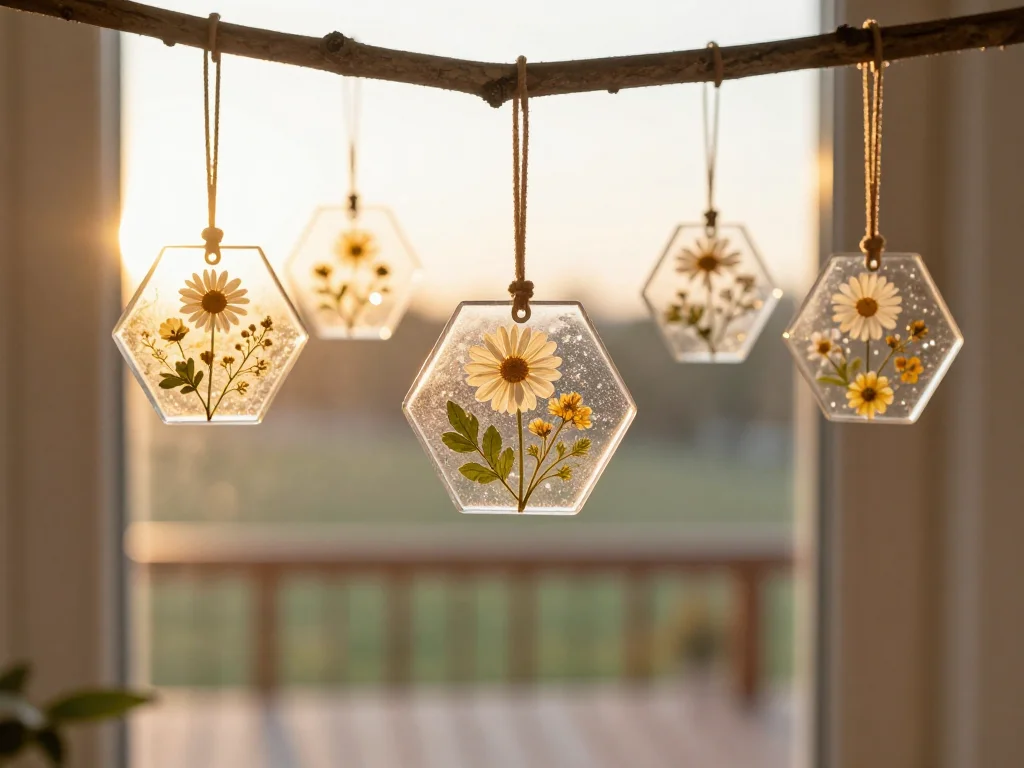
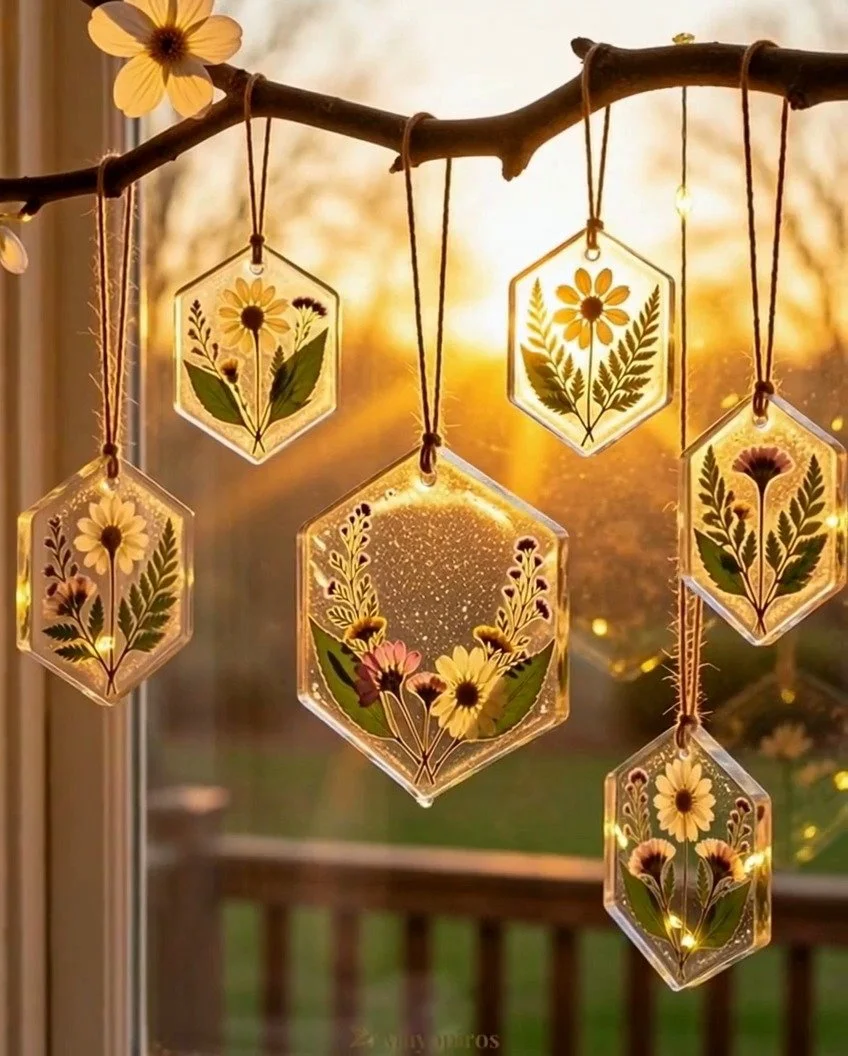
After you finish your DIY Botanical Heart Ornaments, you will find joy in how they enhance your environment. They become more than mere decorations; they represent moments of tranquility and intention in your life. Hang them in a sunlit window or arrange them on a shelf where the light wafts softly over each petal.
Every time you glance at them, you will be reminded of the creative time you spent and the calm you cultivated. These ornaments can also serve as gifts, encapsulating love and care that will surely be appreciated by those who receive them.
Caring for Your Finished DIY
To preserve your Botanical Heart Ornaments, handle them with care. Store them in a cool, dry place, away from direct sunlight to maintain the vibrancy of the flowers. If you want to repurpose them later, they can be used in seasonal decor, bringing a touch of your creative spirit to different times of the year.
A gentle dusting every now and then can keep them looking fresh and loved, ensuring they continue to grace your space with warmth.
Gentle Tips & Variations
-
Experiment with Colors: Feel free to mix and match different dried flowers for a vibrant display. Each color can carry its own emotion.
-
Natural Additions: Consider incorporating leaves, herbs, or even twigs to enrich texture and layers in your ornaments.
-
Personal Touch: Add a small tag with a thoughtful note or word that resonates with you, making each ornament a personal memento.
-
Seasonal Themes: Try creating heart ornaments that represent the changing seasons with different flowers or colors.
-
Craft Together: Invite a friend to join you in this project. Sharing the experience can amplify the joy and calm you find in creating.
FAQs About DIY Botanical Heart Ornaments
Can I use fresh flowers instead of dried ones?
Using fresh flowers is possible but they tend to wilt and decay quickly. Dried flowers hold their shape and color much better over time, making them more suited for this type of ornament.
How long will they last?
With proper care, dried flower ornaments can last for months or even years, gently fading as they age, creating their own beauty over time.
What if I don’t have a heart mold?
You can easily create your own by cutting out a heart shape from stiff cardboard or using any sturdy material that holds its form. Be creative with what you have on hand.
Can children participate in making these?
Absolutely! This project can be a wonderful family activity. Just ensure that younger makers are supervised, especially with scissors and glue.
What else can I do with dried flowers?
Dried flowers are incredibly versatile. You can use them in sachets, create a calming tea, or infuse them into homemade candles. Their beauty can extend far beyond just ornaments.
A Gentle Note Before You Go
As you finish your journey into crafting DIY Botanical Heart Ornaments, allow space for gratitude and reflection. Each piece holds a memory of the textures, scents, and moments shared in their creation. Embrace this experience as part of a broader rhythm of mindful making in your life. Let your heart guide you in future projects, nurturing creativity in calm and intentional ways. May your creations transform not just your surroundings but also bring warmth to your spirit.
Print
DIY Botanical Heart Ornaments
- Total Time: 55 minutes
- Yield: 4 ornaments
- Diet: N/A
Description
Craft beautiful heart-shaped ornaments using dried flowers and natural twine for a touch of nature in your home.
Ingredients
- Dried flowers
- Strong natural twine
- Heart-shaped molds or frames
- PVA glue or mod podge
- Scissors
- Additional embellishments (beads, feathers, or lace)
Instructions
- Prepare Your Workspace: Settle into a calm spot with your materials. Lay them out so you can easily see and access everything.
- Select Your Flowers: Choose the dried flowers that catch your eye. Allow yourself to imagine how they will look together.
- Arrange the Flowers: Place the flowers delicately in your heart-shaped mold. Play with the arrangement until you feel they hold a pleasing balance.
- Secure the Flowers: Take your PVA glue and lightly brush it over the flowers to help them stick together. Ensure every petal is embraced by the glue.
- Add Twine: Cut a length of twine. Weave it through the heart’s top, creating a loop for hanging. Secure it well with glue.
- Embellish as Desired: If you want to add beads or lace, now is the time. Let your creativity flow with each embellishment.
- Let It Dry: Allow your ornaments to dry completely. Take a moment to reflect while you wait, embracing the stillness.
- Display Your Creations: Once dry, find a lovely spot to hang or place your ornaments. Let them brighten your space with their natural beauty.
Notes
Handle with care to preserve vibrancy. Dust occasionally to maintain freshness.
- Prep Time: 15 minutes
- Cook Time: 40 minutes
- Category: Craft
- Method: Crafting
- Cuisine: N/A