Introduction
Creating beautiful Borax crystals is not just a fun science experiment; it’s also a fantastic way to engage with the magical world of chemistry. This DIY project allows you to visually appreciate the crystallization process while you create stunning, jewel-like formations that can serve as decorations or gifts. Perfect for kids and adults alike, making Borax crystals is a straightforward and rewarding craft that encourages creativity and science learning. With just a few household ingredients, you can witness the transformation of a simple solution into impressive crystalline patterns right before your eyes. Ready to explore the beauty of crystal growth? Let’s dive into this delightful DIY!
Why You’ll Love This DIY Borax Crystals:
- Easy to Make: Requires minimal materials and effort.
- Science Learning: A great educational project for kids.
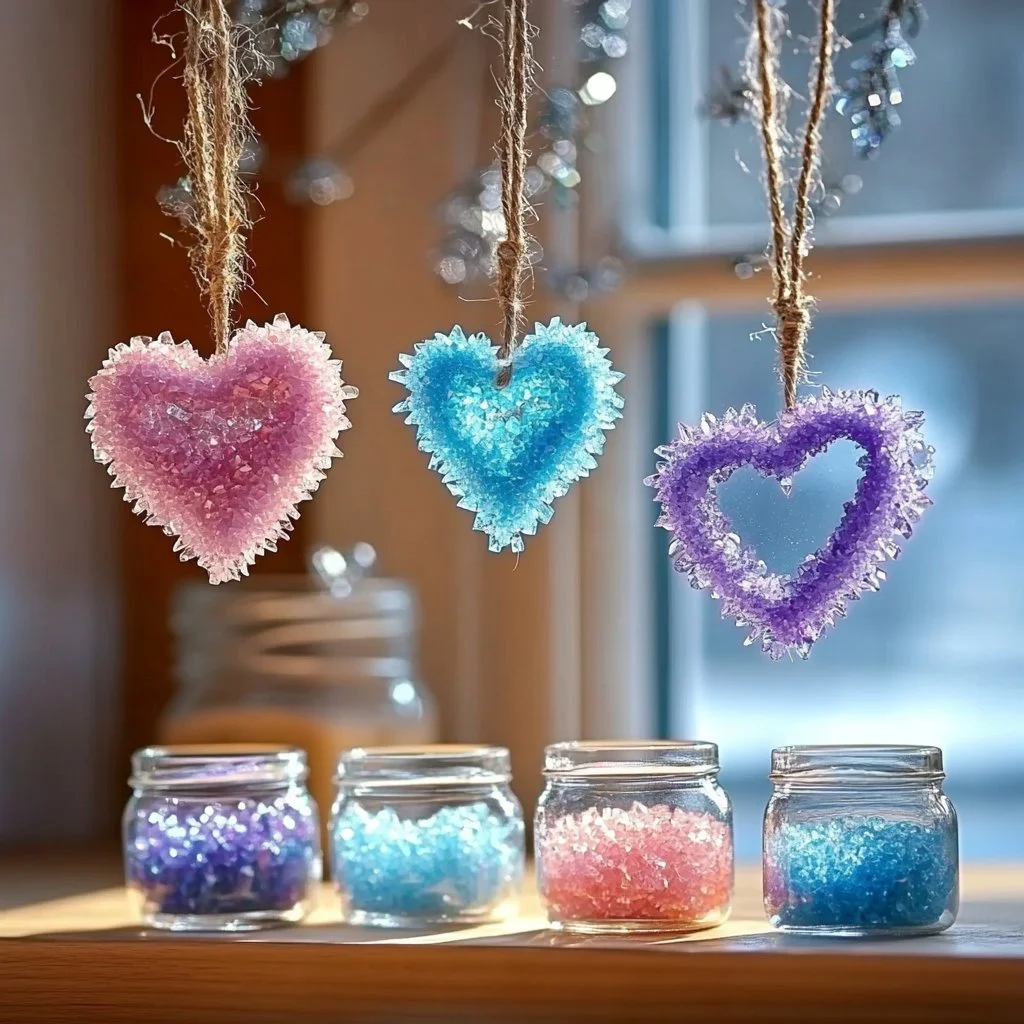
- Stunning Results: Gorgeous crystals that look amazing on display.
- Customizable: Choose colors and sizes to make it uniquely yours.
- Affordable: Uses inexpensive materials typically found at home.
Materials
- 1 cup of Borax
- 3 cups of hot water
- A clean glass jar (mason jars work well)
- A piece of string or thin wire
- A pencil or stick (to suspend the string)
- Food coloring (optional)
- A spoon for stirring
Full Step-by-Step
Prepare the Solution
- Heat the Water: Start by boiling 3 cups of water. Once it reaches a rolling boil, remove it from heat.
- Mix in Borax: Gradually add 1 cup of Borax to the hot water. Stir continuously until the Borax is completely dissolved. This will create a saturated solution.
Set Up the Suspension
- Prepare the String: Cut a length of string or thin wire about 6-12 inches long. Tie one end to a pencil or stick.
- Suspend the String: Place the pencil or stick across the top of the jar so that the string hangs down, not touching the bottom.
Color the Crystals (Optional)
- Add Food Coloring: If you desire colored crystals, add a few drops of food coloring into the solution and stir until mixed.
Allow Crystals to Form
- Cool Down: Set the jar in a place where it won’t be disturbed. Allow it to sit for at least 6 hours, or overnight for better results.
- Observe Growth: Watch as the crystals begin to form on the string and settle at the bottom of the jar.
Tips & Variations
- Crystal Size: For larger crystals, double the recipe and ensure the solution remains warm while growing.
- Shape Variation: Use different containers (like bowls or cups) to create crystals in various shapes.
- Color Options: Experiment with different food colors to create multi-colored crystals.
Frequently Asked Questions
Q1: What if my crystals don’t form?
A: Ensure the solution is saturated by adding more Borax and check the temperature of the water; it should be very hot.
Q2: Can I reuse Borax solution?
A: It’s best to make a fresh batch to regenerate the crystals. The old solution may have impurities.
Q3: How long does it take for the crystals to form?
A: Usually, 6 hours to overnight; the longer they sit, the larger they tend to grow.
Q4: Is Borax safe to handle?
A: While Borax is safe for most uses, avoid ingestion and wash hands after handling.
Suggestions
- Display Your Creations: Arrange your crystals in a decorative bowl for a beautiful centerpiece.
- Gift Idea: Package them in small bags with notes explaining the crystal-growing process for educational gifts.
- Science Project: Use this project as a starting point to explore other solutions and crystal types.
Final Thoughts
Making Borax crystals can ignite curiosity and creativity in both kids and adults. This simple yet enchanting process not only brings science to life but also offers a wonderful visual display of your efforts. We’d love to hear how your crystal creations turn out! Share your versions or leave your thoughts in the comments below! Happy crafting!
Print
DIY Borax Crystals
- Total Time: 370 minutes
- Yield: Varies based on jar size
- Diet: N/A
Description
Create stunning Borax crystals with this fun and educational DIY project that combines chemistry and creativity.
Ingredients
- 1 cup of Borax
- 3 cups of hot water
- A clean glass jar (mason jars work well)
- A piece of string or thin wire
- A pencil or stick (to suspend the string)
- Food coloring (optional)
- A spoon for stirring
Instructions
- Heat the water: Boil 3 cups of water and remove from heat.
- Mix in Borax: Gradually add 1 cup of Borax to the hot water, stirring continuously until dissolved.
- Prepare the string: Cut a string or wire about 6-12 inches and tie one end to a pencil or stick.
- Suspend the string: Place the pencil across the jar top, letting the string hang down without touching the bottom.
- Add food coloring: If desired, add food coloring to the solution and mix.
- Cool down: Set the jar in a stable place and let it sit for at least 6 hours or overnight to form crystals.
- Observe growth: Watch the crystals grow on the string and settle at the bottom.
Notes
For larger crystals, double the recipe and keep the solution warm. Experiment with different containers and colors for unique creations.
- Prep Time: 10 minutes
- Cook Time: 360 minutes
- Category: Crafts
- Method: DIY Project
- Cuisine: N/A
Nutrition
- Serving Size: 1 crystal display
- Calories: N/A
- Sugar: N/A
- Sodium: N/A
- Fat: N/A
- Saturated Fat: N/A
- Unsaturated Fat: N/A
- Trans Fat: N/A
- Carbohydrates: N/A
- Fiber: N/A
- Protein: N/A
- Cholesterol: N/A

