Introduction
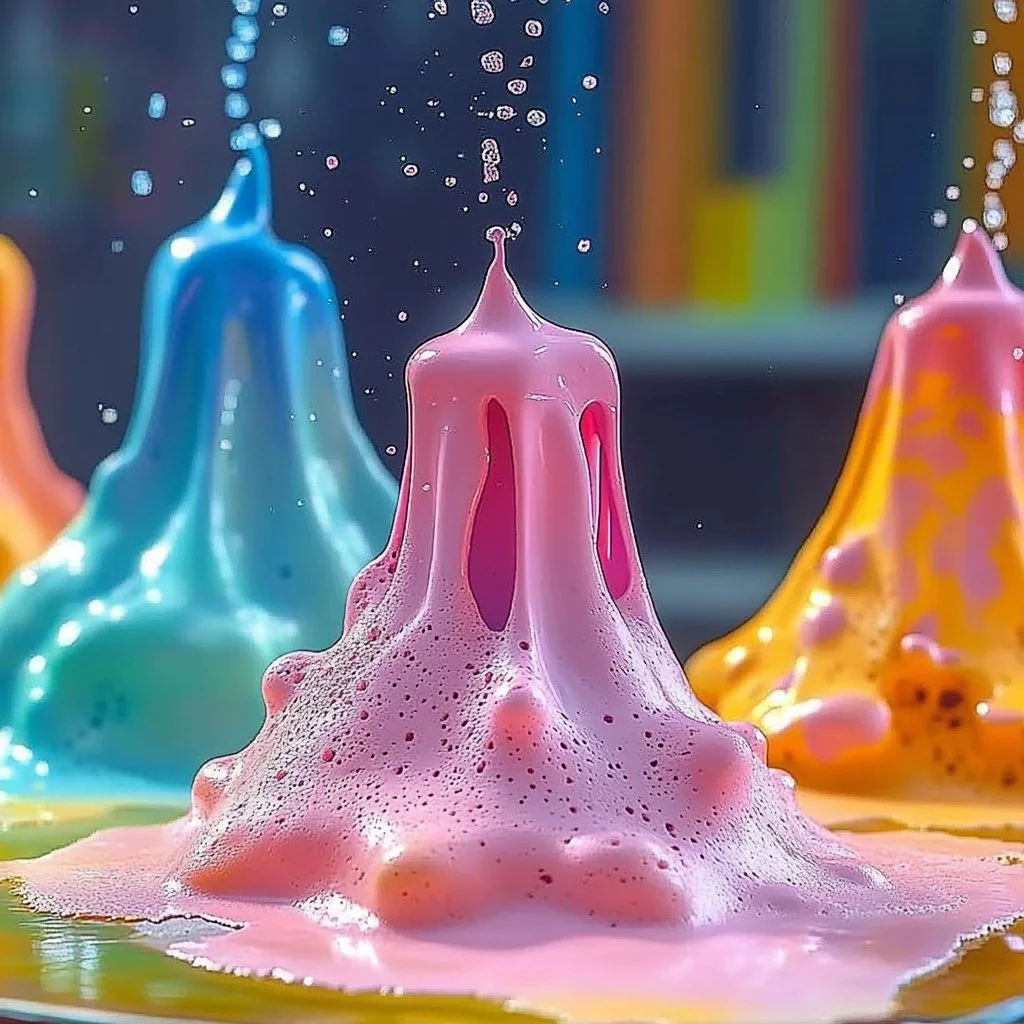
Creating a DIY baking soda volcano is a classic science project that brings excitement and creativity to your home. It’s not just a simple experiment, but an engaging craft that allows you to delve into the world of chemistry while having fun. As a hands-on activity, it captures the fascination of children and adults alike, making it a perfect weekend project or educational activity. Plus, it’s easy to set up with materials you likely already have at home. Whether you’re looking to entertain your kids or just want to unleash your inner scientist, this baking soda volcano is sure to impress.
Why You’ll Love This DIY Baking Soda Volcano:
- Simple Ingredients: Uses everyday items you likely have in your kitchen.
- Learning Opportunity: Teaches basic scientific principles such as chemical reactions and the concept of eruptions.
- Customizable Design: You can personalize your volcano with colors and decorations.
- Great for All Ages: Fun for both kids and adults—perfect for family bonding.
- Interactive Experience: Engages multiple senses with visuals and sounds of the eruption.
- Quick Setup: Complete the project in under an hour, making it ideal for busy schedules.
Materials
- Baking soda
- White vinegar
- Food coloring (optional)
- Dish soap (optional, for bubbly eruptions)
- A small plastic bottle or container (for the volcano “vent”)
- Tray or shallow dish to catch overflow
- Modeling clay or papier-mâché (to shape the volcano)
- Water (for mixing)
Full Step-by-Step
Step 1: Create the Volcano Structure
- Mold the Base: Use modeling clay or papier-mâché to create a volcano shape around the plastic bottle or container.
- Leave the Top Open: Ensure the top of the bottle or container is open; this is where the "lava" will emerge.
Step 2: Set Your Volcano in Place
- Choose Your Location: Place your volcano on a tray or shallow dish to contain any overflow.
- Protect Your Surface: Consider putting down newspaper or a plastic sheet for easier cleanup.
Step 3: Prepare the Eruption Mixture
- Mix the Lava: In a separate cup, combine 2 tablespoons of baking soda, a few drops of dish soap, and a few squirts of food coloring if desired.
- Add Water: Slowly mix in water until it reaches a runny consistency.
Step 4: Erupt the Volcano
- Pour the Mixture: Pour your lava mixture into the open top of the volcano.
- Activate the Eruption: In another cup, combine 1/2 cup of vinegar with food coloring. Pour this into the volcano and step back!
- Watch the Eruption: Enjoy the fizzy, colorful reaction as your homemade volcano erupts!
Tips & Variations
- Color Customization: Experiment with different food coloring combinations for unique lava colors.
- Add Glitter: Incorporate glitter for a sparkling effect during the eruption.
- Use Different Containers: Try varying the size and shape of the eruption container to see how it affects the eruption.
- Make It Interactive: Have kids decorate the volcano with crayons or paints after it dries.
Frequently Asked Questions
Q1: What happens if I don’t have food coloring?
A1: No worries! The volcano will still work without food coloring; the reaction will be clear.
Q2: Can I use something other than vinegar?
A2: Vinegar is essential for the eruption, but you can experiment with citric acid mixed with water for a similar reaction.
Q3: Is this safe for young kids?
A3: Yes! Both baking soda and vinegar are safe, but supervise to avoid ingesting any materials.
Q4: How do I clean up afterwards?
A4: The materials are non-toxic and can be washed away with water. Simply rinse your tray and any utensils.
Suggestions
- Combine with a Lesson: Pair the volcano activity with a lesson on real volcanoes and geological formations.
- Outdoor Eruptions: For bigger eruptions, take your volcano outside!
- Make a Volcano Diorama: Create a miniature landscape around the volcano with toy figures or plants for added creativity.
Final Thoughts
Creating a DIY baking soda volcano is not only an educational experience but also a wonderful way to foster creativity and curiosity in children and adults alike. We hope you give this project a try! Share your versions in the comments below or let us know how it went. Happy erupting!
Print
DIY Baking Soda Volcano
- Total Time: 15 minutes
- Yield: 1 volcano 1x
- Diet: N/A
Description
Explore the fascinating world of chemistry with a fun DIY baking soda volcano, perfect for kids and adults!
Ingredients
- 2 tablespoons baking soda
- 1/2 cup white vinegar
- Food coloring (optional)
- Dish soap (optional)
- A small plastic bottle or container
- Tray or shallow dish
- Modeling clay or papier-mâché
- Water
Instructions
- Mold the base of the volcano using modeling clay or papier-mâché around the plastic bottle, leaving the top open.
- Place the volcano on a tray to catch the overflow and protect your surface.
- In a cup, mix 2 tablespoons of baking soda, a few drops of dish soap, and food coloring; then add water to reach a runny consistency.
- Pour the lava mixture into the volcano’s open top.
- In another cup, mix 1/2 cup of vinegar with food coloring and pour it into the volcano. Step back and enjoy the eruption!
Notes
Experiment with different food colorings and container shapes for varied eruptions. Supervise children during the activity.
- Prep Time: 10 minutes
- Cook Time: 5 minutes
- Category: Science Project
- Method: Hands-on Experiment
- Cuisine: Educational
Nutrition
- Serving Size: 1 volcano
- Calories: 0
- Sugar: 0g
- Sodium: 0mg
- Fat: 0g
- Saturated Fat: 0g
- Unsaturated Fat: 0g
- Trans Fat: 0g
- Carbohydrates: 0g
- Fiber: 0g
- Protein: 0g
- Cholesterol: 0mg

