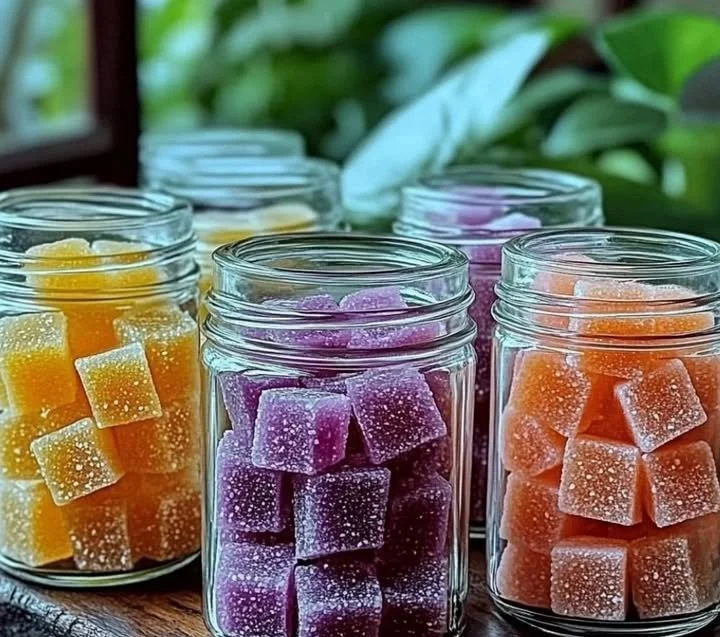
Creating DIY aroma stones is a delightful way to bring fragrance into your home. These simple, aromatic stones can easily infuse any space with your favorite essential oils, offering both aesthetic appeal and therapeutic benefits. Perfect for a rainy day project or a fun, creative activity with friends and family, aroma stones are not only beautiful but also practical. With various scents to choose from, you can match your aroma stones to different moods or seasons, enhancing your environment effortlessly. Plus, unlike traditional candles or diffusers, these stones are safe to use around children and pets. So, roll up your sleeves, and let’s explore how to make these delightful air fresheners!
Why You’ll Love This DIY Aroma Stones
- Customizable Scents: Use your favorite essential oils to create unique fragrances.
- Eco-Friendly: Made from natural ingredients, they’re a great alternative to synthetic air fresheners.
- Visually Appealing: Their unique shapes and designs can complement your home décor.
- Easy to Make: Requires minimal materials and can be completed in under an hour.
- Long-Lasting: Enjoy the scent for weeks with proper care.
- Great for Gifting: Perfect homemade gifts for friends and family.
Materials
- Baking soda (1 cup)
- Water (1/2 cup)
- Cornstarch (1/2 cup)
- Essential oils (5-10 drops, any scent you desire)
- Silicone molds (fun shapes)
- Mixing bowl
- Spoon or spatula
- Baking sheet (for drying)
Step-by-Step Instructions
1. Prepare Your Mixture
- In a mixing bowl, combine baking soda, cornstarch, and water.
- Stir the mixture until smooth, ensuring no lumps remain.
2. Add the Fragrance
- Introduce 5-10 drops of essential oil to the mixture.
- Mix thoroughly until the scent is evenly distributed.
3. Mold the Stones
- Spoon the mixture into your silicone molds.
- Tap the molds gently to remove air bubbles and ensure even filling.
4. Dry the Aroma Stones
- Preheat your oven to 175°F (80°C).
- Place the filled molds on a baking sheet and bake for about 1-2 hours or until completely dry.
5. Remove and Cure
- Carefully remove the stones from the molds after they’ve cooled.
- Allow them to cure in a cool, dry place for an additional 24 hours before use.
Tips & Variations
- Scent Combinations: Blend different essential oils for a bespoke aroma, like lavender and lemon for a fresh, calming effect.
- Color Enhancement: Add natural colorants (like beet juice) for colored stones while mixing.
- Textural Variations: Incorporate dried flowers or herbs for added texture and visual interest.
- Shape Selections: Use different silicone molds for varied shapes; think hearts, stars, or seasonal themes.
Frequently Asked Questions
1. Can I use any essential oil?
Yes, but ensure they’re safe for your intended use, especially around pets and kids.
2. How long will the aroma stones last?
With proper care, they can last several weeks. If the scent fades, you can refresh them with a few drops of oil.
3. What if the stones are too soft?
They may need more drying time. Ensure they are fully dried in the oven before removing.
4. Can I use food coloring?
It’s best to use natural colorants to keep the stones organic. Food coloring might alter the texture.
Serving Suggestions or Pairings
Pair your aroma stones with relaxing activities such as sipping herbal tea or enjoying a calming bath. They also make lovely home accents next to plants or art pieces to enhance the fragrance and overall atmosphere.
Final Thoughts
DIY aroma stones are an easy and enjoyable way to bring personalized scents into your home. They combine creativity, functionality, and eco-friendliness into one delightful project. We’d love to hear your experiences! Share your variations or leave a comment below to inspire others on their aromatic journey!
Print
DIY Aroma Stones
- Total Time: 135 minutes
- Yield: Multiple aroma stones depending on mold size
- Diet: N/A
Description
Create delightful aroma stones infused with your favorite essential oils, perfect for enhancing your home with fragrance.
Ingredients
- 1 cup Baking soda
- 1/2 cup Water
- 1/2 cup Cornstarch
- 5–10 drops Essential oils (any scent)
- Silicone molds (fun shapes)
- Mixing bowl
- Spoon or spatula
- Baking sheet (for drying)
Instructions
- In a mixing bowl, combine baking soda, cornstarch, and water. Stir until smooth.
- Introduce essential oil drops to the mixture and mix thoroughly.
- Spoon the mixture into your silicone molds and tap to remove air bubbles.
- Preheat your oven to 175°F (80°C) and bake for about 1-2 hours.
- Carefully remove the stones from molds and allow them to cure for an additional 24 hours.
Notes
Experiment with scent combinations and natural colorants for personalized aroma stones.
- Prep Time: 15 minutes
- Cook Time: 120 minutes
- Category: Home & Garden
- Method: Baking
- Cuisine: N/A
Nutrition
- Serving Size: 1 stone
- Calories: 50
- Sugar: 0g
- Sodium: 0g
- Fat: 0g
- Saturated Fat: 0g
- Unsaturated Fat: 0g
- Trans Fat: 0g
- Carbohydrates: 12g
- Fiber: 0g
- Protein: 0g
- Cholesterol: 0mg

