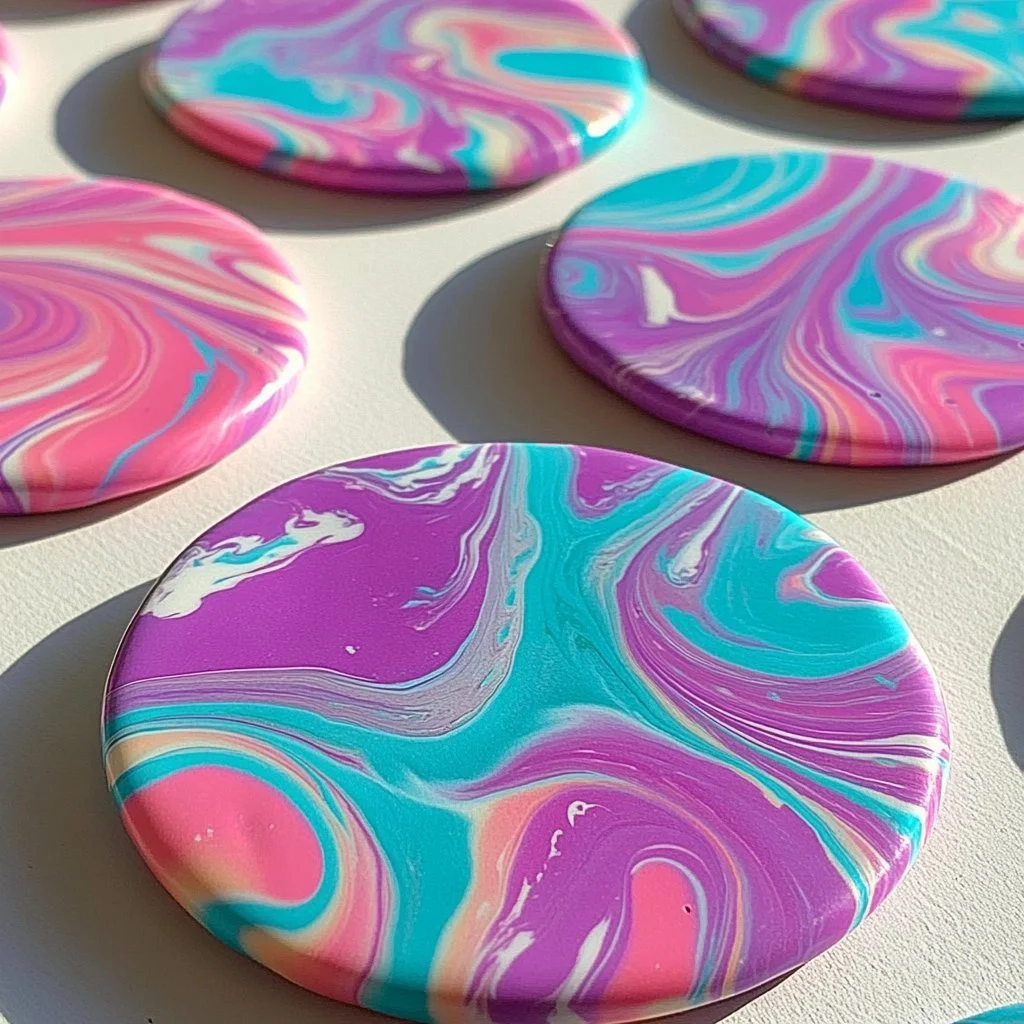
Creating your own air dry clay coasters is a delightful and rewarding DIY project that not only enhances your living space but also serves a functional purpose. These coasters can protect your furniture from unsightly stains and condensation while allowing you to express your creativity. The best part? You don’t need to be a crafting expert to make them! With a few simple materials and a bit of time, you can whip up a set of stunning coasters tailored to your personal style. Whether you’re looking to add a pop of color to your coffee table or create a thoughtful gift for a friend, these DIY air dry clay coasters will fit the bill perfectly.
Why You’ll Love This DIY Air Dry Clay Coasters
- Customizable Designs: Tailor colors and patterns to match your decor.
- No Baking Required: The air-dry formula makes it easy and accessible.
- Eco-Friendly Materials: Use natural clays that are safe for the environment.
- Versatile Use: Perfect for coffee mugs, wine glasses, or even as decorative pieces.
- Budget-Friendly: A cost-effective way to elevate your home decor.
- Fun Activity: Enjoy crafting alone or as a fun group project with friends or family.
Materials
- Air dry clay (about 1-2 packs, depending on desired quantity)
- Rolling pin
- Small cookie cutters or stencil (for shaping)
- Craft knife or clay tools (for cutting)
- Paint or markers (for decoration)
- Sealer (like mod podge) for a protective finish
- Sandpaper (optional, for smooth edges)
Step-by-Step Instructions
1. Prepare Your Workspace
- Clear a flat surface and lay down a protective covering, such as newspaper or a tablecloth.
2. Roll Out the Clay
- Take a portion of air dry clay and knead it until soft.
- Use a rolling pin to flatten the clay to about ¼ inch thick.
3. Cut Out Shapes
- Use cookie cutters or a stencil to create your desired coaster shapes.
- Carefully remove excess clay around the shapes.
4. Smooth the Edges
- Use your fingers or a small piece of sandpaper to smooth out any rough edges.
5. Allow to Dry
- Place the coasters on a flat surface and let them dry as per package instructions (usually 24 hours).
6. Paint and Decorate
- Once dry, paint or decorate your coasters as desired. Get creative with colors, patterns, or even personal messages.
7. Seal the Coasters
- After the paint is dry, apply a thin layer of sealer for protection against moisture.
Tips & Variations
- Color Swaps: Use food coloring mixed into the clay for unique shades.
- Textured Designs: Impress leaves, stamps, or lace into the clay before drying for added texture.
- Shape Options: Experiment with different shapes like hearts, hexagons, or even animals.
- Mixed Media: Combine painted designs with decoupage elements for a layered look.
Frequently Asked Questions
Q1: Can I use regular clay instead of air dry clay?
A1: Regular clay requires baking in a kiln to harden and is not recommended for this project. Air dry clay is more user-friendly and doesn’t require special equipment.
Q2: How long do the coasters last?
A2: With proper sealing and care, air dry clay coasters can last a long time. Keep them away from excess moisture to maximize their lifespan.
Q3: What if my coasters crack during drying?
A3: Cracking may occur if the clay dries too quickly. Ensure you let them dry in a stable environment, ideally with good airflow, but not in direct sunlight.
Q4: Can I use a different sealer?
A4: Yes! You can use acrylic spray sealers or other craft sealants, but ensure they are suitable for painted surfaces and provide a water-resistant finish.
Serving Suggestions or Pairings
These charming coasters are perfect for serving alongside your favorite beverages. Pair them with:
- A chilled glass of iced tea
- Elegant wine glasses for your evening gatherings
- Hot cups of artisanal coffee or trendy matcha lattes
- Use them as a base for delectable desserts like cupcakes or pastries
Final Thoughts
Making DIY air dry clay coasters is not only a fun creative outlet, but it also results in functional, personalized pieces that enhance your home. We encourage you to experiment, stay crafty, and share your unique designs! If you try this project, please leave a comment sharing your experience or any variations you made. Happy crafting!
Print
DIY Air Dry Clay Coasters
- Total Time: 1455 minutes
- Yield: 4 coasters
- Diet: N/A
Description
Create stunning and functional air dry clay coasters that enhance your home decor while protecting your furniture from stains and condensation.
Ingredients
- Air dry clay (about 1-2 packs, depending on desired quantity)
- Rolling pin
- Small cookie cutters or stencil (for shaping)
- Craft knife or clay tools (for cutting)
- Paint or markers (for decoration)
- Sealer (like mod podge) for a protective finish
- Sandpaper (optional, for smooth edges)
Instructions
- Prepare Your Workspace: Clear a flat surface and lay down a protective covering, such as newspaper or a tablecloth.
- Roll Out the Clay: Take a portion of air dry clay and knead it until soft. Use a rolling pin to flatten the clay to about ¼ inch thick.
- Cut Out Shapes: Use cookie cutters or a stencil to create your desired coaster shapes. Carefully remove excess clay around the shapes.
- Smooth the Edges: Use your fingers or a small piece of sandpaper to smooth out any rough edges.
- Allow to Dry: Place the coasters on a flat surface and let them dry as per package instructions (usually 24 hours).
- Paint and Decorate: Once dry, paint or decorate your coasters as desired. Get creative with colors, patterns, or even personal messages.
- Seal the Coasters: After the paint is dry, apply a thin layer of sealer for protection against moisture.
Notes
Experiment with colors and textures; use food coloring in the clay, impress leaves or lace for texture, or mix painted designs with decoupage elements.
- Prep Time: 15 minutes
- Cook Time: 1440 minutes
- Category: Craft
- Method: DIY Crafting
- Cuisine: N/A
Nutrition
- Serving Size: 1 coaster
- Calories: 0
- Sugar: 0g
- Sodium: 0mg
- Fat: 0g
- Saturated Fat: 0g
- Unsaturated Fat: 0g
- Trans Fat: 0g
- Carbohydrates: 0g
- Fiber: 0g
- Protein: 0g
- Cholesterol: 0mg

