Introduction
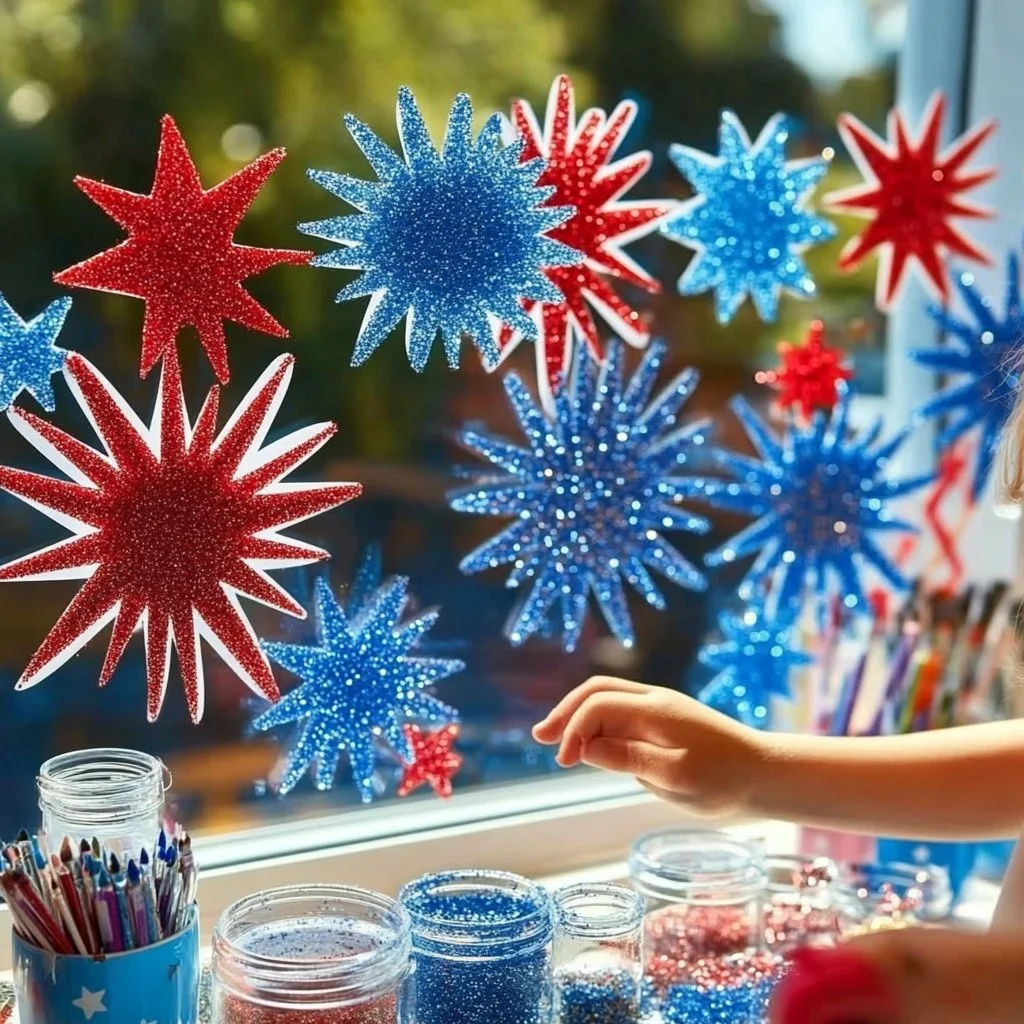
As the 4th of July approaches, many of us look for fun and creative ways to celebrate the spirit of independence. One delightful craft that is sure to add festive flair to your home is making DIY window clings. These colorful decorations are easy to create, customizable, and perfect for both kids and adults. Not only do they lend a touch of holiday spirit to your space, but they also provide an excellent opportunity for family bonding and creativity. With simple materials that are often already at hand, you can transform your windows into a canvas of red, white, and blue. Let’s dive into why you’ll love making these window clings and how to do it step-by-step!
Why You’ll Love This DIY 4th of July Window Clings:
- Fun for All Ages: A great activity for kids, teens, and adults alike.
- Customizable Designs: Create personalized clings that reflect your unique style.
- Easy Clean-Up: This craft is low-mess and easy to remove without damage.
- Showcase Creativity: Use your imagination to design festive patterns and shapes.
- Affordable Fun: Utilizes inexpensive materials typically found around the house.
Materials
- Clear plastic sheet (like transparency film or a plastic party tablecloth)
- White school glue (or fabric glue for a more flexible cling)
- Food coloring or liquid watercolors
- Paintbrushes
- Scissors
- Wax paper (for drying)
- Optional: glitter, stencils, or other decorative embellishments
Full Step-by-Step
Prepare Your Workspace
- Find a clean, flat surface to work on, such as a table or countertop.
- Gather all materials to keep them within reach.
Create Your Design
- Sketch Ideas: Plan your designs on paper first. Think stars, stripes, or fireworks!
- Trace on Plastic: Use your paintbrush to trace your designs directly on the clear plastic sheet.
Mix Your Colors
- Combine Glue and Color: In a small bowl, mix white glue with food coloring or watercolor to achieve desired hues.
- Feel free to play with color combinations!
Apply the Mixture
- Paint It On: Use your paintbrush to fill in your designs with the color mixture.
- Thickness Matters: Ensure even application but keep it thick enough so they hold their shapes.
Drying Time
- Let It Sit: Place your designs on wax paper and leave them to dry for several hours or overnight.
- The clings will become flexible and peelable once fully dried.
Cut Out Your Clings
- Once dry, carefully cut around your designs.
- Store them flat or in a container until you’re ready to use.
Tips & Variations
- Size Matters: Experiment with different sizes; larger designs can make a bigger impact!
- Color Swap: Feel free to use holiday colors other than red, white, and blue for a unique look.
- Add Sparkle: Sprinkle glitter on wet glue designs for extra pizzazz.
- Use Stencils: If you’re not confident in your drawing skills, use stencils for consistent shapes.
Frequently Asked Questions
Q1: Can I use other types of glue?
A1: Yes! Fabric glue or even craft glue can work well, but make sure they dry clear to keep your designs looking good.
Q2: Will these clings damage my windows?
A2: No, when made with washable glue, these clings can easily be removed without leaving residue.
Q3: How long do the clings last?
A3: If stored properly, these clings can last for several years, but they may degrade with time or sunlight exposure.
Q4: Can I use other colors for different holidays?
A4: Absolutely! You can adapt this craft for any occasion by simply changing the colors and shapes.
Suggestions
- Try making a “Happy 4th of July” banner using these clings and hang it in your window.
- Host a DIY window cling party with friends or family for a fun evening of crafting together!
- Create a themed design for holiday barbecues or fireworks displays.
Final Thoughts
DIY 4th of July window clings are a delightful way to celebrate the festivities while engaging in a creative activity. Not only will they brighten up your space, but you and your loved ones will also cherish the memories made while crafting them together. We encourage you to try this fun project and share your versions in the comments! Happy crafting!
Print
DIY 4th of July Window Clings
- Total Time: 15 minutes
- Yield: Multiple window clings
- Diet: N/A
Description
Celebrate Independence Day by making colorful DIY window clings that add festive flair to your home. Easy and fun for all ages!
Ingredients
- Clear plastic sheet (transparency film or plastic party tablecloth)
- White school glue (or fabric glue)
- Food coloring or liquid watercolors
- Paintbrushes
- Scissors
- Wax paper (for drying)
- Optional: glitter, stencils, or other decorative embellishments
Instructions
- Prepare Your Workspace: Find a clean, flat surface and gather all materials.
- Create Your Design: Sketch ideas and trace them on the plastic sheet.
- Mix Your Colors: Combine white glue with food coloring to achieve desired hues.
- Apply the Mixture: Paint your designs with even application and keep it thick enough to hold shapes.
- Drying Time: Place designs on wax paper and let them dry for several hours or overnight.
- Cut Out Your Clings: Once dry, carefully cut around your designs and store them flat.
Notes
Experiment with sizes, colors, and add glitter for extra effects. Use stencils for consistent shapes.
- Prep Time: 15 minutes
- Cook Time: 0 minutes
- Category: Craft
- Method: Crafting
- Cuisine: N/A
Nutrition
- Serving Size: N/A
- Calories: N/A
- Sugar: N/A
- Sodium: N/A
- Fat: N/A
- Saturated Fat: N/A
- Unsaturated Fat: N/A
- Trans Fat: N/A
- Carbohydrates: N/A
- Fiber: N/A
- Protein: N/A
- Cholesterol: N/A

