

Creating artful little bursts of color can transform our spaces in gentle ways. Crystal Rainbow Window Drops invite light to dance across your walls, filling your home with warm, vivid hues. As the sun shines through these delicate, shimmering drops, it casts playful rainbows that remind us of sunshine and gentle breezes. The soft texture of the glue as you work with it can ground your hands while the bright colors you choose awaken your senses. In this quiet moment of creativity, you can breathe deeply and feel the joy of crafting something uniquely yours.
The Heart Behind This DIY
Making Crystal Rainbow Window Drops brings a calming, meditative quality to your creative practice. As you engage with the materials, you slow down and focus on the process, feeling each texture and color flow through your fingers. There’s a warmth in molding the glue, a fluidity that connects you to each drop you create.
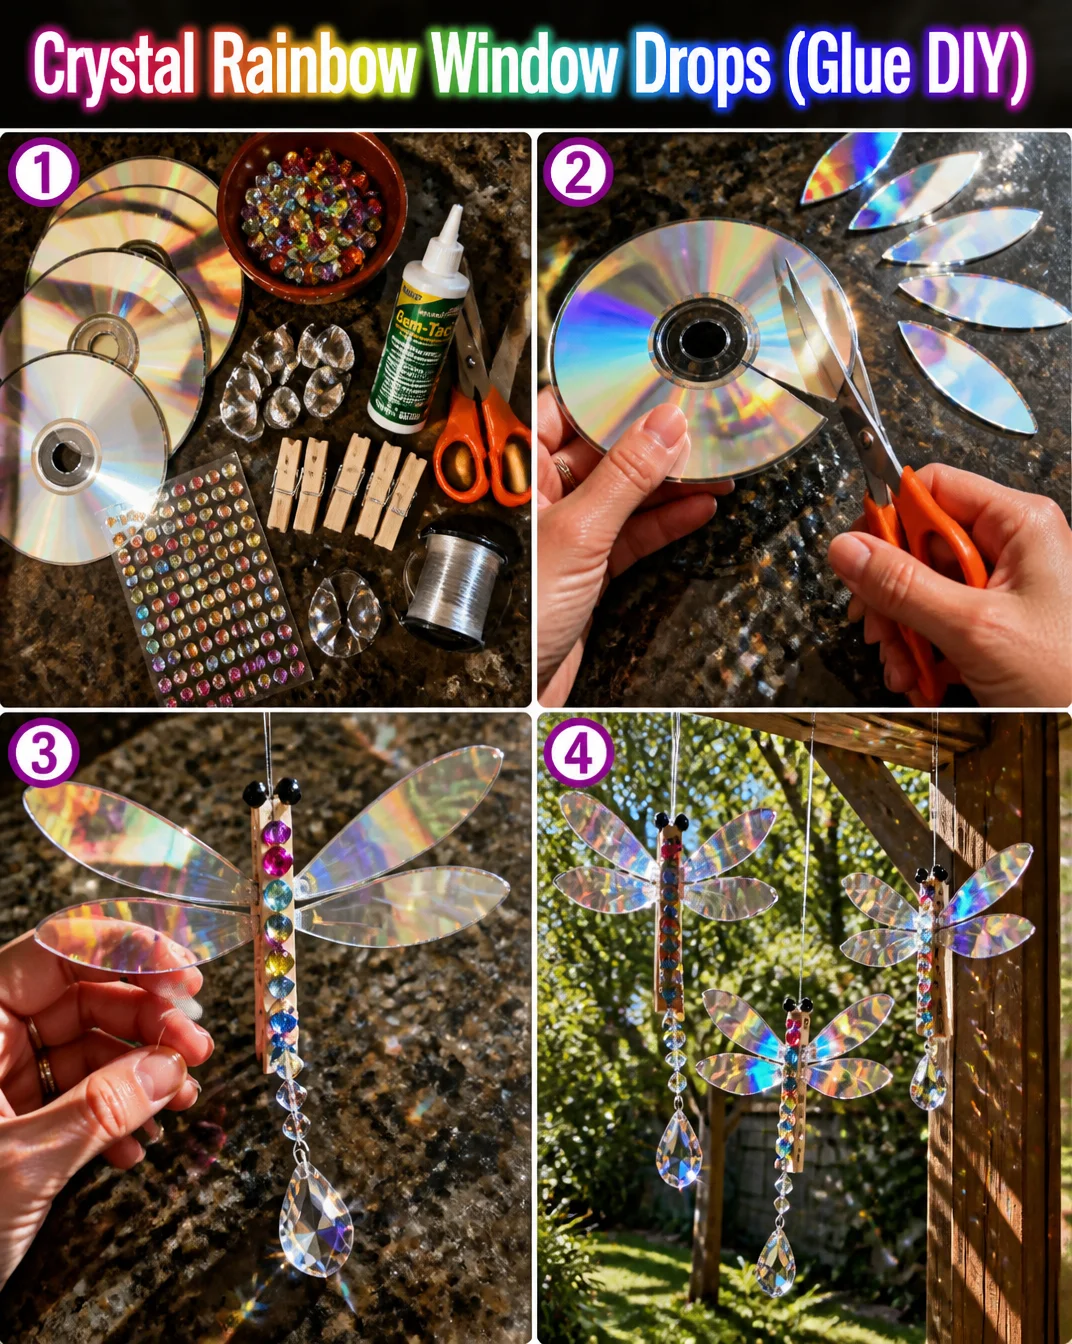
Surrounded by the vibrant colors, you can let your mind unwind, letting go of distractions. Each drop you craft becomes a moment of intention, where the outside world fades away, leaving only the joy of making. That quiet satisfaction when you see the first sunbeam hitting your creation is a delightful reward, a reminder of the beauty found in simple expressions.
A Gentle Look at the Process
The process of making Crystal Rainbow Window Drops is a gentle journey. You’ll find a rhythm as you layer colorful glue, letting it flow effortlessly onto your chosen surfaces. The soft sound of the glue as it spreads, the visual delight of swirling colors, and the touch of smooth, dried drops brings a sensory pleasure to your experience.
By the time you finish your drops, you will have created something lively and expressive, but the journey to get there is where the real magic happens. This DIY invites you to feel each moment, creating a peaceful sanctuary in your mind and heart as you work.
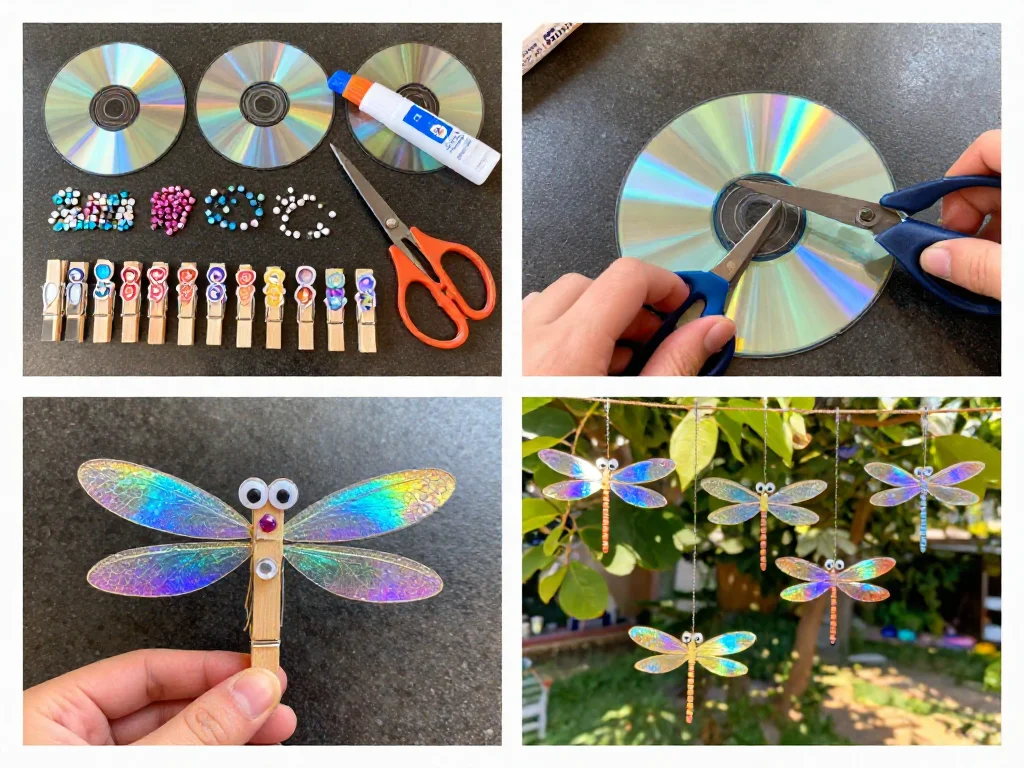
Materials You’ll Need
- Clear school glue (easy to find)
- Food coloring or liquid watercolors (substitute-friendly)
- Wax paper or non-stick baking mat (for a smooth surface)
- A squeeze bottle or pipette (optional, for precise application)
- Scissors (for trimming if needed)
- A paintbrush (for spreading, if desired)
- A cup of water (for cleaning hands or tools)
Gather these materials together in a cozy spot. Setting up your workspace can be a delightful part of the process, creating a well-loved space just for this crafting experience.
Step-by-Step Directions
-
Begin by laying out your wax paper or non-stick baking mat. This acts as a friendly canvas for your drops.
-
Pour a small amount of clear school glue into a bowl. The texture is smooth, inviting you to engage.

-
Add food coloring or liquid watercolors to the glue and stir gently. Watch as the colors swirl together, creating vibrant patterns.
-
If using a squeeze bottle or pipette, fill it with the colored glue mixture. Take your time as you feel the weight of the bottle in your hand.
-
Carefully squeeze the glue mixture onto the wax paper in various shapes. You can create circles, hearts, or freeform designs. Let your creativity flow.
-
Allow the drops to dry completely. This may take several hours or overnight. Take this time to relax, reflect, and anticipate the colors that will soon brighten your space.
-
Once dry, gently peel the drops from the wax paper. Feel the smoothness beneath your fingers as you peel each one away.
-
If desired, trim any uneven edges with scissors. Each drop is a small piece of art uniquely shaped by your hands.
Enjoying the Finished Piece
Once your Crystal Rainbow Window Drops are ready, hang them in a sunny spot. You might choose to place them on a window ledge or even attach them to a string for a gentle mobile. As sunlight pours through, observe the dancing rainbows playing on your walls, turning your space into a lively tapestry of color.
You can also rotate your drops, moving them around to see how the light changes with the season. These drops could become a thoughtful gift for someone who might cherish a splash of color in their home. The joy in sharing your creativity multiplies the happiness when they receive your handmade gifts.

Making This DIY Last
These colorful drops are relatively durable but can be sensitive to high temperatures or moisture. Store your finished pieces in a cool, dry place when not in use. If they are hung in a window, check occasionally to make sure they remain secure.
Should you want to mix things up later on, these drops can easily be recycled. Simply peel them off the surface and create anew, experiencing the joy of the process all over again.
Small Ways to Make It Your Own
-
Experiment with layering colors. Try pouring a light color first, then a darker shade on top to create depth and variation.
-
Explore textures by mixing in a bit of salt or sugar into the glue before coloring it. This will add an interesting tactile element to your drops.
-
Use cookie cutters to guide your shapes. This will give you clean edges and can be a fun way to create themed pieces.
-
Encourage little ones to join in the fun. This project is a beautiful way to bond while letting everyone express their creativity.
-
Consider using natural dyes from fruits or vegetables for a more organic approach. This can deepen the experience and connect you to nature.
FAQs About Crystal Rainbow Window Drops (Glue DIY)
Can I use other types of glue for this project?
While clear school glue is ideal for its smooth texture and easy handling, you can experiment with other clear adhesives. Just make sure that they will dry transparent and won’t be too thick to manage.
How long does it take for the drops to dry?
Drying time can vary based on the thickness of your drops. Typically, they take anywhere from a few hours to overnight. Patience is key, and you can enjoy the anticipation as they dry.
Will the colors fade over time?
Some fading may occur, especially if exposed to direct sunlight for long periods. However, for most indoor settings, the colors should maintain their vibrancy for quite a while.
Can I use this method for other shapes?
Absolutely! Feel free to explore new shapes and designs. Just remember to use a non-stick surface to make peeling easier afterward.
What if I want to remove the drops from the window?
Gently peel them off, and they should come away cleanly. If some glue remains on the window, it can typically be cleaned with a warm, damp cloth.
A Gentle Note Before You Go
Creating Crystal Rainbow Window Drops is not just about the finished product. It is about the time you take to breathe, enjoy the colors, and let your mind wander as you create. As you experiment with shape, color, and texture, you find moments of joy that reveal the beauty in slow, mindful making. Each drop becomes a gentle reminder of your finished work, but the essence truly lies in the calm, intentional moments infused throughout the crafting process. Allow yourself the space to enjoy this quiet creativity, embracing each unique piece as part of your journey.
Print
Crystal Rainbow Window Drops
- Total Time: 15 minutes
- Yield: 1 batch
- Diet: N/A
Description
Create colorful, shimmering window drops that cast playful rainbows in your home, bringing joy and beauty to your space.
Ingredients
- Clear school glue
- Food coloring or liquid watercolors
- Wax paper or non-stick baking mat
- A squeeze bottle or pipette (optional)
- Scissors
- A paintbrush (optional)
- A cup of water
Instructions
- Begin by laying out your wax paper or non-stick baking mat.
- Pour a small amount of clear school glue into a bowl.
- Add food coloring or liquid watercolors to the glue and stir gently.
- If using a squeeze bottle or pipette, fill it with the colored glue mixture.
- Carefully squeeze the glue mixture onto the wax paper in various shapes.
- Allow the drops to dry completely, which may take several hours or overnight.
- Once dry, gently peel the drops from the wax paper.
- If desired, trim any uneven edges with scissors.
- Enjoy your Crystal Rainbow Window Drops in a sunny spot.
Notes
These drops are relatively durable but store in a cool, dry place to maintain quality. Consider recycling them by peeling them off and creating new pieces.
- Prep Time: 15 minutes
- Cook Time: 0 minutes
- Category: Arts & Crafts
- Method: DIY
- Cuisine: N/A