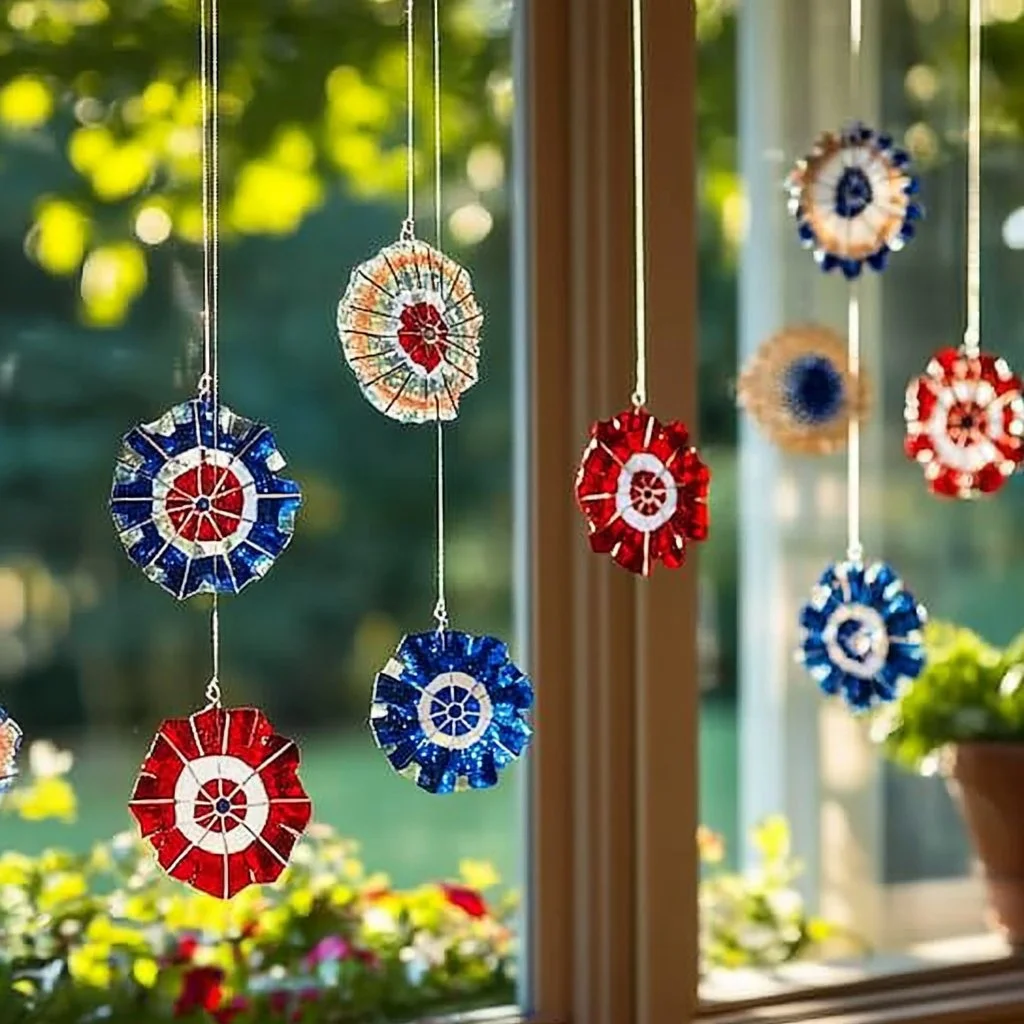
Creating colorful suncatchers is an enchanting craft that brightens up any window and fills your space with joy. This DIY project is perfect for kids and adults alike, providing a fantastic opportunity for creativity and self-expression. Not only do these suncatchers add a splash of color to your home, but they also allow you to experiment with various designs and materials, turning a simple craft into a unique statement piece. As sunlight streams through, it turns your creations into magnificent works of art, casting vibrant reflections all around. Gather your materials and let’s get started on crafting a delightful suncatcher that’ll bring radiance to any room!
Why You’ll Love This Colorful Suncatchers
- Easy and Fun: Perfect for crafters of all ages, this project is simple to follow and encourages creativity.
- Customizable Designs: You can personalize your suncatcher with various colors, shapes, and materials.
- Brightens Up Any Room: When the sunlight hits the suncatcher, it creates stunning visuals that uplift your living space.
- Perfect Gift Idea: Handmade gifts are special, and these suncatchers make great gifts for friends and family.
- Educational Opportunity: Engages children in discussions about colors, light, and shadows.
Materials
- Transparent craft sheets (or contact paper)
- Tissue paper in various colors
- Scissors
- Pencil
- Craft glue (optional)
- Marker (for outlining designs)
- String (for hanging)
- Hole puncher (if desired)
Full Step-by-Step
Step 1: Prepare Your Workspace
- Choose a clean, flat surface to work on.
- Lay down newspaper or a craft mat to catch any spills.
Step 2: Design Your Suncatcher
- Using the pencil, sketch a simple design on the transparent craft sheet.
- Ideas include flowers, stars, or geometric patterns.
Step 3: Cut Out the Tissue Paper
- Tear or cut the tissue paper into small pieces.
- Use different colors to create a vibrant patchwork effect.
Step 4: Assemble Your Suncatcher
- Apply a thin layer of glue on your outlined design (if not using contact paper).
- Place the tissue paper pieces onto the glue in your desired pattern.
- If using contact paper, stick the tissue paper directly onto the adhesive side.
Step 5: Seal the Suncatcher (if needed)
- If using glue, cover the entire design with a second layer of clear craft sheet, sandwiching the tissue paper inside.
Step 6: Cut and Finish
- Trim any excess craft sheet around the design.
- Use a hole puncher at the top to create a hole for the string.
Step 7: Hang Your Suncatcher
- Thread the string through the hole and hang it up in a sunny window.
Tips & Variations
- Custom Shapes: Use cookie cutters as templates for more intricate shapes.
- Layering Technique: Layer different colors of tissue paper for a deeper color effect.
- Seasonal Themes: Create specific designs for different seasons or holidays.
- Painted Effects: Consider using glass paint for a more durable finish.
Frequently Asked Questions
Q: Can I use other materials instead of tissue paper?
A: Yes! You can use colored cellophane, crayons on clear film, or even sequins for different effects.
Q: How do I hang the suncatcher without damaging my window?
A: Use suction cup hooks to hang your suncatcher without leaving residue.
Q: Will the colors fade in sunlight?
A: Over time, some colors may fade, especially if not made with UV-resistant materials. Consider placing it in indirect sunlight if fading is a concern.
Q: Can I make larger suncatchers?
A: Absolutely! Just remember to adapt your materials and workspace to accommodate bigger dimensions.
Suggestions
- Pair this project with a nature walk where kids can collect leaves or flowers to incorporate into their suncatchers.
- Host a suncatcher-making party where each participant can create their own unique designs.
- Incorporate craft time into an educational setting, focusing on concepts of light and color mixing.
Final Thoughts
Crafting colorful suncatchers is not only a delightful activity but also a chance to create a beautiful ambiance in your home. We would love to see your versions of this craft! Share your creations or leave a comment with your thoughts or questions. Happy crafting!
Print
Colorful Suncatchers
- Total Time: 15 minutes
- Yield: 1 suncatcher
Description
Create enchanting colorful suncatchers that brighten any window and serve as a unique expression of creativity.
Ingredients
- Transparent craft sheets (or contact paper)
- Tissue paper in various colors
- Scissors
- Pencil
- Craft glue (optional)
- Marker (for outlining designs)
- String (for hanging)
- Hole puncher (if desired)
Instructions
- Prepare Your Workspace: Choose a clean, flat surface and lay down newspaper or a craft mat.
- Design Your Suncatcher: Use a pencil to sketch a design on the transparent craft sheet.
- Cut Out the Tissue Paper: Tear or cut tissue paper into small pieces with various colors.
- Assemble Your Suncatcher: Apply glue on the design and stick tissue paper as desired.
- Seal the Suncatcher: Cover with a second layer of clear craft sheet if using glue.
- Cut and Finish: Trim excess craft sheet and use a hole punch at the top for hanging.
- Hang Your Suncatcher: Thread the string through the hole and hang it in a sunny window.
Notes
Consider using cookie cutters for shapes and layering tissue paper for color effects. Use suction cup hooks to hang without damaging windows.
- Prep Time: 15 minutes
- Cook Time: 0 minutes
- Category: Crafts
- Method: Crafting
Nutrition
- Serving Size: 1 suncatcher
- Calories: 0
- Sugar: 0g
- Sodium: 0mg
- Fat: 0g
- Saturated Fat: 0g
- Unsaturated Fat: 0g
- Trans Fat: 0g
- Carbohydrates: 0g
- Fiber: 0g
- Protein: 0g
- Cholesterol: 0mg

