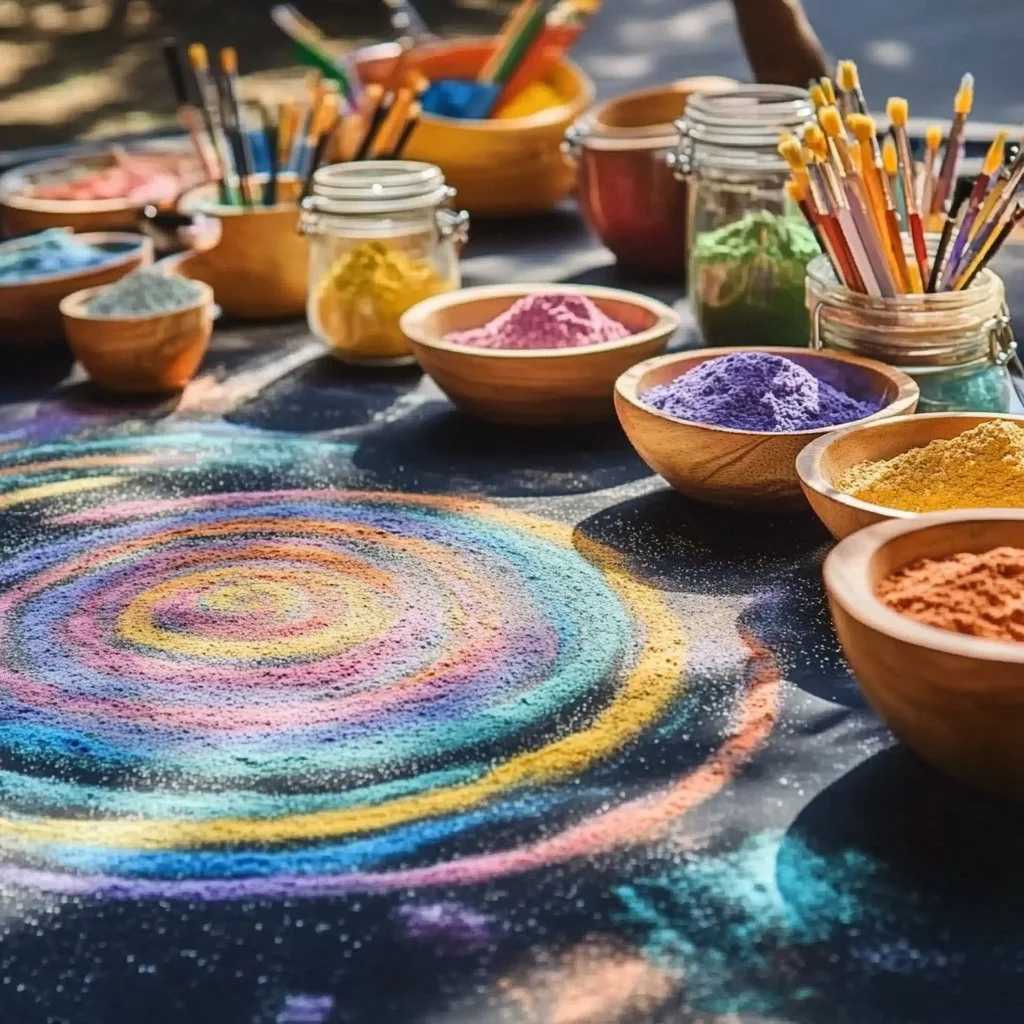
Colored Chalk for Sensory Play
Growing up in a small town, summer days stretched out like a sunny canvas, just waiting for us to paint our memories upon it. One vivid memory that stands out is the joy of playing outside, a world filled with vibrant colors and endless creativity. My grandmother introduced me to a delightful way to engage my senses with homemade colored chalk. We would gather ingredients from her kitchen, turning simple elements into something magical. The best part? This recipe isn’t just about making chalk; it’s about creating rich, colorful experiences that awaken the artist in every child.
With school out and the sunshine beckoning, this colored chalk is the perfect addition to your family’s summer adventures. The vibrant colors not only encourage artistic expression but also enhance sensory play—something every child loves! So grab your apron, and let’s dive into creating this imaginative treat.
Why You’ll Love This Colored Chalk for Sensory Play
- Kid-approved: Perfect for hours of outdoor fun.
- Non-toxic: Safe for kids to use while exploring their creativity.
- Customizable colors: Create your own unique shades.
- Easy to make: Simple ingredients and straightforward instructions.
- Educational: Encourages fine motor skills and color recognition.
Ingredients
- 1 cup of water
- 1 cup of corn starch
- 1 cup of baking soda
- Food coloring (various colors)
- Silicone molds or ice cube trays
Step-by-Step Instructions
Step 1: Prepare Your Mixture
- In a large bowl, combine 1 cup of corn starch and 1 cup of baking soda.
- Gradually stir in 1 cup of water until the mixture is smooth.
- Use a whisk to blend well, ensuring there are no lumps.
Step 2: Color Your Chalk
- Divide the mixture into several small bowls.
- Add a few drops of food coloring to each bowl. Feel free to mix colors for unique shades!
- Stir each bowl until the color is evenly distributed.
Step 3: Mold Your Chalk
- Pour the colored mixtures into silicone molds or ice cube trays.
- Tap gently to release any air bubbles and ensure even distribution.
Step 4: Let It Dry
- Allow the chalk to dry for 24-48 hours. Ideally, place them in a warm, dry area for the best results.
- Once fully dry, carefully pop the chalk out of the molds.
Tips & Variations
- Super Pigmented: For more vibrant colors, add extra food coloring.
- Flavor: Although not edible, you can add a few drops of vanilla or other extracts for an aromatic effect.
- Mold Fun: Use different shapes and sizes to make the chalk more interesting.
Storage Instructions
- Store your colored chalk in a cool, dry place.
- Keep them in a sealed bag or container to prevent them from breaking or getting too moist.
Nutritional Information
- Prep Time: 10 minutes
- Cook Time: 0 minutes
- Total Time: 1-2 days (drying time)
- Calories per serving: N/A (this is not for eating!)
- Servings: Multiple pieces of chalk depending on mold size
Frequently Asked Questions
Q: Can I use this recipe for edible chalk?
A: No, this chalk is not edible. It’s meant for sensory play only!
Q: How do I clean up if the chalk makes a mess?
A: Use water to wash away the chalk from surfaces, as it’s non-toxic and easy to remove.
Q: Can I use natural coloring instead of food coloring?
A: Yes! You can use natural dyes from fruits and vegetables for a more natural approach.
Q: How long does the chalk last?
A: If stored properly, the chalk can last for several months.
Serving Suggestions or Pairings
- Pair your colored chalk with a blank canvas—whether it’s a sidewalk, a chalkboard, or paper.
- Set up a lemonade stand afterward to cool down after a creative play session!
Final Thoughts
There you have it—a simple, delightful recipe for colored chalk that not only sparks creativity but also is rooted in cherished memories of outdoor fun. I can’t wait to hear how your own adventures with this chalk unfold! Share your creations or leave a comment below, and let’s keep the creativity flowing! Happy crafting!

