

As you sit quietly, fingers moving across the cool, smooth surface of a CD, light dances across the room in gentle, playful patterns. Each piece reflects a different hue, from deep blues to soft greens, whispering memories of music and warmth. This serenity carries you deeper into the moment, inviting creativity and mindfulness as you begin to imagine a transformation—a CD Mosaic Plant Pot that will both hold new life and awaken joy in your space.
The Heart Behind This DIY
Creating a CD Mosaic Plant Pot feels like a hug for the spirit. This DIY project encourages you to slow down, breathe, and reconnect with your senses. As you work, you engage with textures, both of the materials and of your thoughts—a meditative practice in the art of making. The clinking sound of broken CD pieces as they find their way into a pattern can feel like music to your ears, connecting you even more deeply to a moment suspended in time.
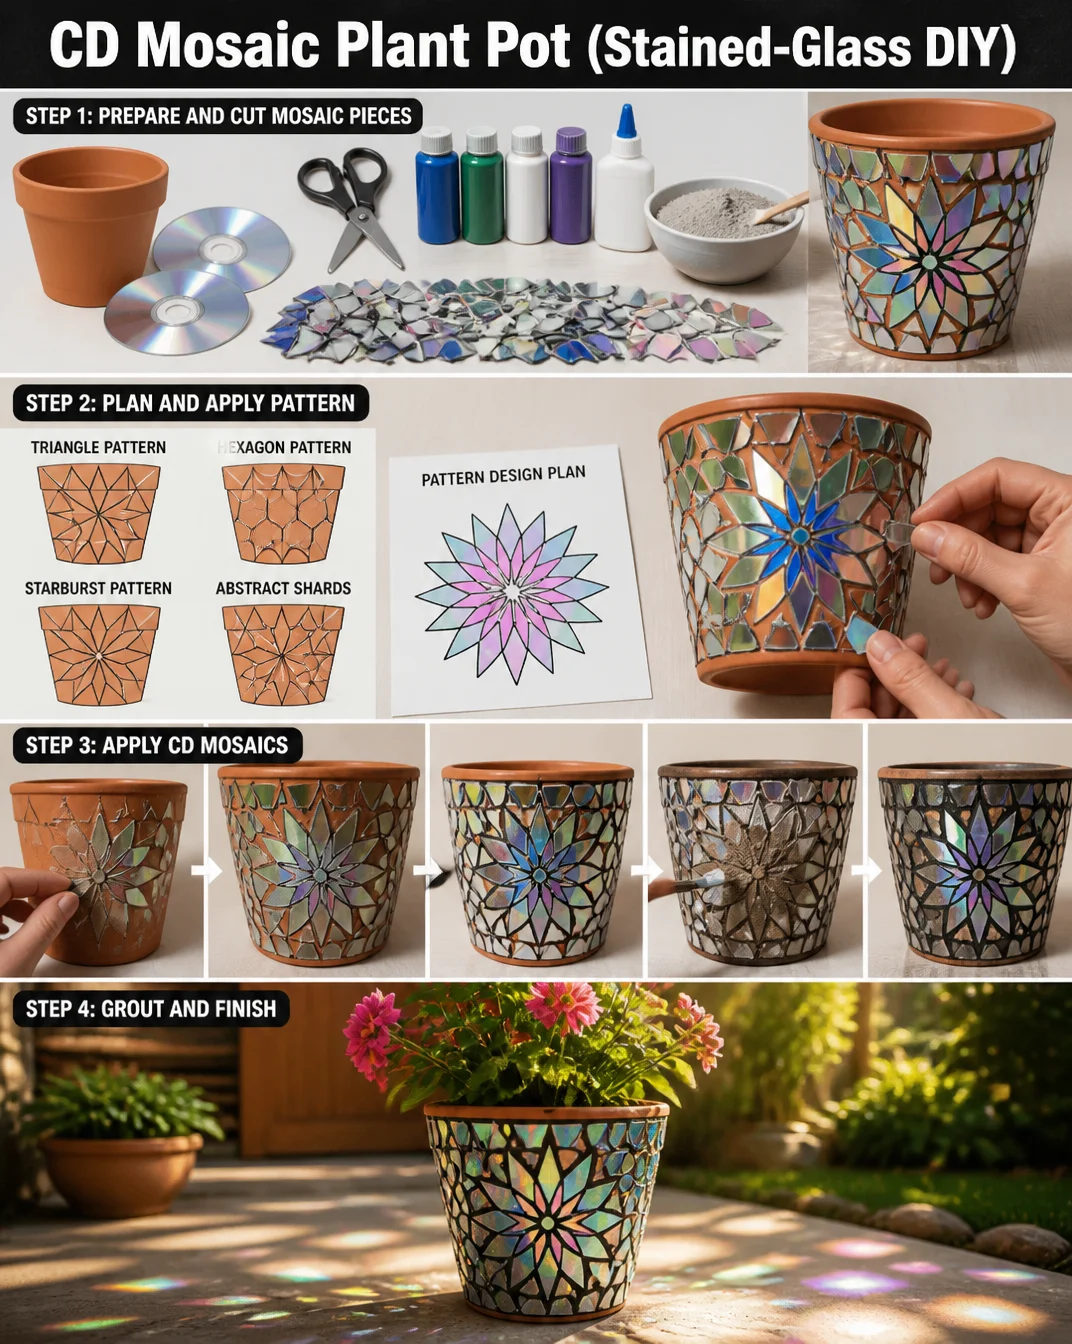
This project is not just about crafting; it’s about cultivating a sense of peace. Each step invites a mindful focus, helping you to draw your attention away from the chaos of daily life. Creating with your hands grounds you, giving you room to explore creativity without judgment or haste. You get to shape something beautiful, bringing together shards of the past to create a vessel of life that shines.
A Gentle Look at the Process
As you prepare for this project, imagine the natural rhythm of your hands. Gather the materials gently, letting them fall into place as you prepare your workspace. You might find the act of breaking CDs satisfying, a familiar sound that connects you to long-forgotten tunes. You’ll watch as you create a mosaic, your hands moving with intention.
The flow of making fosters a sense of calm. You’ll find joy in arranging the pieces, noticing how the light plays with colors and shadows. The very act of putting it together becomes almost meditative, filled with potential. Each piece tells a story, each moment adds texture to your experience—inviting warmth and comfort into your day.
Materials You’ll Need
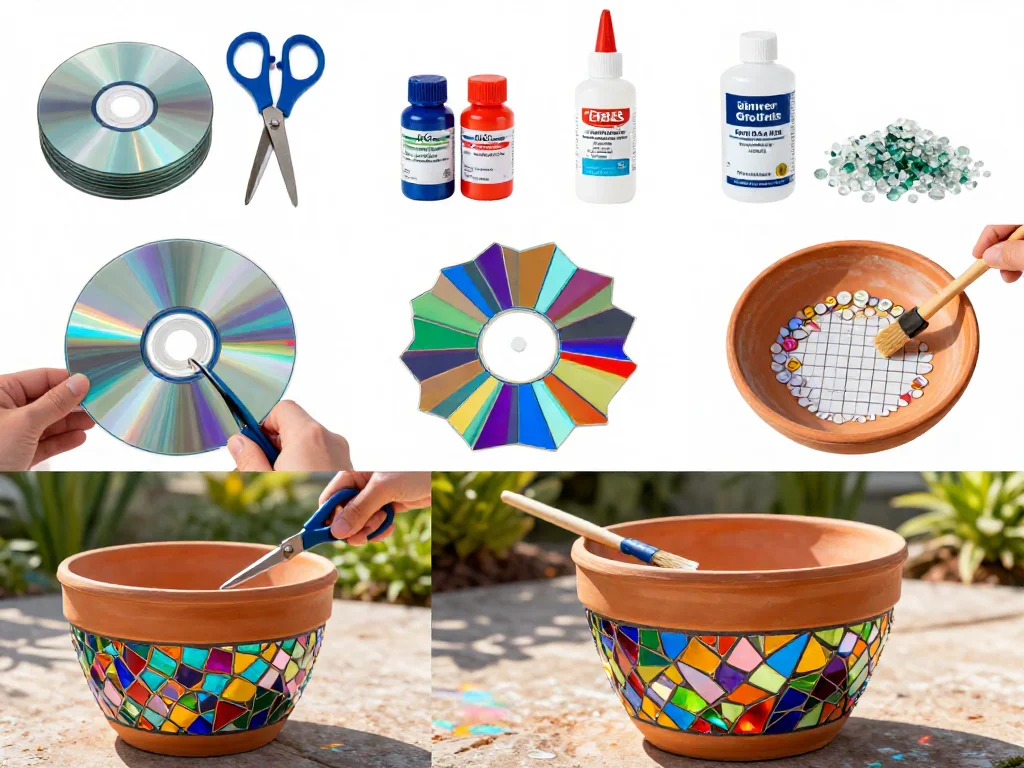
- Old CDs or DVDs (easy to find at home or thrift stores)
- Non-toxic adhesive or Mod Podge (look for options that dry clear)
- Small flower pot (terracotta or plastic bases work well)
- Grout (optional, for a smoother finish)
- Clean water (to mix with grout if used)
- Craft knife (be careful with this tool)
- Scissors (to cut any larger pieces)
- Sponge or cloth (to wipe away excess adhesive)
- Paintbrush (for applying glue)
- Sealer (clear, to protect your finished piece)
These materials are accessible and inviting. You might even find joy in reaching for them, a reminder of creativity waiting to unfold.
Step-by-Step Directions
-
Prepare Your Workspace: Choose a quiet, comfortable area to work, laying down newspapers or a drop cloth for easy cleanup.
-
Break the CDs: Use your craft knife or scissors to gently break the CDs into small, manageable pieces. The sound of cracking will feel oddly satisfying. Stay mindful of your movements.

-
Arrange the Pieces: Before gluing, take your time to lay out the pieces on the flower pot. Experiment with different colors and patterns until something feels right.
-
Apply Adhesive: Using a paintbrush, apply a thin layer of adhesive onto a small section of the pot. Press each piece of CD into the glue firmly but gently.
-
Continue Layering: Work your way around the pot, ensuring that the pieces overlap slightly. This creates a beautiful mosaic effect.
-
Fill in Gaps: If you’re using grout, prepare it according to the package directions after the adhesive dries. Spread it over the mosaic to fill in any gaps, wiping away excess with a damp sponge.
-
Allow to Dry: Place your pot in a safe area to dry completely, following the adhesive and grout instructions.
-
Seal the Pot: Once dry, apply a clear sealer over the entire surface to protect it from wear, bringing out the vivid colors of the mosaic.
-
Add a Plant: Choose a small plant or succulent to place inside. You’ve created not just a pot, but a cozy corner of life, beauty, and creativity.
Enjoying the Finished Piece
The CD Mosaic Plant Pot offers more than a simple display; it serves as a reminder of the beauty in upcycling. When you place a luscious green plant inside, the vibrant colors of the CDs come alive, catching light and reflecting a harmonious blend of nature and art. Find a sunny spot in your home to place your new creation.
It not only beautifies the space but also invites a moment of connection with the plants you care for. Every glance at the pot may bring forth a gentle nudge to appreciate the artistry of life, the layering of experiences—just like the mosaic you’ve created.
Making This DIY Last
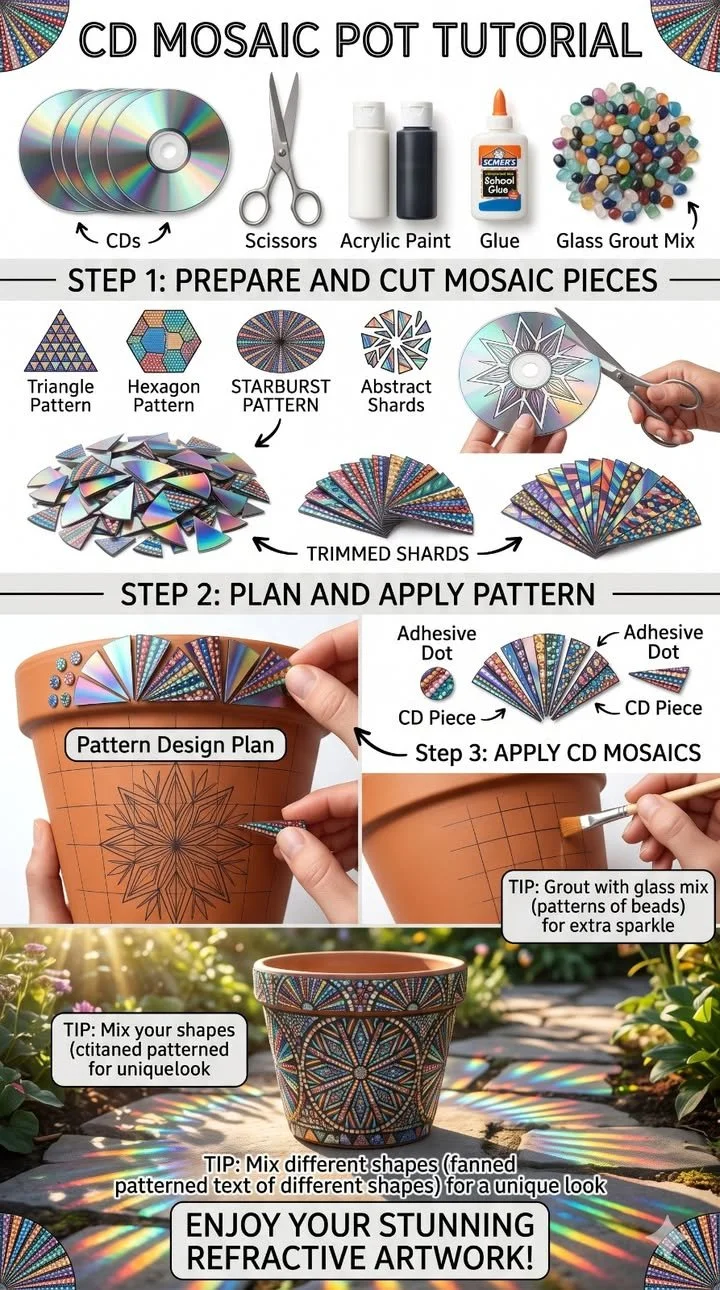
To ensure your CD Mosaic Plant Pot remains durable, keep it in a space where it won’t be exposed to harsh elements. If you plan to place it outdoors, choose a spot protected from direct rain or extreme sunlight. The sealer will help, but gentle care will go a long way.
If you notice it gathering dust or dirt, gently wipe it down with a damp cloth. If the plant needs a new home, you can replant it, perhaps using the pot for a different succulent or flower. This pot can continue to tell stories, foster creativity, and bring little bursts of joy into your life.
Gentle Tips & Variations
-
Color Themes: Consider choosing CDs in similar color palettes. This ties the piece together beautifully and can reflect the seasons or your personal style.
-
Different Shapes: Use various shaped pots—oval, square, or even unique found containers. Each shape offers different possibilities for your mosaic art.
-
Add Personal Touches: Write a word that inspires you on the pot before applying the mosaic, or incorporate small embellishments like beads or stones that resonate with your journey.
-
Seasonal Decor: Change out the plant seasonally or decorate the pot with festive designs for holidays, inviting new energy throughout the year.
FAQs About CD Mosaic Plant Pot (Stained-Glass DIY)
Can I use any type of adhesive?
Most non-toxic adhesives work well, but avoid anything that dries too rigid. A flexible, clear-drying glue allows the mosaic to maintain its integrity.
Is this project suitable for children?
With supervision, children can enjoy parts of this project, especially if you handle any sharp tools. They may find joy in selecting the pieces and arranging them.
How do I clean the mosaic surface?
Gently dust with a soft cloth or a soft brush to keep the pieces looking vibrant. Avoid strong detergents that could damage the mosaic or adhesive.
What plant should I use?
Succulents and small ferns work beautifully, as they require little maintenance. Choose plants that fit your lifestyle and bring joy to your space.
Can I use non-CD materials?
Absolutely! Try using colored glass, ceramic shards, or even painted stones. The essence of this project lies in creating a unique expression of your artistic vision.
A Gentle Note Before You Go
As you wrap up your journey with the CD Mosaic Plant Pot, take a moment to breathe. Reflect on the textures, sounds, and colors that filled your time. Cherish the beauty of creation and the stories that each piece holds.
Allow this project to be not just a finished piece but a part of your calming routine. Each glance at your new pot is a reminder of the joy in gentle creativity and mindfulness. Keep exploring, keep making, and let each moment in the world of cozy crafting nurture your soul.
Print
CD Mosaic Plant Pot
- Total Time: 45 minutes
- Yield: 1 plant pot
- Diet: N/A
Description
Transform old CDs into a beautiful mosaic plant pot that adds color and joy to your space.
Ingredients
- Old CDs or DVDs
- Non-toxic adhesive or Mod Podge
- Small flower pot (terracotta or plastic)
- Grout (optional)
- Clean water (for mixing grout)
- Craft knife
- Scissors
- Sponge or cloth
- Paintbrush
- Sealer (clear)
Instructions
- Prepare Your Workspace: Choose a comfortable area to work, laying down newspapers for easy cleanup.
- Break the CDs: Use your craft knife or scissors to break the CDs into small pieces.
- Arrange the Pieces: Lay out the pieces on the pot to design your mosaic.
- Apply Adhesive: Brush a thin layer of adhesive onto a section of the pot and press the CD pieces into it.
- Continue Layering: Work your way around the pot, overlapping pieces for effect.
- Fill in Gaps: If using grout, apply it after the adhesive is dry to fill gaps.
- Allow to Dry: Place the pot in a safe area to dry completely.
- Seal the Pot: Once dry, apply a clear sealer to protect the mosaic.
- Add a Plant: Place a small plant or succulent inside your new pot.
Notes
Ensure your pot is kept in a safe location to avoid harsh elements. Clean gently with a damp cloth as needed.
- Prep Time: 15 minutes
- Cook Time: 0 minutes
- Category: DIY Project
- Method: Crafting
- Cuisine: N/A