

In the soft glow of afternoon light, a simple cardboard roll rests in your hand. It carries the promise of transformation, just like a quiet cocoon waiting to reveal a vivid butterfly. What starts as a humble tube can blossom into colorful wings adorned with bright paint and sparkling gems, perfect for your next craft day. Embracing this project offers more than just the thrill of creation; it invites you to slow down and indulge in the calming rhythm of mindful making.
The Heart Behind This DIY
Creating transforms routine into ritual. As you nestle into a creative moment with cardboard rolls, the beauty lies not just in the finished butterfly wings but in the process itself. Each stroke of paint and every gentle touch reminds us of life’s simple joys.
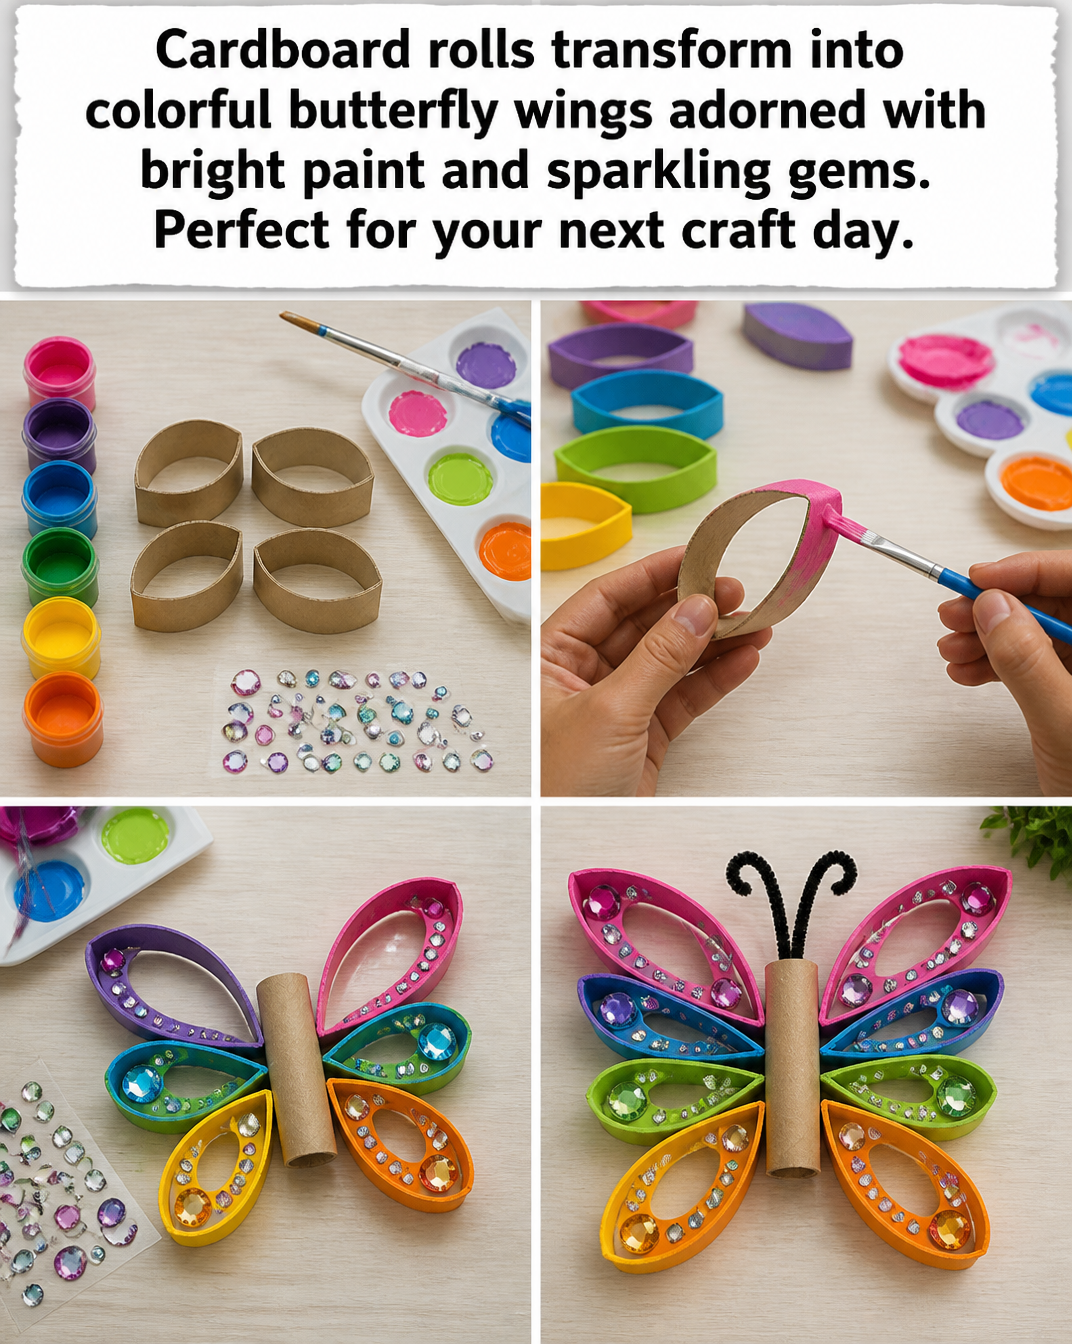
When you work with your hands, especially on something as playful as butterfly wings, you reconnect with a sense of wonder. The act of painting awakens your senses—the smooth glimmer of paint, the bright colors bursting forth, and the quiet satisfaction of placing each gem just so. It’s an invitation to pause and revel in the present, offering you a chance to breathe deeply and let go of your daily worries.
There is an undeniable warmth in using materials that might otherwise go unnoticed. Cardboard rolls, often discarded, become centers of attention, textured canvases for your imagination. As you manipulate and adorn them, you craft not only a decoration but also a cozy moment in your busy life.
How This DIY Comes Together
To begin creating cardboard rolls into colorful butterfly wings, picture yourself surrounded by the gentle rustle of materials, the soft clink of gems, and the low hum of creativity. Note the way the colors mix and mingle, the brush gliding across the cardboard, leaving behind trails of color. As you immerse yourself, remember this is not just crafting; it’s an experience that allows you to flow along with the artistry.
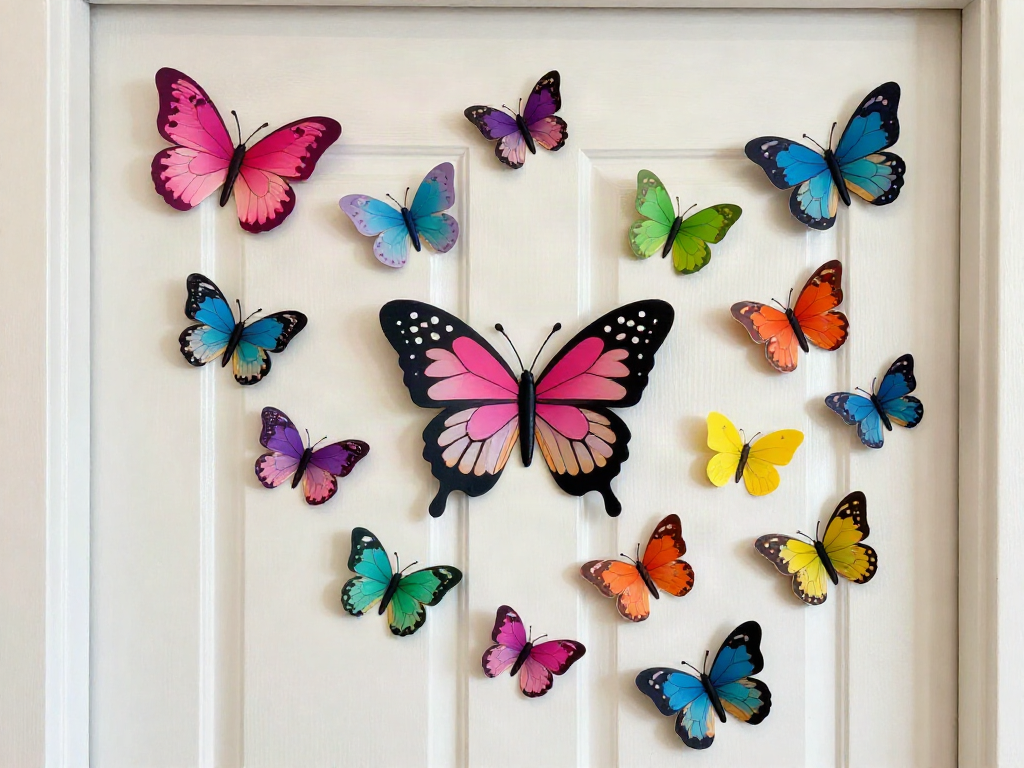
This process invites you to engage with your senses—the scent of paint, the smooth touch of glue, and the bright sight of your imagination taking flight. Each step allows you to feel present, leading you gently into a space of calm focus. As you gather your materials, think of the joy that awaits.
Materials You’ll Need
Gathering the right materials creates a sense of excitement for this project. Here’s what you’ll need:
- Cardboard rolls (toilet paper or paper towel rolls work well, easy to find)
- Acrylic paints (choose favorite colors; they dry quickly)
- Paintbrushes (different sizes for creativity)
- Decorative gems or sequins (for sparkle and fun)
- Craft glue (a strong adhesive helps pieces stay in place)
- Scissors (for cutting shapes)
As you prepare your space, embrace the tactile nature of each material. Feel the cardboard’s sturdiness, the brush’s softness, and the coolness of the gems. Each element plays its part in this cozy crafting experience.
Step-by-Step Directions
-
Start by preparing your workspace, laying down a protective covering. You want to keep both your surface and your mind calm.
-
Take a cardboard roll and decide how long you want the wings. A typical length might be around 6-8 inches. Use scissors to cut the roll in half vertically, creating two halves.
-
Shape the wings by gently bending each half outward. You may want to thin the edges for a graceful wing effect by trimming the cardboard slightly.
-
Now it’s time to paint. Choose your colors and dip your brush into the acrylic paint. Feel the fluidity as you apply it to the cardboard, letting creativity lead you.
-
Once the paint dries, it’s time for embellishments. Apply a layer of glue where you’d like to place your decorative gems. Enjoy the process of selecting colors and shapes; let your wings shine.
-
If you desire, cut out patterns from colored paper and glue them to the wings for added texture. Layering creates depth, much like a butterfly’s natural beauty.
-
Allow everything to dry completely before handling your wings. This will ensure all elements stay in place and your creation becomes a lasting treasure.
-
Once dry, you can attach the wings to a headband or stick for playful use. Imagine the joy of wearing or displaying your creation as a symbol of your cozy creativity.
Bringing Cardboard Rolls Transform Into Colorful Butterfly Wings Into Your Space
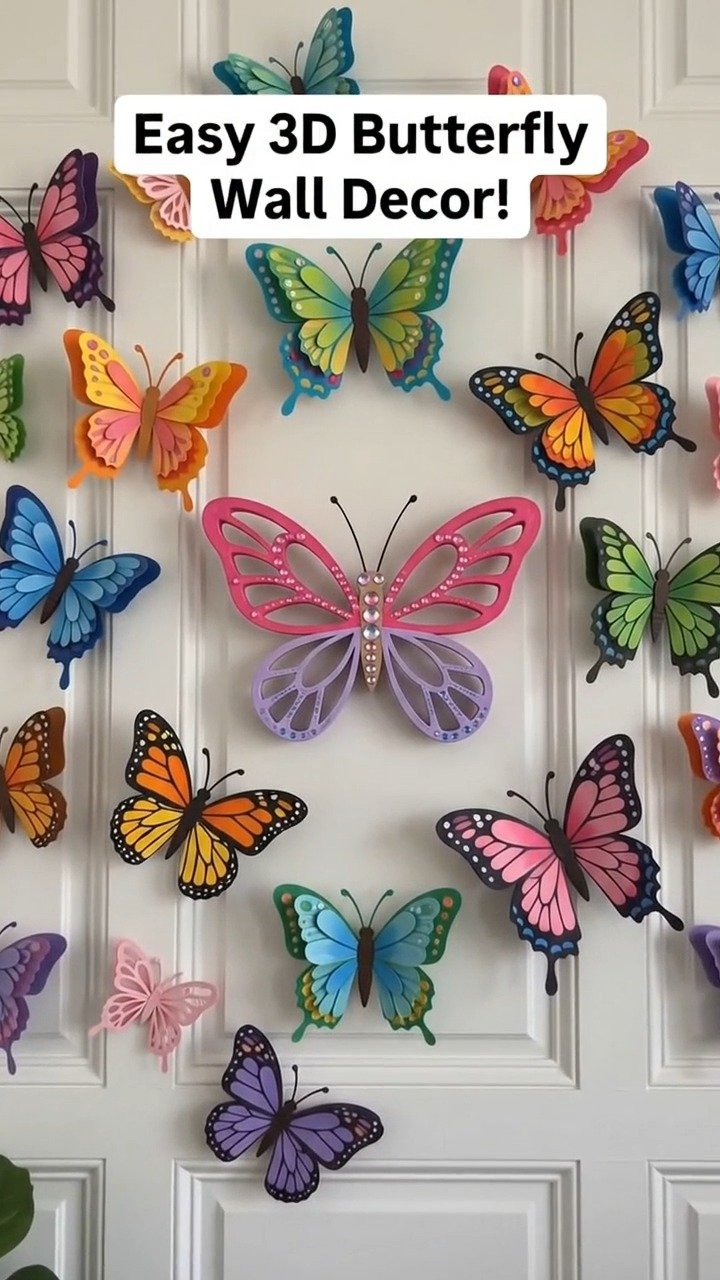
The finished butterfly wings carry the essence of your creativity. Once you’ve completed this charming project, find a special spot to display them. Perhaps a quiet corner in your home, a child’s room, or as part of a colorful gallery wall can showcase this joyful creation.
Think about the potential for play. Children might enjoy wearing their colorful wings, diving into imaginative adventures while you watch their laughter fill the air. Even adults can enjoy the whimsical aspect of these crafts as decor in workspaces or cozy reading nooks.
The wings become an extension of your ongoing story, reminding you of the gentle joy that comes from crafting, creativity, and connection to your environment.
How to Store or Reuse Cardboard Rolls Transform Into Colorful Butterfly Wings
When the crafting sessions wind down, consider how to store your lovely wings or even renew them for future joy. A gentle touch ensures longevity; place them in a dedicated box with soft tissue paper layered between to keep them from scratching.
Alternatively, you might decide to switch out colors or decorations as seasons change. You could even invite friends over for a refreshing take on the craft, where everyone makes their own version, keeping the spirit of creativity alive.
Encourage children to return to their creations, reinforcing feelings of pride and accomplishment. Making them last becomes a skill both timeless and comforting—just like the experience.
Gentle Tips & Variations
-
Experiment with different painting techniques. Try sponging or splattering for unique textures. Engage with materials to discover new effects.
-
Consider using natural materials, like leaves or dried flowers, as part of your wings. These additions can provide an earthy, organic touch.
-
Allow children to express themselves freely. There’s no right or wrong way, only the beauty of individual creativity. Celebrate their choices and unique designs.
-
Make this a seasonal project. Create wings inspired by different times of the year—pastels for spring, rich reds and golds for autumn.
-
Play with scale. Instead of small wings, experiment with larger cardboard pieces, creating oversized versions that carry grandeur and a touch of whimsy.
FAQs About Cardboard Rolls Transform Into Colorful Butterfly Wings
Can I use other types of cardboard?
Yes, any cardboard material works. The sturdier the cardboard, the more lasting the wings.
What if I don’t have paint?
Markers or even crayons can serve as alternatives. Engaging with whatever materials you have can spark creativity.
How long will the wings last?
If stored properly, your wings can last a long time, bringing you joy each time you see them.
Can I make these wings with children?
Absolutely. This DIY is perfect for collaborative crafting, allowing for shared creativity and laughter.
What if I want to change the colors later?
You can always repaint or re-decorate whenever inspiration strikes. This craft is truly flexible.
A Gentle Note Before You Go
As you complete this journey of transforming cardboard rolls into colorful butterfly wings, carry the calm of creation with you. The cycle of making is beautiful, rewarding, and full of promise. Take time to reflect on the process, savor the colors, and treasure the moments of quiet focus.
Remember, every creation holds a bit of your heart. Allow it to be a gentle reminder of the joy that comes from engaging your hands, heart, and mind in cozy creativity. Cherish the beauty found in simple, delightful projects like these, and may they inspire your ongoing adventure of making.
Print
Colorful Butterfly Wings from Cardboard Rolls
- Total Time: 45 minutes
- Yield: 1 set of butterfly wings
- Diet: N/A
Description
Transform simple cardboard rolls into vibrant butterfly wings for a delightful craft project.
Ingredients
- Cardboard rolls (toilet paper or paper towel rolls)
- Acrylic paints (favorite colors)
- Paintbrushes (various sizes)
- Decorative gems or sequins
- Craft glue
- Scissors
Instructions
- Prepare your workspace by laying down a protective covering.
- Take a cardboard roll and cut it in half vertically to create two halves.
- Shape the wings by bending each half outward and trimming the edges if desired.
- Paint the wings using acrylic paint, allowing creativity to guide you.
- Once the paint dries, apply glue and place decorative gems to embellish your wings.
- If you wish, cut out patterns from colored paper and glue them to the wings.
- Allow everything to dry completely before handling your wings.
- Once dry, attach the wings to a headband or stick for fun.
Notes
Embrace the joy of creativity and feel free to experiment with colors and textures. Consider making this a seasonal project by changing designs with the seasons.
- Prep Time: 15 minutes
- Cook Time: 30 minutes
- Category: Craft
- Method: DIY
- Cuisine: N/A