

This post contains Amazon affiliate links. As an Amazon Associate I earn from qualifying purchases.
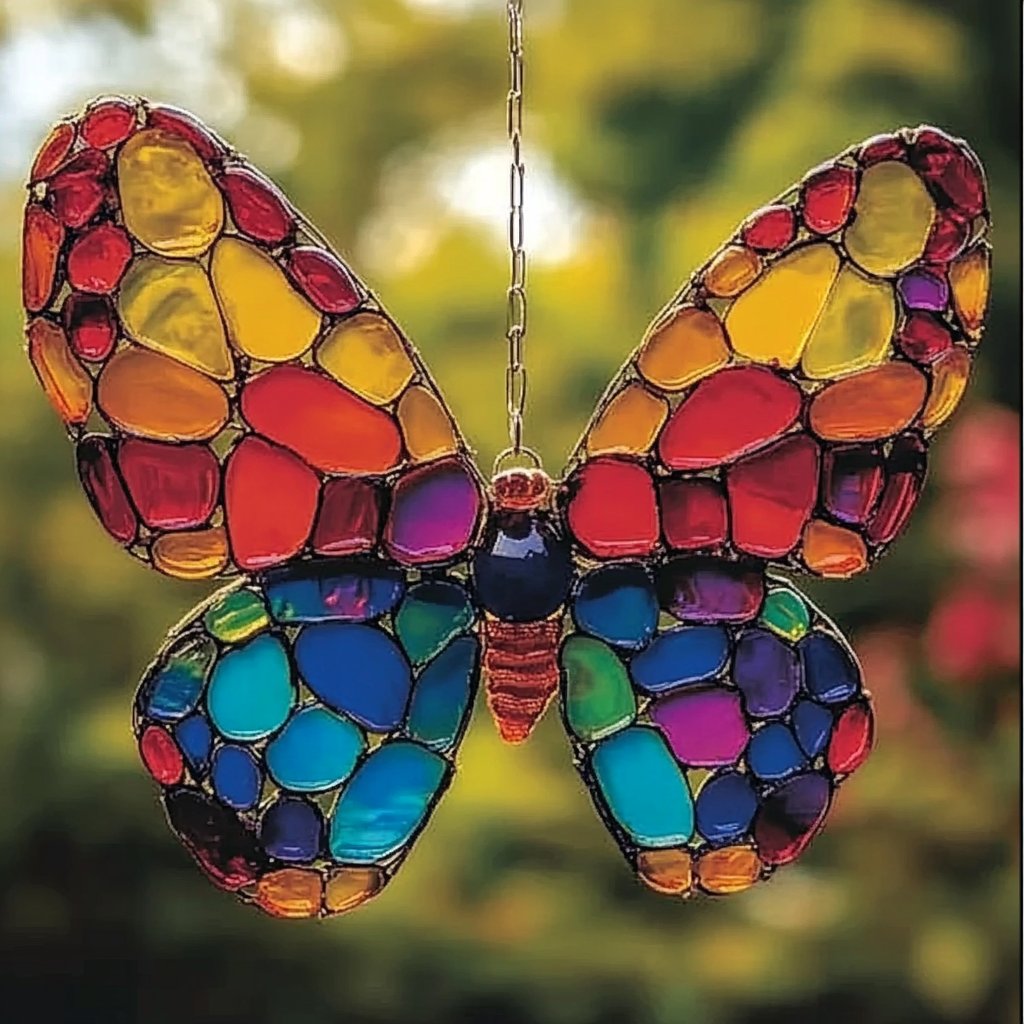
Creating a Butterfly Suncatcher is not only a fun and engaging craft project but also a beautiful way to welcome a burst of colors into your home. This DIY project is perfect for all ages and provides an excellent opportunity for family bonding. The butterfly motif is a symbol of transformation and beauty, making this suncatcher a charming addition to any window or garden. As sunlight shines through, the vivid colors come alive, creating mesmerizing light patterns in the surrounding space. Whether you hang it in your living room, kitchen, or outdoors, making a butterfly suncatcher is a delightful way to celebrate nature’s wonders.
Why You’ll Love This Butterfly Suncatcher:
- Vibrant Colors: Use of translucent materials creates stunning light displays.
- Easy to Make: Perfect for all skill levels, from beginners to expert crafters.
- Family-Friendly: A great way to spend quality time with kids.
- Adaptable Design: Easily customize the colors and patterns to fit your style.
- Educational: Learn about butterflies and the art of suncatcher-making.
Materials:
- Transparent plastic sheets (e.g., old CD cases or transparency sheets)
- Colored tissue paper
- Scissors
- Craft glue or Mod Podge
- Paintbrush (for applying glue)
- Black marker or permanent marker
- String or fishing line (for hanging)
Full Step-by-Step:
1. Prepare the Plastic Base
- Cut the transparent plastic sheets into the desired butterfly shape. You can draw your butterfly outline first for precision.
- Ensure the edges are smooth to avoid sharp points.
2. Create the Butterfly Design
- Tear pieces of colored tissue paper into small shapes.
- Use the black marker to outline the butterfly features, such as wings and antennae, on one side of the plastic.
3. Apply the Tissue Paper
- Using the paintbrush, apply a thin layer of glue to the butterfly wings.
- Place the torn tissue paper pieces onto the glue, overlapping them to create an interesting pattern.
4. Seal Your Work
- Once you’ve covered the entire butterfly, apply an additional layer of glue over the top of the tissue paper. This will help secure it in place.
- Let it dry completely.
5. Add Hanging Components
- After the suncatcher is dry, use a small hole punch to make a hole at the top of the butterfly.
- Thread a piece of string or fishing line through the hole for hanging.
Tips & Variations:
- Use different colors of tissue paper to create unique designs.
- Experiment with other shapes, like flowers or hearts, using the same technique.
- Incorporate glitter for extra sparkle.
- Try using clear contact paper for a mess-free experience.
Frequently Asked Questions:
Q1: Can I use regular paper instead of tissue paper?
A1: While regular paper will work, it won’t have the same translucency and vibrant colors as tissue paper.
Q2: How do I hang my suncatcher?
A2: You can use string, fishing line, or even suction cups designed for windows.
Q3: What if I make a mistake with my design?
A3: Don’t worry! You can easily peel off the tissue paper and start again with fresh pieces.
Q4: Can I use outdoor materials to hang it outside?
A4: Yes, just ensure that the glue and plastic are weather-resistant for outdoor display.
Suggestions:
- Share this craft project with friends for a crafternoon gathering.
- Try exploring other techniques like using colored cellophane or painted designs.
- Use your suncatcher to teach kids about colors, light, and nature.
Final Thoughts
Making a Butterfly Suncatcher is a lovely way to bring a pop of color and creativity into your space. As you craft, enjoy the process, and don’t hesitate to share your unique creations. We’d love to see your versions, so feel free to leave a comment or tag us in your photos! Happy crafting!
Print
Butterfly Suncatcher
- Total Time: 75 minutes
- Yield: 1 suncatcher
- Diet: N/A
Description
Create a vibrant butterfly suncatcher using transparent materials and colored tissue paper, perfect for all ages and as a charming decoration.
Ingredients
- Transparent plastic sheets (e.g., old CD cases or transparency sheets)
- Colored tissue paper
- Scissors
- Craft glue or Mod Podge
- Paintbrush (for applying glue)
- Black marker or permanent marker
- String or fishing line (for hanging)
Instructions
- Prepare the Plastic Base: Cut the transparent plastic sheets into a butterfly shape and ensure smooth edges.
- Create the Butterfly Design: Tear colored tissue paper into small shapes and outline features with a black marker.
- Apply the Tissue Paper: Brush glue onto wings and place tissue paper pieces, overlapping for design.
- Seal Your Work: Cover the tissue paper with an additional layer of glue and let it dry completely.
- Add Hanging Components: Punch a hole at the top and thread string or fishing line for hanging.
Notes
Customize colors and designs. Use clear contact paper for a mess-free experience.
- Prep Time: 15 minutes
- Cook Time: 60 minutes
- Category: Craft
- Method: Crafting
- Cuisine: N/A

