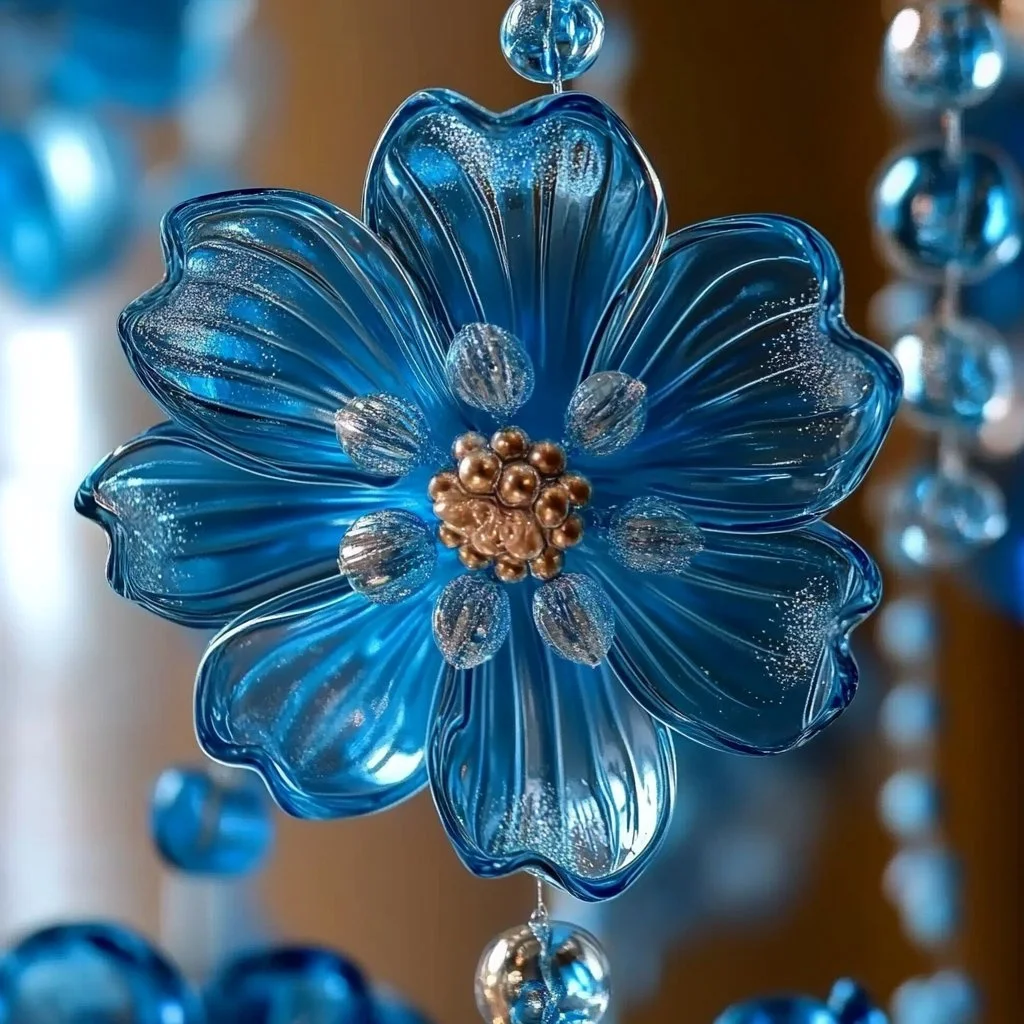
Blue Crayon Suncatchers are a delightful and creative craft project that are perfect for all ages. With just a few basic materials, you can make vibrant and personalized suncatchers that will bring warmth and color to your windows. This craft not only encourages creativity but also allows you to explore the interplay of light and color as the sun shines through your unique creations. Whether you’re looking for a fun activity to do with kids or a calming solo project, Blue Crayon Suncatchers are a wonderful way to brighten up any space.
Why You’ll Love This Blue Crayon Suncatchers:
- Easy to Make: Simple steps make this a perfect beginner craft.
- Fun for All Ages: Kids and adults can enjoy the process together.
- Colorful Decor: Adds a splash of color to any room.
- Personalized Touch: Each suncatcher is unique, reflecting your personal style.
- Sensory Fun: Engaging sights, sounds, and textures keep the crafting experience exciting.
Materials:
- Blue crayons (variety of shades)
- Wax paper
- Iron and ironing board
- Scissors
- Optional: Black marker, string or ribbon for hanging
Full Step-by-Step:
1. Prepare Your Workspace
- Set up a flat, heat-resistant surface.
- Gather all materials for easy access.
2. Shaving the Crayons
- Use a pencil sharpener or knife to shave your blue crayons into fine shavings.
- Sensory cue: Listen for the soft scraping sounds as you create shavings.
3. Layering the Wax Paper
- Cut two pieces of wax paper to your desired size, preferably larger than the final shape of the suncatcher.
- Place one piece on the ironing board.
4. Create the Shavings Layer
- Sprinkle the blue crayon shavings onto the center of the wax paper layer.
- Make sure to create a vibrant patch!
5. Seal the Suncatcher
- Carefully place the second piece of wax paper on top of the shavings.
- Key action: Gently press down to create a seal.
6. Ironing Process
- Set the iron on low heat with no steam.
- Place a thin cloth or parchment paper over the wax paper.
- Iron gently until the crayon shavings melt and fuse the two layers of wax paper.
- Sensory cue: Watch the colors blend and swirl together as they melt.
7. Cutting Your Design
- Once cooled, remove from the surface and cut your suncatcher into fun shapes.
- Think about hearts, stars, or circles!
8. Hanging Your Suncatcher
- Use a black marker to add outlines or details, if desired.
- Attach string or ribbon for hanging in your window.
Tips & Variations:
- Swap Crayon Colors: Experiment with different colors for a variety of effects.
- Add Glitter: Incorporate some glitter into the crayon shavings for extra sparkle.
- Custom Shapes: Use cookie cutters as templates to cut fun shapes.
- Experiment with Layering: Try multiple colors for a more intricate design.
Frequently Asked Questions:
-
Can I use other colors of crayons besides blue?
- Yes! Feel free to experiment with various colors for different designs.
-
What if I don’t have wax paper?
- Parchment paper can be a good alternative; just ensure it can withstand the heat.
-
Are there safety concerns when using an iron?
- Always supervise children during this phase and ensure the iron is set to low heat.
-
What’s the best way to hang the suncatcher?
- Use clear tape or suction cup hooks for a clean hanging option.
Suggestions:
- Decorate a sunlit corner in your home with several suncatchers together.
- Create themed suncatchers for holidays or special occasions.
- Encourage children to create suncatchers as gifts for friends and family.
Final Thoughts:
Blue Crayon Suncatchers are not only a fun way to spend your time but also offer a unique form of artistic expression. Share your versions of this craft or leave a comment about your experience—it’s always fantastic to see personal touches and variations! Happy crafting!

Blue Crayon Suncatchers
- Total Time: 30 minutes
- Yield: 1 suncatcher
- Diet: N/A
Description
Create vibrant and personalized suncatchers using blue crayons and wax paper. Perfect for all ages, this craft project brightens up any space.
Ingredients
- Blue crayons (variety of shades)
- Wax paper
- Iron and ironing board
- Scissors
- Optional: Black marker, string or ribbon for hanging
Instructions
- Prepare Your Workspace: Set up a flat, heat-resistant surface and gather all materials for easy access.
- Shaving the Crayons: Use a pencil sharpener or knife to shave your blue crayons into fine shavings.
- Layering the Wax Paper: Cut two pieces of wax paper to your desired size, preferably larger than the final shape of the suncatcher, and place one on the ironing board.
- Create the Shavings Layer: Sprinkle the blue crayon shavings onto the center of the wax paper layer.
- Seal the Suncatcher: Carefully place the second piece of wax paper on top of the shavings and press down to create a seal.
- Ironing Process: Set the iron on low heat with no steam, cover with a cloth, and iron until the crayon shavings melt.
- Cutting Your Design: Once cooled, cut your suncatcher into fun shapes like hearts or stars.
- Hanging Your Suncatcher: Use a black marker for details and attach string or ribbon for hanging.
Notes
Experiment with different crayon colors and add glitter for extra sparkle. Supervise children during ironing for safety.
- Prep Time: 30 minutes
- Cook Time: 0 minutes
- Category: Craft
- Method: Crafting
- Cuisine: N/A
Nutrition
- Serving Size: 1 suncatcher
- Calories: 0
- Sugar: 0g
- Sodium: 0mg
- Fat: 0g
- Saturated Fat: 0g
- Unsaturated Fat: 0g
- Trans Fat: 0g
- Carbohydrates: 0g
- Fiber: 0g
- Protein: 0g
- Cholesterol: 0mg

