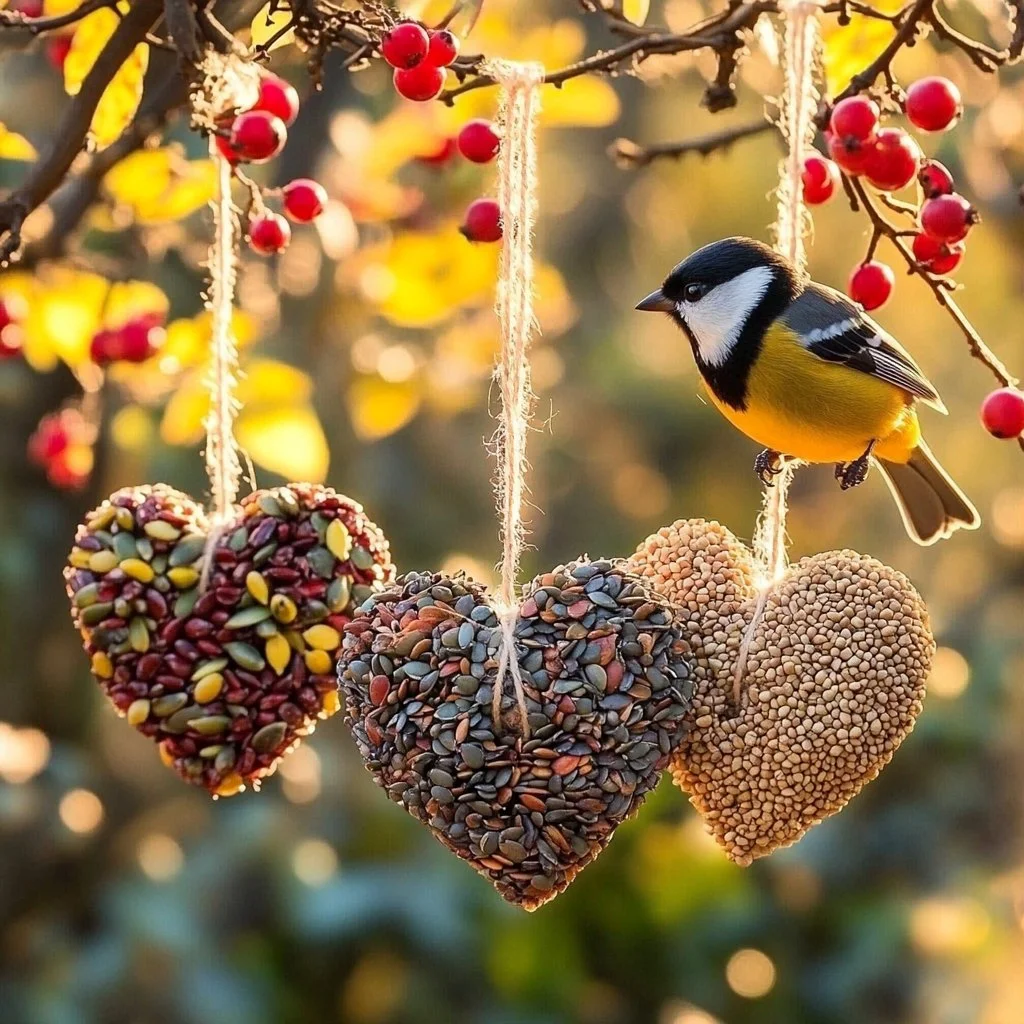
Birdseed ornaments are a delightful way to bring nature to your home while also providing food for our feathered friends. This DIY project is not just a fun craft for kids and adults alike, but it also offers a unique opportunity to decorate your outdoor space during the colder months. Homemade birdseed ornaments can be hung on trees, placed around your garden, or given as thoughtful gifts to fellow bird lovers. The process of making these ornaments is straightforward and rewarding, and the end result will attract a variety of birds to your yard, providing you with a live show right outside your window. Plus, these ornaments are a great way to teach children about wildlife and the importance of supporting local ecosystems. So gather your materials, unleash your creativity, and get ready to make something wonderful for both yourself and the birds!
Why You’ll Love This Birdseed Ornaments
- Eco-friendly and made from natural ingredients
- Simple and fun to make, suitable for all ages
- Attract a variety of birds to your garden
- Perfect for gifting during the holidays or any time of year
- Can be customized with different seeds and shapes
- A great way to teach kids about wildlife and nature
Materials
- 2 cups birdseed (mixed seeds or your favorite type)
- 1/2 cup unflavored gelatin
- 1/2 cup water
- 1 tablespoon corn syrup
- Silicone mold or cookie cutters
- Twine or string (for hanging)
- Wax paper or parchment paper
Step-by-Step Instructions
Step 1: Prepare the Gelatin Mixture
- In a small pot, mix 1/2 cup of unflavored gelatin with 1/2 cup of water.
- Heat the mixture over low heat, stirring until the gelatin is completely dissolved.
- Remove from heat and stir in 1 tablespoon of corn syrup.
Step 2: Combine Ingredients
- In a large bowl, combine 2 cups of birdseed with the gelatin mixture.
- Stir thoroughly until all seeds are evenly coated. The mixture should be wet but not soupy.
Step 3: Mold the Ornaments
- Pack the birdseed mixture firmly into your chosen mold or cookie cutters.
- Use the back of a spoon to compact it tightly.
- Make sure to create a hole at the top with a straw or your finger for hanging later.
Step 4: Dry the Ornaments
- Place the filled molds on a sheet of wax or parchment paper.
- Let them dry at room temperature for at least 24 hours, or until fully hardened.
Step 5: Hang the Ornaments
- Once dry, gently remove the ornaments from the mold.
- Thread twine or string through the holes and hang them outdoors.
Tips & Variations
- For a colorful twist, add dried fruits or nuts to the mixture.
- Swap out the birdseed for specialty seeds that attract specific bird types (e.g., sunflower seeds for chickadees).
- Use different cookie cutter shapes to create fun designs for holidays or seasonal themes.
- If you don’t have molds, use muffin tins for a simple alternative.
Frequently Asked Questions
1. Can I use flavored gelatin?
No, it’s best to stick with unflavored gelatin to ensure that it’s safe for birds to eat.
2. How long do the ornaments last?
They typically last a few weeks, depending on the weather conditions. Store them in a cool, dry place until ready to hang.
3. What if I don’t have a straw for the holes?
You can use a wooden skewer or any thin object to create a hole for the string.
4. Can I use something other than twine?
Yes, you can use any durable string, yarn, or even thin ribbon as long as it is safe and won’t harm the birds.
Serving Suggestions or Pairings
- Pair your birdseed ornaments with a warm cup of hot cocoa or herbal tea as you enjoy birdwatching.
- Serve alongside homemade bird feeders made from pine cones and peanut butter for a complete bird-themed project.
Final Thoughts
Crafting birdseed ornaments is not only a creative project but also a wonderful way to connect with nature and support local wildlife. As you hang these homemade treats in your yard, take a moment to observe the joy they bring to the birds—and yourself. We’d love to hear how your birdseed ornaments turned out! Feel free to share your versions or leave a comment below!
Print
Birdseed Ornaments
- Total Time: 1470 minutes
- Yield: 12 ornaments 1x
- Diet: N/A
Description
Create eco-friendly birdseed ornaments to attract feathered friends to your garden.
Ingredients
- 2 cups birdseed (mixed seeds or your favorite type)
- 1/2 cup unflavored gelatin
- 1/2 cup water
- 1 tablespoon corn syrup
- Silicone mold or cookie cutters
- Twine or string (for hanging)
- Wax paper or parchment paper
Instructions
- In a small pot, mix 1/2 cup of unflavored gelatin with 1/2 cup of water and heat over low until dissolved. Remove from heat and stir in 1 tablespoon of corn syrup.
- In a large bowl, combine 2 cups of birdseed with the gelatin mixture and stir until all seeds are coated.
- Pack the mixture into a mold or cookie cutters, compacting it tightly, and create a hole at the top for hanging.
- Place filled molds on wax or parchment paper and let dry at room temperature for at least 24 hours.
- Once dry, remove from molds and thread twine or string through the holes to hang outdoors.
Notes
Customize with different seeds or shapes. They make excellent gifts and are a great craft for kids.
- Prep Time: 30 minutes
- Cook Time: 1440 minutes
- Category: Craft
- Method: Crafting
- Cuisine: N/A
Nutrition
- Serving Size: 1 ornament
- Calories: 50
- Sugar: 0g
- Sodium: 5mg
- Fat: 1g
- Saturated Fat: 0g
- Unsaturated Fat: 1g
- Trans Fat: 0g
- Carbohydrates: 9g
- Fiber: 2g
- Protein: 2g
- Cholesterol: 0mg

