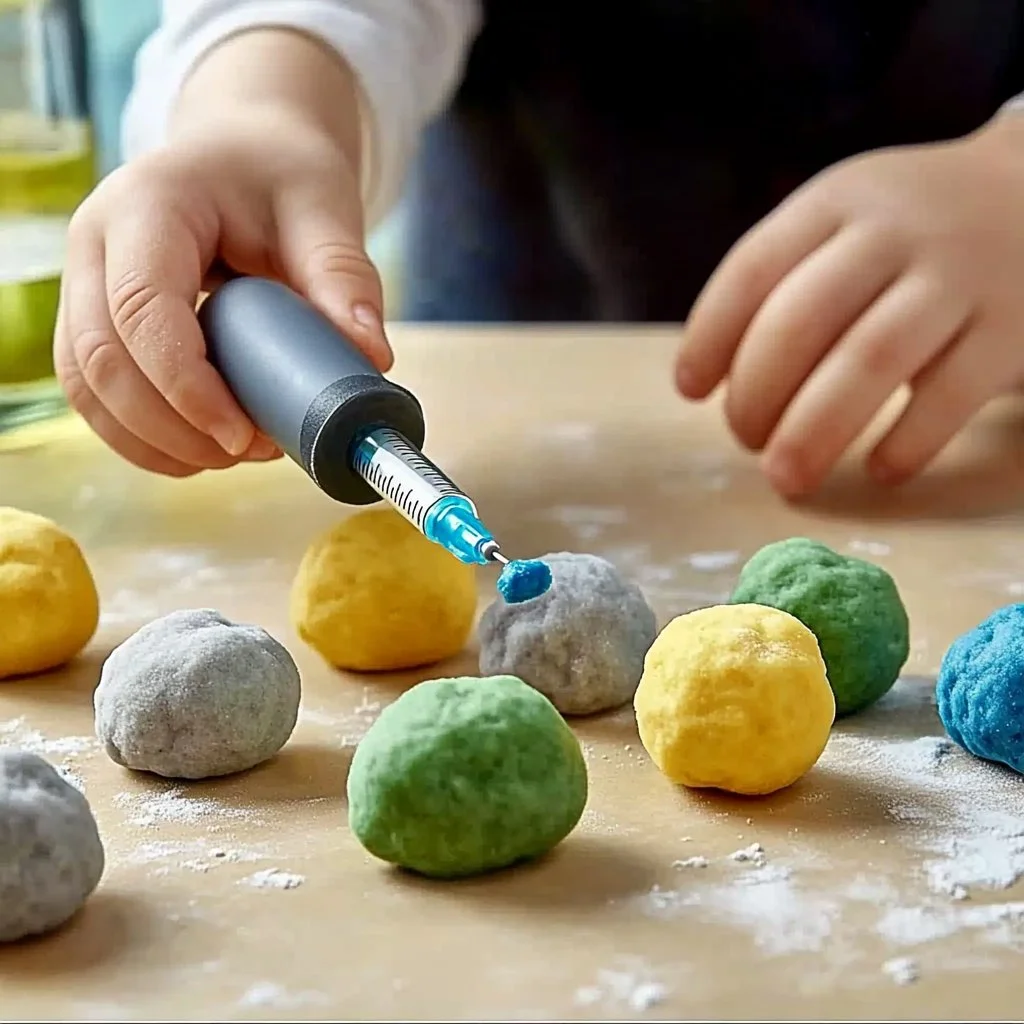
Baking soda treasure rocks are not just fun to make; they inspire creativity and provide a hands-on learning experience for kids and adults alike. This unique DIY project combines simple ingredients with a sprinkle of magic to create colorful, fizzy treasure rocks. As they dissolve in water, these rocks unleash vibrant effervescent reactions, revealing hidden treasures inside. Whether you’re hosting a birthday party, looking for a rainy day activity, or simply wanting to spice up the weekend, these fun rocks are the perfect solution!
This recipe promotes sensory exploration, scientific curiosity, and, of course, the excitement of discovering “treasures.” Plus, they make for a delightful gift or party favor! Let’s dive into the marvelous world of baking soda treasure rocks.
Why You’ll Love This Baking Soda Treasure Rocks
- Fun for All Ages: Ideal for kids and adults, fostering creativity and engagement.
- Simple Ingredients: Uses common kitchen staples that are easy to find.
- Educational Experience: Teaches kids about chemical reactions in a fun way.
- Customizable: Add colors, scents, or different treasures for a personal touch.
- Memorable Activity: Perfect for parties, playdates, or family gatherings.
Materials
- 1 cup baking soda
- 1/2 cup vinegar
- 1/2 cup water
- Food coloring (optional)
- Small plastic toys or treasures (e.g., gems, coins)
- Mixing bowl
- Silicone molds or ice cube trays
- Spoon for mixing
- Baking sheet (for easy transport)
Step-by-Step Instructions
1. Prepare the Molds
- Start by placing your silicone molds or ice cube trays on a baking sheet.
- This will make it easier to transport when they’re ready to dry.
2. Mix the Dry Ingredients
- In a mixing bowl, combine 1 cup of baking soda with a 1/2 cup of water.
- Stir until it creates a thick paste, resembling wet sand.
3. Add Color and Treasure
- If using food coloring, add a few drops to your mixture and stir until evenly distributed.
- Spoon the baking soda mixture into each mold, filling them halfway.
- Place a small treasure in each mold, then cover with more baking soda mixture until full.
4. Activate the Reaction
- Slowly drizzle the vinegar over each mold. Watch for a fizzy reaction!
- Let it bubble for a few minutes before moving on.
5. Let Them Dry
- Allow the rocks to dry for at least 24 hours, or until hard.
- Carefully remove them from the molds once they’re set.
6. Enjoy the Reveal
- Drop your treasure rocks into a bowl of water and watch the fun happen as they fizz and dissolve!
Tips & Variations
- Flavors and Scents: Add a few drops of essential oils to the mixture for a pleasant scent.
- Customize Colors: Experiment with different food color combinations for a unique look.
- Adjusting Size: Use larger molds for bigger rocks or mini molds for smaller treats.
- Time of Year Themes: Create holiday-themed treasures by using specific shapes or colors.
Frequently Asked Questions
Q1: Can I use other molds instead of silicone?
A1: Yes, you can use plastic ice cube trays or even muffin tins, but silicone is recommended for easy removal.
Q2: What if I don’t have vinegar?
A2: Lemon juice can be a perfect substitute as it’s also acidic and will create a similar fizzing reaction.
Q3: How long do the treasures last?
A3: Once dry, the rocks can be stored in an airtight container for several weeks until you decide to use them.
Q4: Can I use glitter in my treasure rocks?
A4: Absolutely! Just be cautious with glitter size and type, especially if playing with younger kids.
Serving Suggestions or Pairings
- Serve with colorful fruit juices for a vibrant party drink mix.
- Pair with DIY science kits for an exciting themed birthday party.
- Use as part of a scavenger hunt, where the rocks lead to fun prizes!
Final Thoughts
Baking soda treasure rocks are a delightful, interactive project that sparks joy and creativity. They’re not only an unforgettable experience but also a fantastic way to learn about science through play. We hope you enjoy making these fizzy treasures! Don’t forget to share your versions or leave a comment with your creative twists!
Print
Baking Soda Treasure Rocks
- Total Time: 1440 minutes
- Yield: 10 rocks 1x
- Diet: N/A
Description
Create colorful, fizzy treasure rocks with simple ingredients for a fun and educational DIY project.
Ingredients
- 1 cup baking soda
- 1/2 cup vinegar
- 1/2 cup water
- Food coloring (optional)
- Small plastic toys or treasures (e.g., gems, coins)
- Mixing bowl
- Silicone molds or ice cube trays
- Spoon for mixing
- Baking sheet (for easy transport)
Instructions
- Prepare the Molds: Start by placing your silicone molds or ice cube trays on a baking sheet for easy transport.
- Mix the Dry Ingredients: In a mixing bowl, combine 1 cup of baking soda with 1/2 cup of water. Stir to create a thick paste.
- Add Color and Treasure: If using food coloring, add drops and mix. Fill molds halfway with the baking soda mixture, add treasures, then cover with more mixture.
- Activate the Reaction: Drizzle vinegar over each mold and watch for fizzing reactions.
- Let Them Dry: Allow the rocks to dry for at least 24 hours until hard, then remove from molds.
- Enjoy the Reveal: Drop the treasure rocks into water to see them fizz and dissolve!
Notes
Customize with scents or adjust sizes of the molds. Store rocks in an airtight container for several weeks.
- Prep Time: 15 minutes
- Cook Time: 0 minutes
- Category: DIY Project
- Method: Crafting
- Cuisine: N/A
Nutrition
- Serving Size: 1 rock
- Calories: 10
- Sugar: 0g
- Sodium: 0mg
- Fat: 0g
- Saturated Fat: 0g
- Unsaturated Fat: 0g
- Trans Fat: 0g
- Carbohydrates: 2g
- Fiber: 0g
- Protein: 0g
- Cholesterol: 0mg

