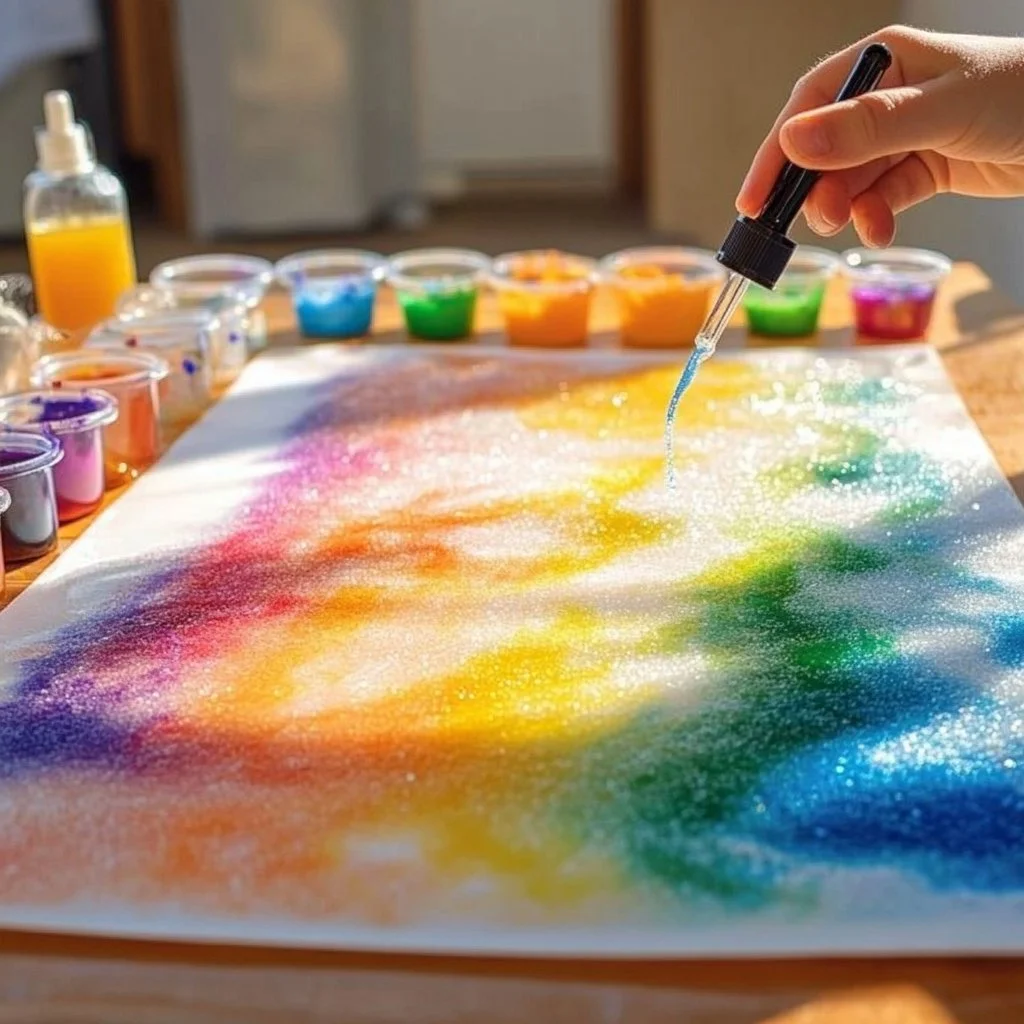
Baking Soda Painting
Growing up in my grandmother’s kitchen, I was often surrounded by the comforting aroma of baking soda biscuits fresh from the oven. It was a place where creativity flowed as freely as the flour, and where my siblings and I would often play while she cooked. One of the most delightful activities she introduced us to was baking soda painting. This intriguing craft merges simple ingredients with colorful fun, creating a joyful bonding experience perfect for any season, particularly during cozy winter afternoons or vibrant spring days.
This recipe is special not only because it brings back cherished memories but also because it fosters creativity in young minds. I remember the joy on my niece’s face as she swirled colors on paper, transforming the simplest of ingredients into masterpieces. It’s simple, non-toxic, and encourages exploration. So, roll up your sleeves, and let’s get ready to create some edible art!
Why You’ll Love This Baking Soda Painting
- Kid-approved: A fun and creative activity for children and adults alike.
- Non-toxic: Safe ingredients mean it’s perfect for little hands.
- Customizable: Use natural food colors or experiment with different colors.
- Minimal mess: Easy clean-up, especially when prepared with some prep work.
- Educational: Teaches children about colors, mixing, and creativity.
Ingredients
- 1 cup baking soda
- 1/2 cup white vinegar
- 1 cup cornstarch
- 2 cups water
- Food coloring (various colors)
- Mixing bowls
- Whisk or spoon
Step-by-Step Instructions
1. Prepare the Mixture
- In a mixing bowl, combine 1 cup of baking soda and 1/2 cup of white vinegar.
- Watch intently as it fizzes—this reaction is part of the fun! Stir until well mixed.
2. Thicken it Up
- Gradually add 1 cup of cornstarch while stirring.
- Slowly pour in 2 cups of water, whisking continuously until the mixture is smooth and free of lumps.
3. Color It
- Divide the mixture into smaller bowls depending on how many colors you want.
- Add a few drops of food coloring to each bowl and mix until you achieve your desired shade.
4. Create Your Masterpiece
- Using brushes or droppers, let your little artists create colorful paintings on thick paper.
- Watch as the colors blend and pop on the page—encouraging imagination!
5. Drying Time
- Allow the paintings to dry for several hours or overnight. The texture will harden as it dries, creating a fun, puffy artwork.
Tips & Variations
- Natural Dyes: For a more organic approach, consider using beet juice or turmeric for coloring.
- Texture Variations: Experiment with different consistencies by adding more cornstarch or water.
- Alternative Uses: Try using the mixture for fun textures in card making or even as a seasonal decoration.
- Skip the Colors: For younger children, let them experience the texture without the added colors.
Storage Instructions
- If you have leftover mixture, store it in an airtight container in the fridge for up to a week.
- Once the art is dry, keep it flat in a folder to preserve the designs.
Nutritional Information
- Prep Time: 10 minutes
- Cook Time: 0 minutes (no baking required)
- Total Time: 10 minutes (plus drying time)
- Calories: 0 calories per serving (ingredients not consumed)
- Servings: A full batch provides unlimited creative servings!
Frequently Asked Questions
1. Is baking soda painting safe for kids?
Yes! The ingredients are non-toxic, making it a safe creative activity for children.
2. What paper is best for this activity?
Thick watercolor or cardstock paper works best, as it holds up against moisture.
3. Can I mix different colors?
Absolutely! Encourage blending for unique, vibrant colors.
4. What if we don’t have cornstarch?
You can use flour instead, but the texture will differ. It may not be as puffy as cornstarch.
Serving Suggestions or Pairings
While this isn’t a traditional dish to serve, consider pairing it with a cozy cup of hot chocolate or freshly baked green tea cookies while the kids paint. Enjoy the imaginative atmosphere with classical music to inspire creativity!
Final Thoughts
Baking soda painting isn’t just an art project; it’s a sensory experience that can create lasting memories with your loved ones. I’d love to hear how your creations turned out or any variations you tried! Share your stories and pictures in the comments below, and let’s keep the creativity flowing! Happy painting!

